


Spider plants are among the most popular houseplants, loved for their low-maintenance nature and air-purifying qualities. Whether you’re a seasoned plant parent or a budding enthusiast, knowing the correct pot size for a spider plant is essential to keep it healthy and thriving.
This blog will guide you through the factors to consider when selecting a pot, the importance of the right size, and some handy tips for repotting your spider plant. After reading, you’ll be well-equipped to give your spider plant the perfect home.
Why Pot Size Matters for Spider Plants
Before we jump into the best pot size, it’s worth understanding why it matters. The pot your spider plant calls home can directly affect its growth, health, and overall appearance. Here’s why:
- Roots Need Space: Spider plants proliferate, both above and below the soil. Using a pot that’s too small can constrict the roots, limiting their access to nutrients and water.
- Water Drainage: Using the wrong pot size can interfere with drainage. A pot that’s too big can retain excess water, leading to root rot, while a pot that’s too small may dry out the soil too quickly.
- Plant Stability: A stable foundation is key to supporting your spider plant’s arching leaves and eventual “babies” (plantlets). Choosing the right pot makes sure your plant doesn’t topple over as it grows.
How to Choose the Perfect Pot Size for a Spider Plant
The size of your spider plant and its root system will largely determine the pot size you need. Here’s a simple guide to get you started.
1. Start Small for New Spider Plants
If you’re dealing with a young spider plant or a newly rooted plantlet, smaller pots are your best bet.
- Pot Size: Choose a pot that’s 4–6 inches in diameter.
- Why: A smaller pot helps focus the plant’s energy on developing a strong root system rather than over-expanding into unnecessary space.
- Pro Tip: Ensure the pot has drainage holes to prevent water from pooling at the bottom.
2. Report as Your Plant Grows
Spider plants are fast growers, and their long, tuberous roots can quickly outgrow their pots. How can you tell if it’s time to move to a bigger pot? Look out for these signs:
- Roots are poking out of the drainage holes.
- The soil dries out far too quickly after watering.
- The plant appears to be “bulging” out of the pot.
- Pot Size: When repotting, choose a pot that’s 1–2 inches larger in diameter than the current one. For example, if your plant is in a 6-inch pot, move up to an 8-inch pot.
- Why: This slight size increase ensures your spider plant has room to grow without overwhelming its root system with excess soil.
3. Avoid Oversized Pots
It may be tempting to give your spider plant a big pot to avoid frequent repotting—but resist the urge!
- Why it’s problematic
- Too much soil can retain water, leading to soggy roots and potentially fatal root rot.
- Large pots can make it harder for your plant to establish itself properly.
Stick to the “1–2 inches larger” rule when upsizing your spider plant’s pot.
4. Choose the Right Shape
Spider plants have long, sprawling roots but don’t require deep pots. Shallow, wide pots are ideal because they:
- Promote horizontal root growth
- Offer better balance for the arching leaves
- Make it easier to fit multiple plantlets if you want a clustered look
5. Materials Matter Too
The pot’s material can impact your watering routine and the health of your spider plant. Here are the most popular options and their pros and cons:
- Terracotta
- Drains well and prevents overwatering.
- Allows for good air circulation to the roots.
- It’s ideal for beginner plant parents because it’s more forgiving when overwatering.
- Plastic
- Lightweight and affordable.
- It retains moisture, which is great for drier climates but may require careful monitoring in humid environments.
- Ceramic
- It often comes in stylish designs and adds aesthetic value.
- Ensure ceramic pots have drainage holes to prevent waterlogging.
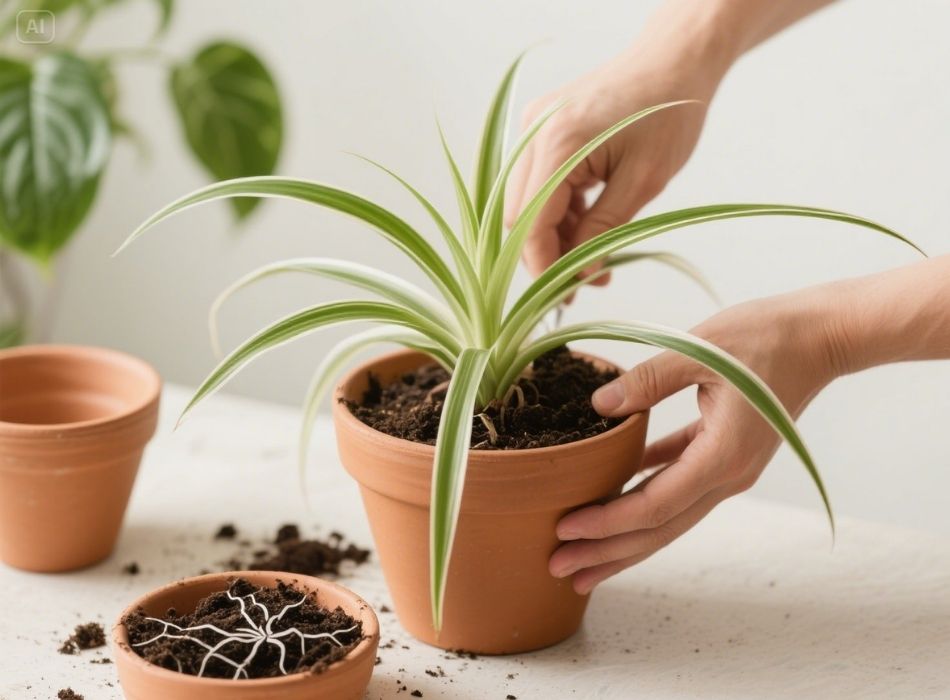
Repotting Tips to Keep Your Spider Plant Happy
Repotting your spider plant doesn’t have to be complicated. Follow these steps to make the process smooth and stress-free for both you and your plant.
1. Timing is Key
- Repot in spring or summer when your spider plant is actively growing. Avoid repotting in fall or winter when the plant is dormant.
2. Prepare the New Pot
- Ensure the pot has adequate drainage holes.
- Add a layer of fresh potting soil to the bottom.
3. Remove the Plant Gently
- Loosen the soil around the edges and carefully lift the plant out of its current pot. Be gentle to avoid damaging the roots.
4. Inspect and Trim the Roots
- Check for any signs of root rot or unhealthy growth.
- Trim away blackened or mushy roots with sterile scissors.
5. Replant and Water
- Place the plant in its new pot and backfill it with fresh potting soil. Be sure to leave about an inch of space at the top for watering.
- Water thoroughly to settle the soil.
Common Questions About Spider Plant Pots
Can I leave my spider plant root-bound?
Spider plants can tolerate being slightly root-bound, but it’s not a permanent solution. Over time, the lack of space can hinder growth and lead to poor health.
What type of soil is best for spider plants?
A well-draining potting mix is ideal. You can use a general houseplant soil blend or create your mix with equal parts peat, perlite, and coarse sand.
How often should I repot my spider plant?
Typically, every 1–2 years. However, frequency depends on how fast your plant grows and how quickly its roots outgrow the pot.
Can I grow spider plants in hanging pots?
Absolutely! Hanging pots are a fantastic way to showcase the plant’s arching leaves and dangling plantlets. Just ensure the pot has proper drainage.
Finding the Perfect Spot
While choosing the right pot is crucial, don’t forget that where you place your spider plant also matters. These plants thrive in bright, indirect light and appreciate consistent watering during the growing seasons.
With the right pot size, plenty of love, and optimal placement, your spider plant will reward you with lush growth and charming plantlets.


