Oil painting is a wonderful and satisfying hobby, but it’s important to clean your brushes after each session to keep them in good shape. Whether you’re just starting or looking to take better care of your tools, learning the right way to clean oil paint brushes can help you save time, effort, and money. This guide will show you each step, using easy-to-find materials like solvents, soap, and water, so your brushes stay ready for your next painting.
Why Properly Clean Your Oil Paint Brushes?
Proper brush care is essential for a variety of reasons:
- Preserve Brush Quality: Oil paints can be tough on brushes, and if they aren’t properly cleaned, the bristles can become stiff and worn out. (Cleaning Oil Painting Brushes: A Complete Guide, n.d.) Regular cleaning helps maintain the bristles’ softness and flexibility.
- Prevent Paint Build-Up: If oil paint isn’t removed from the bristles, it can harden, making it increasingly difficult to clean. (How to: clean oil paint brushes, n.d.) Over time, this can affect the performance of your BrusBrush and cause permanent damage.
- Improve Painting Results: Dirty brushes can affect the quality of your artwork. Leftover paint can mix with fresh paint, causing muddied colors or uneven application. (How to Clean Oil Paint Brushes:10 Easy Methods, 2023)
- Save Money: Brushes can be expensive, and cleaning them properly ensures that they last longer, saving you money in the long run. (Paintbrush Lifespan and How to Make Your Brushes Last, 2023)
Now, let’s get started with the steps for cleaning your oil paint brushes.
Step 1: Remove Excess Paint
Start by getting rid of as much extra paint as you can. Doing this first makes the rest of the cleaning easier and means you’ll use less solvent or soap.
How to Remove Excess Paint:
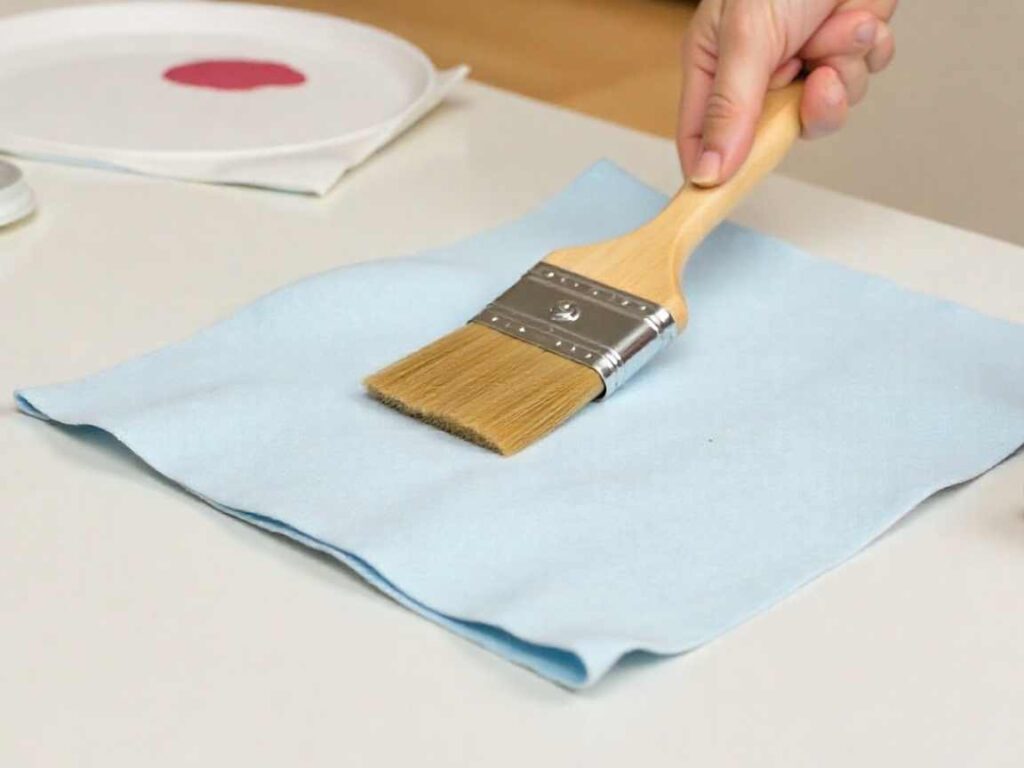
- Wipe the Brush with a Paper Towel or Rag: Hold your Brush by the handle and gently wipe it across a paper towel or rag. Start at the base of the bristles and work your way towards the tip. This will help you remove as much excess paint as possible.
- Be Gentle: Avoid being too harsh when wiping the BrusBrush. This can cause the bristles to fray or become misshapen. The goal is to get rid of the majority of the paint without damaging the BrusBrush.
- Repeat the Wiping Process: You may need to wipe the Brush several clean sections of the paper towel or rag, depending on how much paint is left on the Brush.
This step gets most of the paint out and gets your brush ready for the next part, which uses solvent.
Step 2: Use a Solvent
Once you’ve wiped off the extra paint, use a solvent to get rid of what’s left on the brush. Brusshneral spirits and turpentine are common choices. These help break down the paint so you can clean the bristles more easily.
How to Use a Solvent:
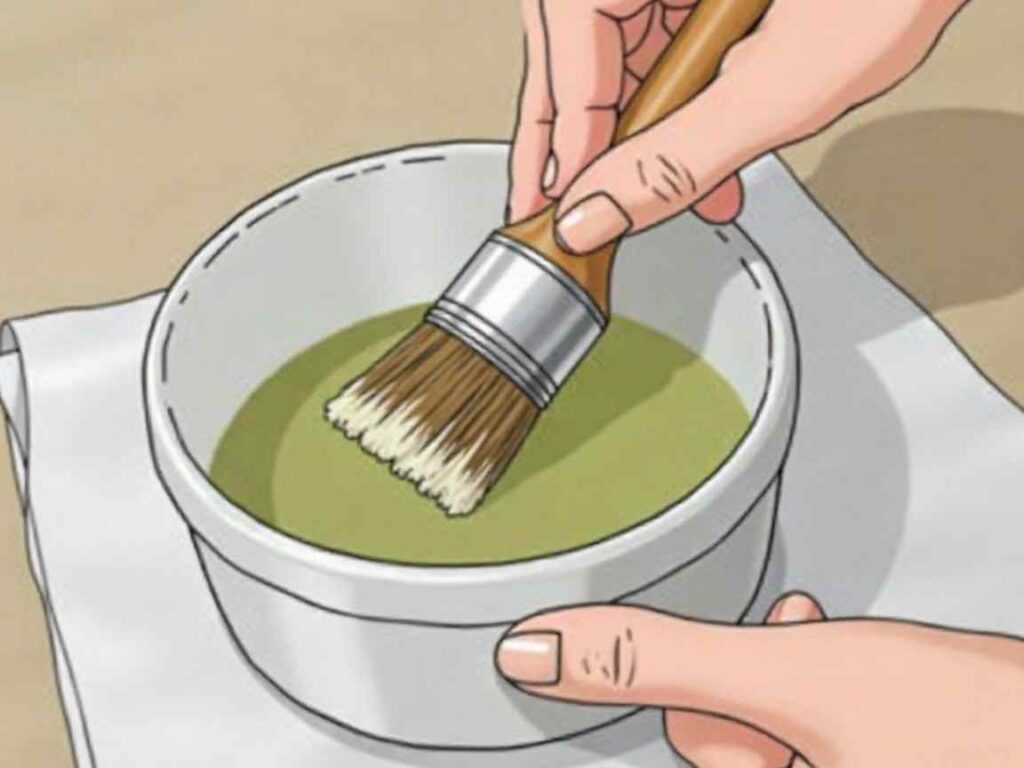
- Prepare the Solvent: Pour some mineral spirits or turpentine into a glass jar or container. You don’t need a lot, but make sure there’s enough to submerge the BrusBrush’s stles.
- Dip the BrusBrusho in the Solvent: Gently dip the BrusBrusho in the solvent and agitate it to loosen the paint. Move the brush in the solvent to dissolve the remaining paint on the bristles.
- Wipe the BrusBrusha Paper Towel: After dipping the BrusBrush in the solvent, wipe it on a clean paper towel or rag. This will help remove the dissolved paint.
- Repeat the Process: If the Brush is still holding onto paint, repeat this process with a clean jar of solvent. This ensures that the BrusBrushfully cleaned and free of excess paint.
- Check for Residual Paint: Once the majority of the paint has been removed, check the paper towel for any leftover paint. If it still comes off colored, continue cleaning the BrusBrush with solvent until the BrusBrush is free of paint.
This step takes care of most of the leftover paint and gets your brush ready for the final cleaning.
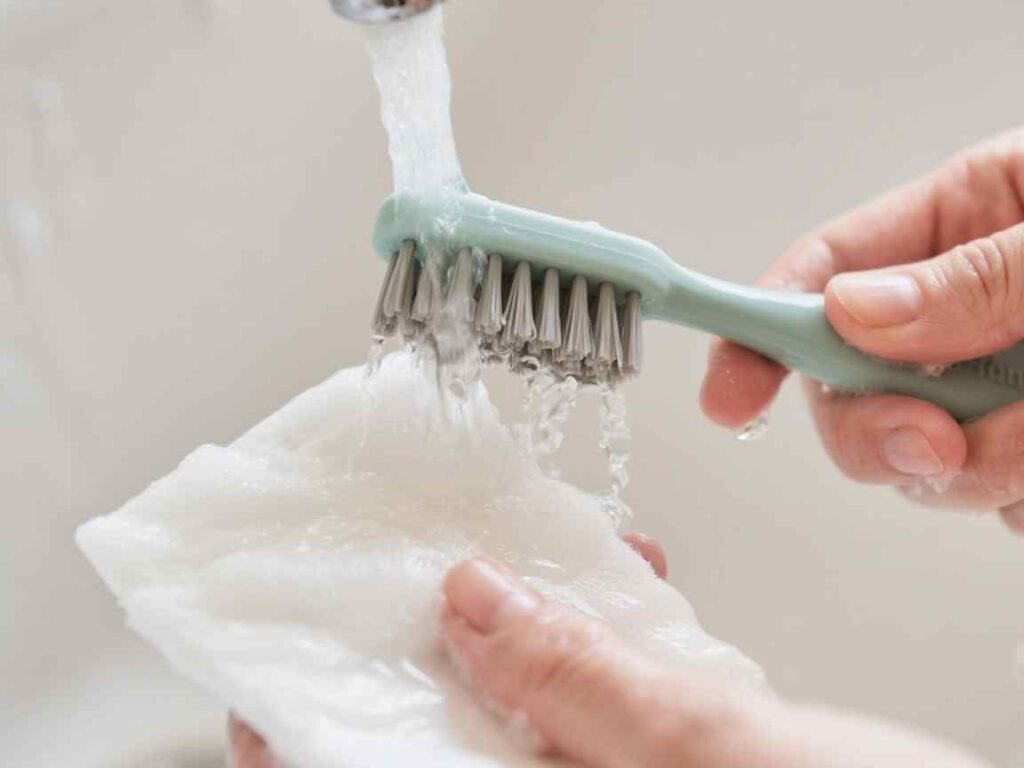
Step 3: Wash with Soap and Water
After you’ve removed most of the paint, wash your brush with soap and water. This will get rid of any solvent and the last bits of paint, so your brush is clean and ready for next time.
How to Wash Your Brush with Soap and Water:
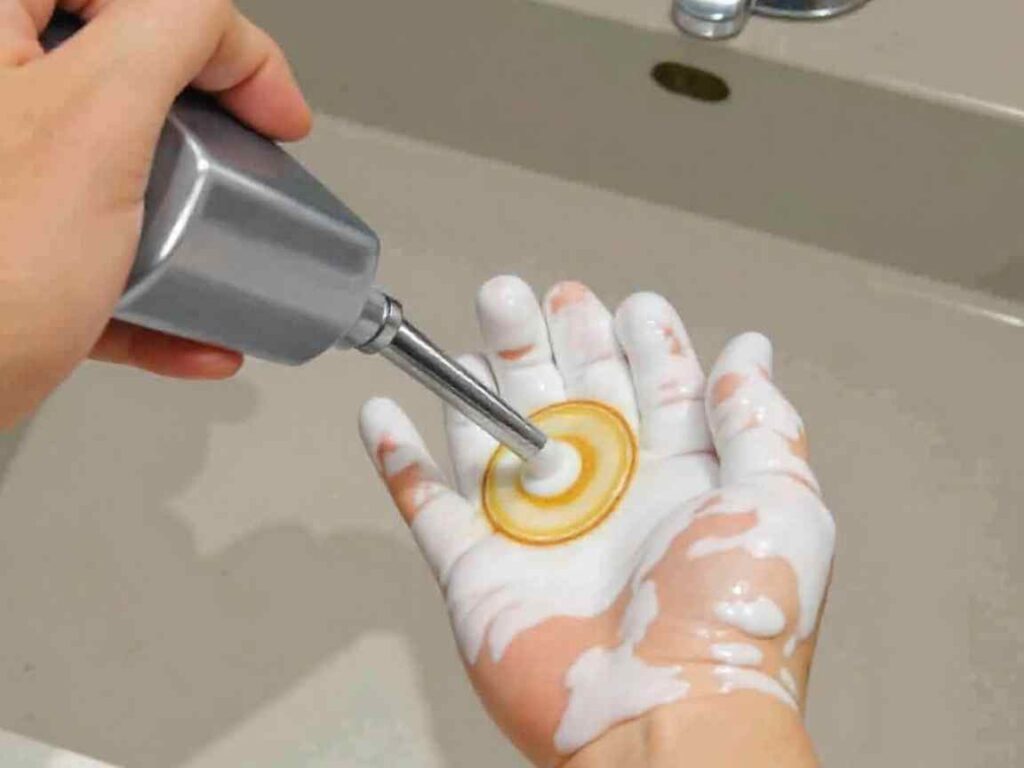
- Rinse the Brush Under Warm Water: Run the Brush under warm water to remove any excess solvent. Warm water will help loosen any paint still clinging to the bristles.
- Rub the Brush on Soap: Use a bar of soap or a small amount of dish soap in your palm. Gently rub the BrusBrush into the soap, moving it back and forth while keeping the flat side down to create a lather. This will help work the remaining oil paint out of the bristles.
- Rinse Under Warm Running Water: After you’ve created a lather, rinse the BrusBrusher under warm running water to remove the soap and any loosened paint. Keep rinsing until the water runs clear and there’s no visible paint in the lather.
- Repeat if Necessary: If the Brush still has a slight discoloration or if the soap lather isn’t running clear, repeat the soaping and rinsing process until the Brush is completely clean.
Washing with soap and water makes sure your brush is free of paint and solvent, so it’s ready to be put away.
Step 4: Rinse and Reshape
After washing your brusBrushve it a final rinse to remove any leftover soap. Then, gently reshape the bristles so the Brush returns to its original shape.
How to Rinse and Reshape Your Brush:
- Final Rinse: Give the Brush a final rinse with clean, lukewarm water to make sure all soap has been removed.
- Blot Excess Water: Gently blot the Brush with a paper towel or rag to remove any excess water. Be careful not to pull on the bristles or rub too hard, as this can cause them to become misshapen.
- Reshape the Bristles: Using your fingers, gently reshape the bristles into their original form. Make sure the tips are aligned, especially if you are using a round or angled brush. This step helps ensure that the BrusBrush maintains its shape and will perform well in future use.
Reshaping the bristles helps your brushes last longer and work better, since bent bristles can make painting uneven.
Step 5: Dry the Brush

After cleaning and reshaping the Brush, the final step is to dry it. Proper drying is important to prevent any moisture from remaining in the bristles, which could cause rust or mold to develop over time. (How to Keep a Paint Brush from Drying Out | 10 Methods, 2025)
How to Dry Your Brush:
- Lay the Brush Flat: You can lay your brush flat on a clean surface to dry. Be sure to avoid resting it on the bristles, as this can cause them to become misshapen. Lay the brush flat with the bristles pointing up to allow air to circulate through them.
- Stand the Brush Upright: Alternatively, you can stand the Brush upright in a jar with the bristles facing upwards. This method allows any remaining moisture to drain away from the bristles and keeps them from getting bent out of shape.
- Let your brush dry all the way before you use it again or put it away. This might take a few hours, so try to wait until it’s fully dry.
Final Thoughts
Cleaning your oil paint brushes can be quick and easy. If you follow these steps—removing extra paint, using a solvent, washing with soap and water, rinsing, reshaping, and drying—your brushes will stay in great shape for your next painting. No matter your experience level, taking care of your brushes helps you get better results and makes your tools last longer.
Spending a little extra time cleaning your brushes after each use will save you money and help you paint with more control and ease. Enjoy your painting!