


Want to install melamine boards at Home, but not sure how to begin? This step-by-step guide will help you through the whole process, from getting ready to adding the final touches. Let’s get started!
Understanding Melamine Boards: Types and Applications
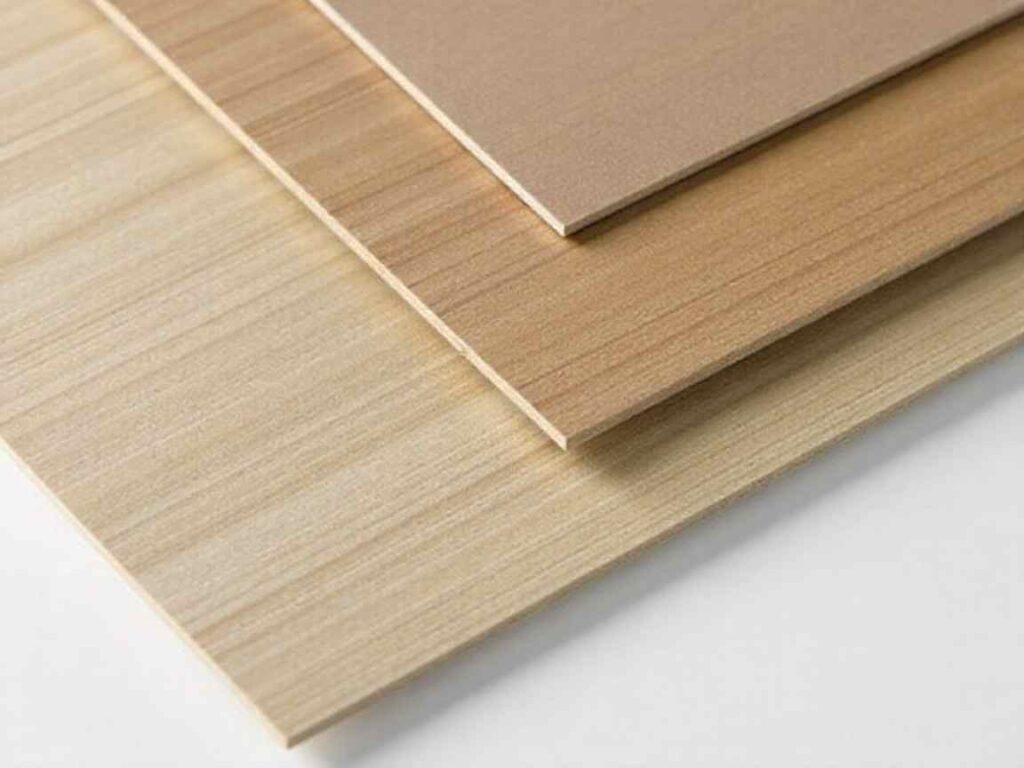
Before jumping into the installation process, it’s important to understand the different types of melamine boards available. Choosing the right kind is crucial for both functionality and aesthetics. Here are the main varieties:
- Standard Melamine Board: This is the most common type, perfect for general use in furniture, cabinetry, and shelving. (Standard Melamine – Architectural Woods, n.d.)
- Moisture-Resistant Melamine: Ideal for areas like kitchens and bathrooms where high humidity is a concern. (Melamine Faced Panel High Moisture Resistant Board (V313) Particle Board, n.d.)
- Fire-Resistant Melamine: Designed for spaces that require added safety, such as commercial or public buildings. (Construction Industry, n.d.)
- Decorative Melamine: These boards come in a variety of colors and patterns, offering an aesthetic appeal for various applications. (Explore 134+ Stunning Color Options with Super Board Melamine Board – Redefining Interior Elegance, 2025)
- Whiteboard Melamine: Specifically engineered for dry-erase surfaces, great for offices or classrooms. (Melamine Dry Erase Boards: Premium Magnetic Whiteboards for Office & Classroom, n.d.)
Each type of melamine board works best in certain places, so choose the one that matches your needs.
Why Choose Melamine Boards?
Before jumping into the installation process, it’s helpful to compare melamine boards with other common materials. Here’s why melamine might be the perfect choice for your next project:
- Cost: Melamine boards are typically more affordable. It’s useful to compare melamine boards with other materials before you start. Here’s why melamine could be a great choice for your project: it provides a longer-lasting finish. (Melamine Shelving Boards: Your Guide to Durability and Style, n.d.)
- Maintenance: Unlike untreated wood, melamine boards are easy to clean and maintain, making them a practical choice for high-use areas. (Nikpol Master Oak Cleaning Instructions, 2024)
- Ease of Installation: Compared to materials like tile or solid wood paneling, melamine is usually simpler to install.
- Versatility: Available in a wide range of colors and finishes, melamine boards can fit any design style, from modern to rustic. (Melamine Board Colours: Enhancing Interior and Furniture, 2023)
With these benefits, melamine boards are a smart pick for many Home projects.
Step 1: Preparation – Gathering Materials and Tools
Before you start, gather all the tools and materials you’ll need. Here’s a quick checklist:
- Circular saw (for cutting the boards)
- Measuring tape
- Straight edge or ruler
- Putty knife
- Finishing nails
- Adhesive
- Clamps
- Safety goggles, gloves, and a dust mask
- Damp cloth and mild detergent
Once you have everything ready, the next step is to measure and prepare the area where you’ll install the boards.
Step 2: Measure and Mark the Installation Area
Getting the measurements right is important for a good result. Here’s what to do:
- Measure the Area: Use your measuring tape to determine the dimensions of the installation area. Take into account any obstacles, such as outlets or fixtures that could affect the installation.
- Mark Your Measurements: Use a pencil to mark the exact spots where the boards will be placed. This will help you visualize the layout and ensure that the boards fit properly.
- Plan for Obstacles: Mark any areas where outlets, switches, or other fixtures are located. You may need to cut around these later.
Step 3: Surface Preparation
Before you put up the melamine boards, get the surface ready. Here’s how:
- Clean the Wall: Use a damp cloth to wipe down the wall, removing dust and debris. This ensures that the adhesive bonds effectively to the surface.
- Sand the Surface: If your walls are painted, lightly sand them to create a slightly rough surface. This helps the adhesive grip better.
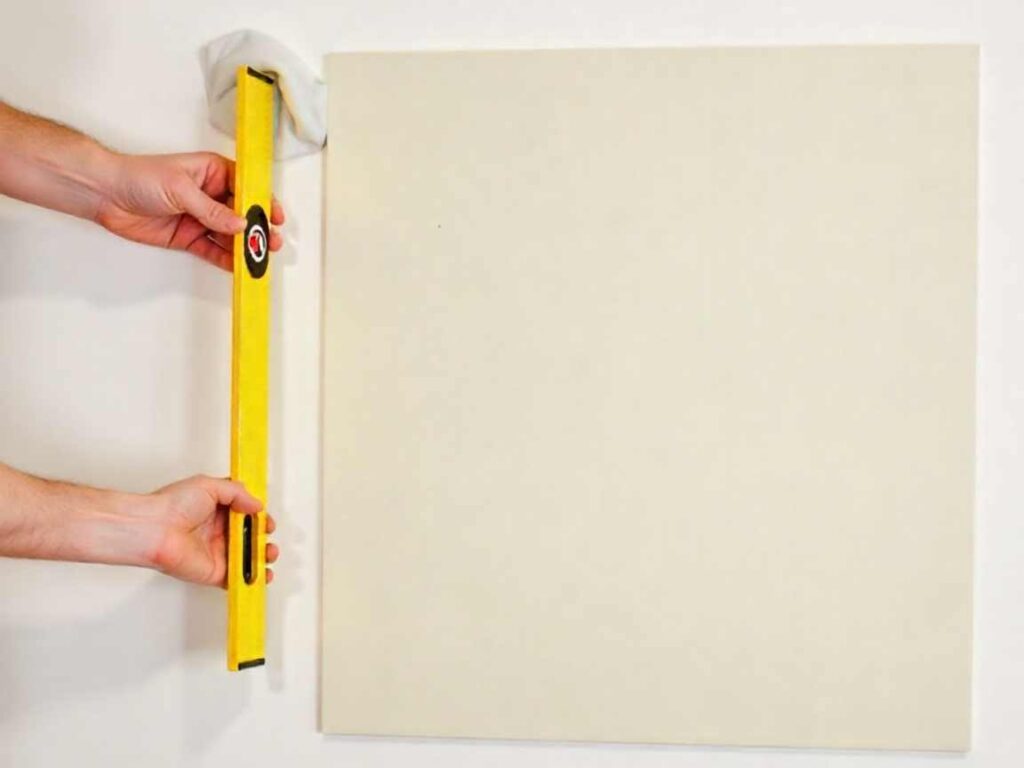
- Check for Level: Use a level to make sure the wall is straight. If it’s uneven, try to fix it before you continue.
Step 4: DIY vs. Professional Installation

This guide is for DIY installation, but it’s also good to think about the pros and cons of hiring a professional:
DIY Installation:
- Pros: More cost-effective, customizable to your exact needs, and provides a sense of accomplishment.
- Cons: Can be time-consuming, requires specific tools and skills, and mistakes may happen along the way.
Professional Installation:
- Pros: Expertise and experience, time-saving, and often includes a warranty.
- Cons: Higher cost, less personal involvement, and potential scheduling conflicts.
Thinking about these points can help you choose between doing it yourself and hiring a pro.
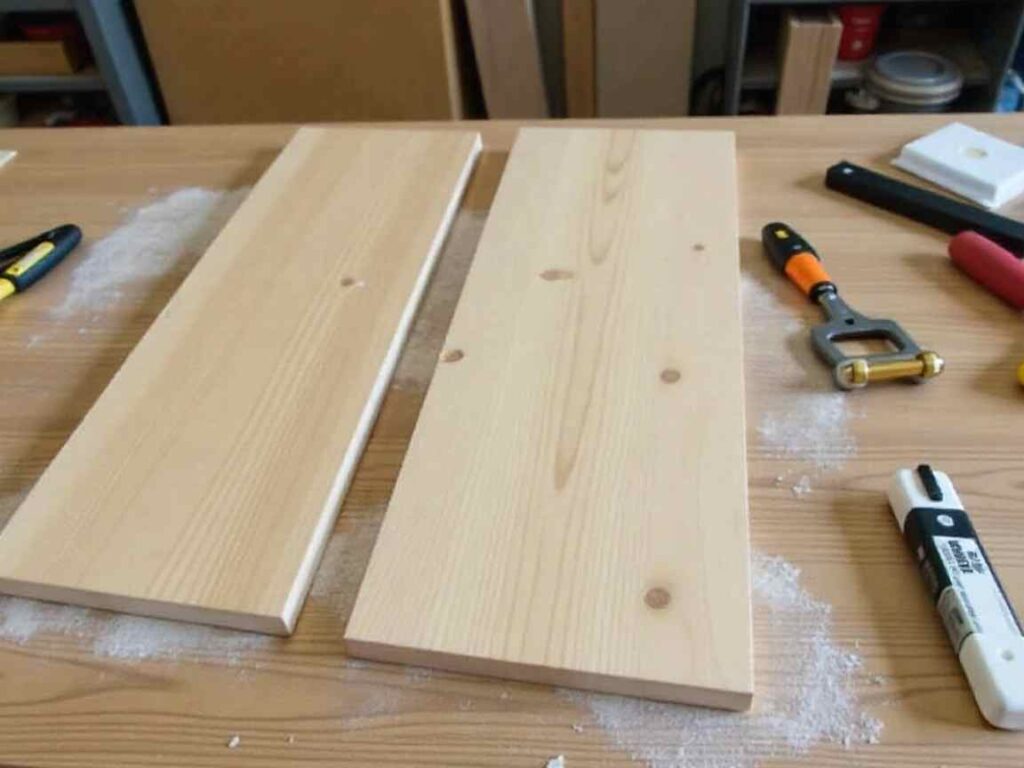
Step 5: Cutting the Melamine Boards
After you’ve prepared the area, you can cut the melamine boards to fit. Here’s how:
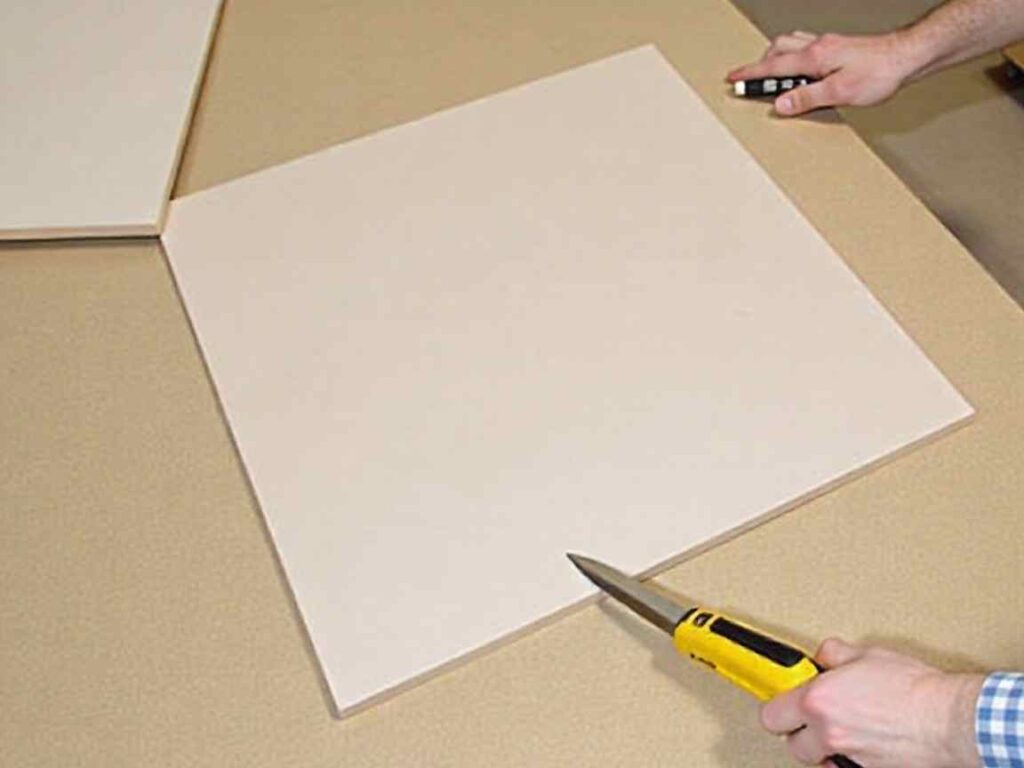
- Measure and Mark the Boards: Measure each melamine board to fit the dimensions you’ve marked earlier. Use a pencil for clear markings.
- Cut with a Circular Saw: Align the saw blade with your marked line and cut carefully. Go slow to ensure the cuts are straight and clean. A straight edge can be used to guide the saw for precision.
Alternative Cutting Methods:
If you don’t have a circular saw, here are other tools you can use:
- Hand Saw: For straight cuts without power tools. Use a fine-toothed saw for cleaner cuts.
- Jigsaw: Ideal for cutting curves or working in tight spaces.
- Table Saw: Perfect for long, straight cuts if you have access to one.
- Scoring Knife: For thinner melamine sheets, score deeply and snap along the line.
Always wear safety gear like goggles, gloves, and a dust mask when cutting melamine.
Step 6: Installing the Melamine Boards
Once your boards are cut, you can start installing them:
- Apply Adhesive: Spread an even layer of adhesive across the back of the first board.
- Place the Board: Press the board firmly against the wall, making sure it’s aligned with your marked area. Apply pressure to ensure proper bonding.
- Secure with Nails: For extra security, drive finishing nails into the edges of the board, ensuring they penetrate the wall for added stability.
Step 7: Continuing the Installation
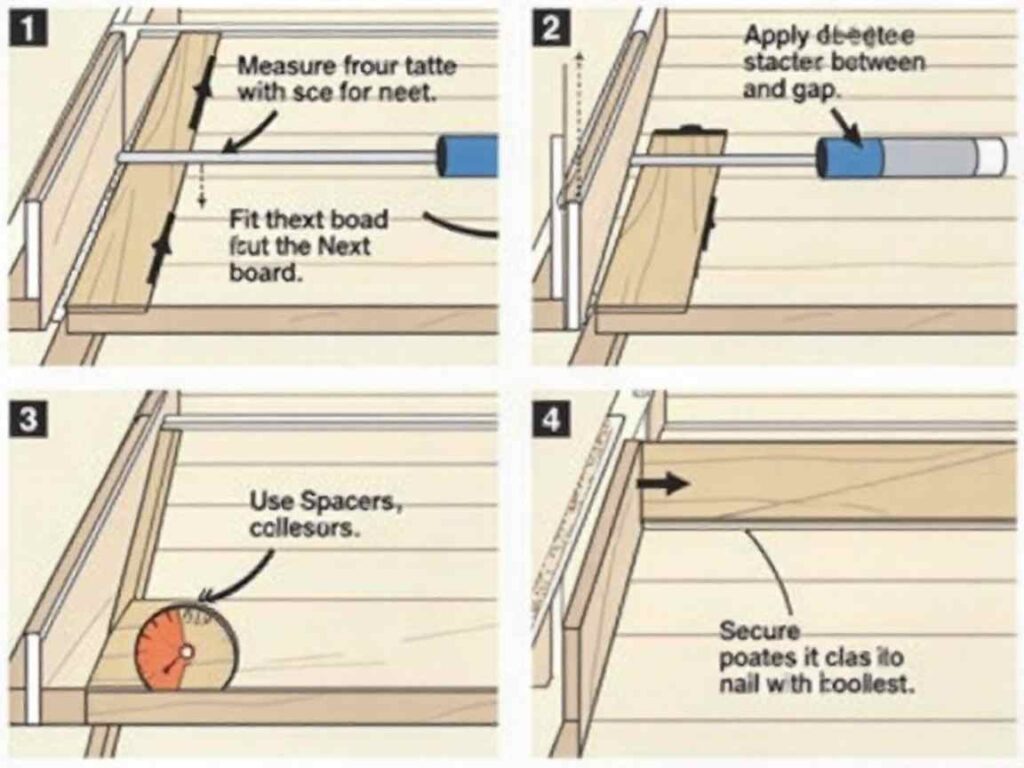
Repeat these steps for the rest of the boards:
- Measure and Cut the Next Board: Fit the next board into the space, making sure it aligns with the previous one.
- Use Spacers: Place a small spacer between the boards to maintain consistent gaps.
- Secure Each Board: Apply adhesive, press the board into place, and secure it with nails.
Step 8: Installing Corner Boards
Here’s what to do when you get to the corners:
- Measure the Corner Boards: Mark the dimensions of the corner boards.
- Cut to Fit: Use your circular saw to cut the corner boards to size.
- Attach Corner Boards: Apply adhesive to the back of the corner boards and press them into place. Use clamps for extra support as the adhesive sets.
Step 9: Working Around Obstacles
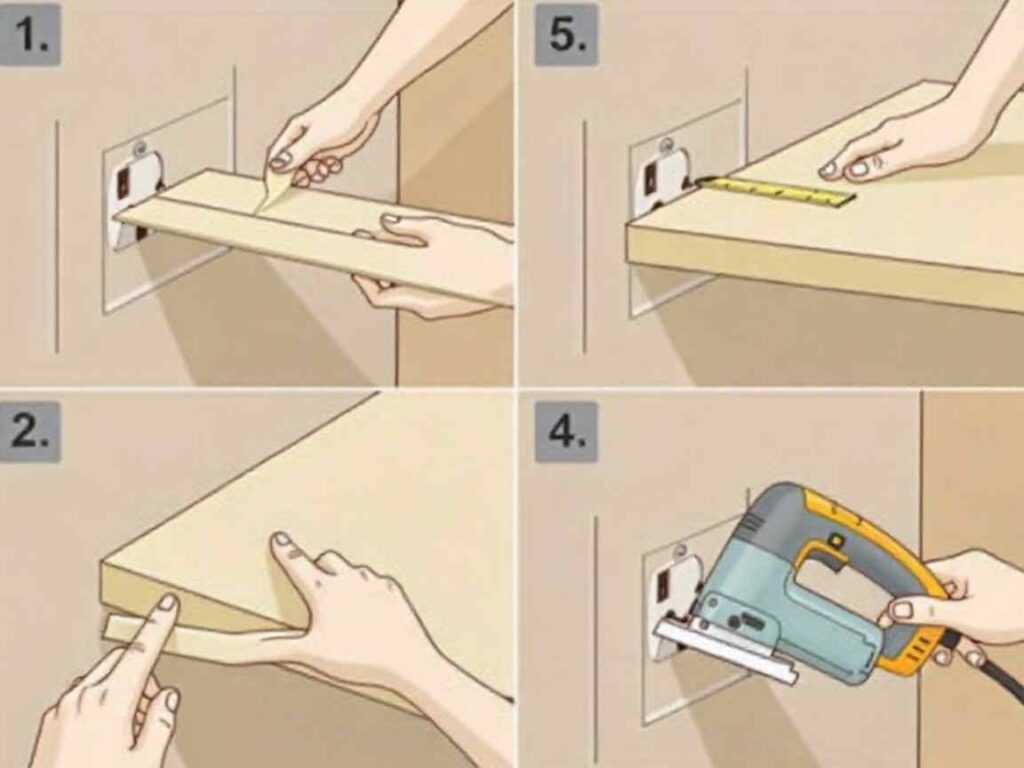
If you run into obstacles like electrical outlets, here’s how to work around them:
- Mark the Obstacle Location: Measure and mark the area where the outlet is located.
- Cut the Board: Use a jigsaw or hole saw to cut the board to fit around the obstacle.
- Test Fit: Ensure the board fits around the obstacle properly.
- Sand the Edges: Smooth out the edges for a clean finish.
Be sure to turn off the power before working near electrical outlets.
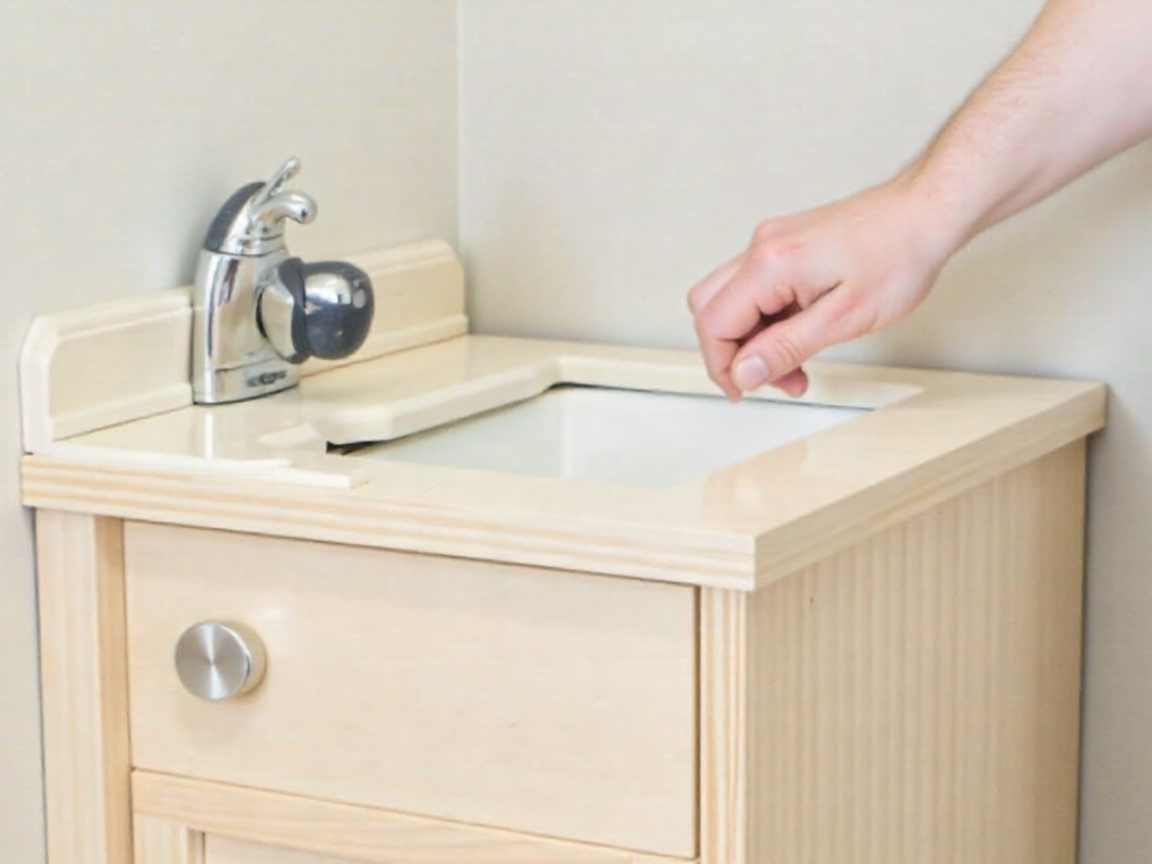
Step 10: Finishing Touches – Filling Joints and Seams
To make your installation look smooth, fill any gaps between the boards:
- Apply Melamine Filler Paste: Use a putty knife to apply filler paste to the joints and seams.
- Smooth the Filler: Spread the filler evenly, ensuring a smooth surface.
- Let It Dry: Allow the filler to dry completely, then lightly sand it for a smooth, flush finish.
Step 11: Adding Edge Banding
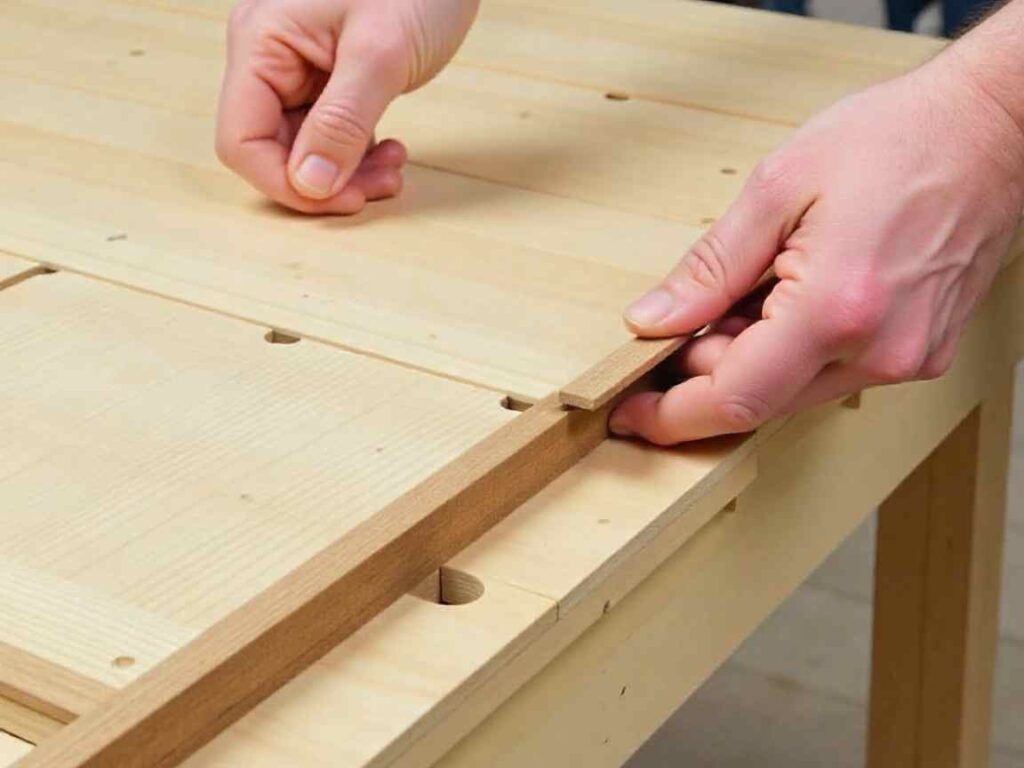
To finish the edges, add edge banding to any exposed sides of the boards:
- Cut Edge Banding: Measure and cut the edge banding to fit the exposed edges.
- Apply Adhesive: Attach the edge banding by applying adhesive to both the banding and the exposed edge.
- Trim Excess: Once the banding is in place, trim any excess with a utility knife for a neat finish.
Step 12: Sanding and Sealing
Sanding the boards after you install them helps create a smooth finish:
- Sand the Surface: Use sandpaper or a sanding block to smooth out any rough edges or imperfections.
- Clean the Surface: Wipe down the boards with a damp cloth to remove dust.
- Apply Sealer or Primer: To make the surface last longer, use a melamine sealer or primer.
Step 13: Maintenance and Care
Keep your melamine boards looking good by cleaning them often with a mild detergent and a soft cloth. Please don’t use harsh cleaners, since they can scratch the surface.
Look for chips or signs of wear over time and fix them quickly to keep your boards looking nice and lasting longer.
Conclusion
By following these steps, you can install melamine boards in your Home with confidence. From getting ready to finishing up, this guide will help you get great results. Melamine boards are a budget-friendly, strong, and stylish choice for any project. (What is Melamine Board?, n.d.) Good luck!


