


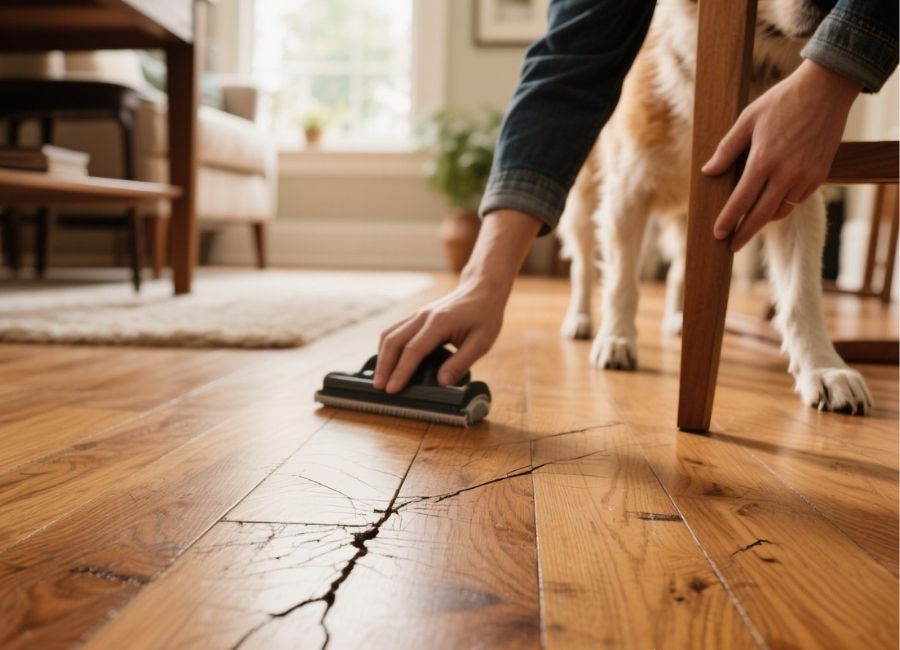
Hardwood floors add timeless beauty to any home, but they can be prone to scratches from daily wear and tear. Whether it’s a deep gouge caused by moving furniture or minor scuff marks from pet claws, imperfections are bound to appear over time.
The great news? You don’t need to be a flooring expert to repair scratches on your hardwood floors. With a few simple tools and techniques, your floors can look as good as new. This guide will walk you through everything you need to know, from identifying the type of scratch to choosing the right repair method for the job.
Understanding Scratches on Hardwood Floors
Before you grab a tool and start working on your floor, it’s important to identify the type of scratch you’re dealing with. Hardwood floors can have several kinds of damage, and the repair approach will vary depending on the severity.
Types of Scratches
- Surface Scratches
These are the most common type of scratches and only affect the floor’s finish (the protective topcoat). Surface scratches are usually shallow, making them the easiest to repair.
- Shallow Scratches
These penetrate slightly deeper than the finish and may graze the wood itself. You’ll notice a slight discoloration since the topcoat has been removed.
- Deep Scratches or Gouges
These scratches go all the way into the wood, leaving a noticeable indentation. They’re often caused by heavy objects like furniture or sharp impacts.
Why Fix Scratches?
Scratches not only affect the appearance of your floor but can also weaken its durability. Left unaddressed, deep scratches can expose raw wood to moisture, increasing the risk of warping or long-term damage. For aesthetic and practical reasons, it’s best to repair scratches as soon as they appear.
Step-by-Step Guide to Fix Minor Surface Scratches
For light surface scratches, the repair process is quick and straightforward. Here’s what you need to do:
Step 1. Clean the Area
Start by cleaning the scratched area with a damp microfiber cloth and a mild hardwood floor cleaner. This will remove dirt, dust, and oils that could interfere with the repair process. Avoid using abrasive cleaners as they can worsen the scratch.
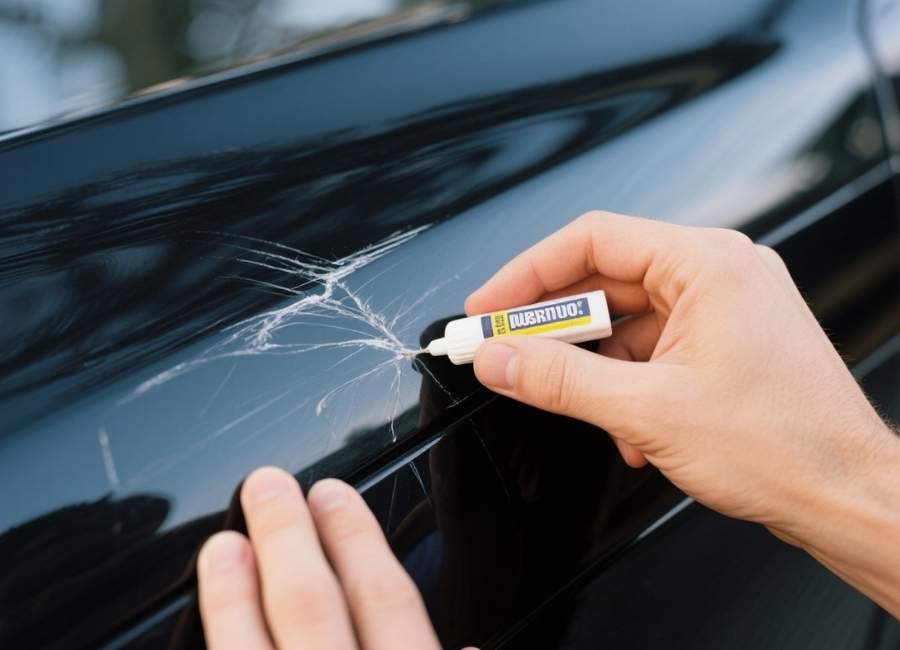
Step 2. Apply a Hardwood Floor Marker or Scratch Repair Kit
Purchase a hardwood floor repair marker that matches the color of your flooring. These markers are designed to fill and blend surface scratches seamlessly into the wood.
- How to Use: Test the marker on an inconspicuous area to ensure a color match. Then, gently draw over the scratch and allow it to dry.
Step 3. Finish with a Buffing Cloth
Buff the repaired area lightly using a soft, dry cloth to blend the marker and ensure a smooth finish.
Repairing Shallow Scratches
If the scratch has gone beyond the surface finish, you’ll need to take additional steps to restore the damaged area.
Step 1. Sand the Scratch
Use super fine sandpaper (320-grit or finer) to sand along the scratch lightly. Follow the wood grain to avoid further damage. This helps smooth the edges of the scratch and prepares the area for refinishing.
Step 2. Apply Wood Stain
Choose a wood stain that closely matches the rest of your floor. Using a cotton swab or small brush, apply the stain to the sanded scratch. Allow it to dry per the product’s instructions.
Step 3. Seal the Area
After the stain has dried, protect it by applying a thin layer of polyurethane or a matching floor finish. This will help ensure the scratch is sealed and won’t be exposed to dirt or moisture.
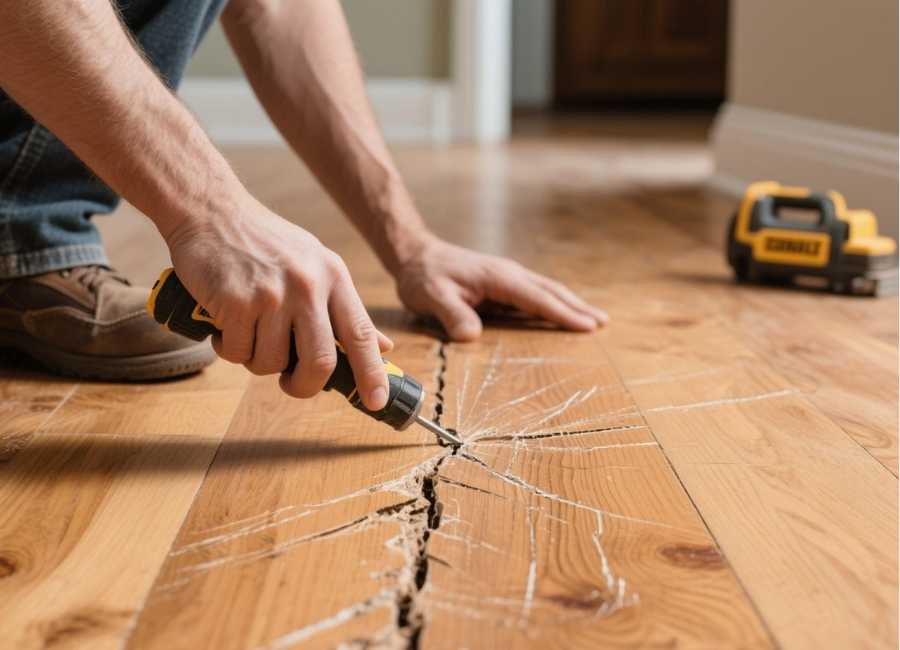
Fixing Deep Scratches and Gouges
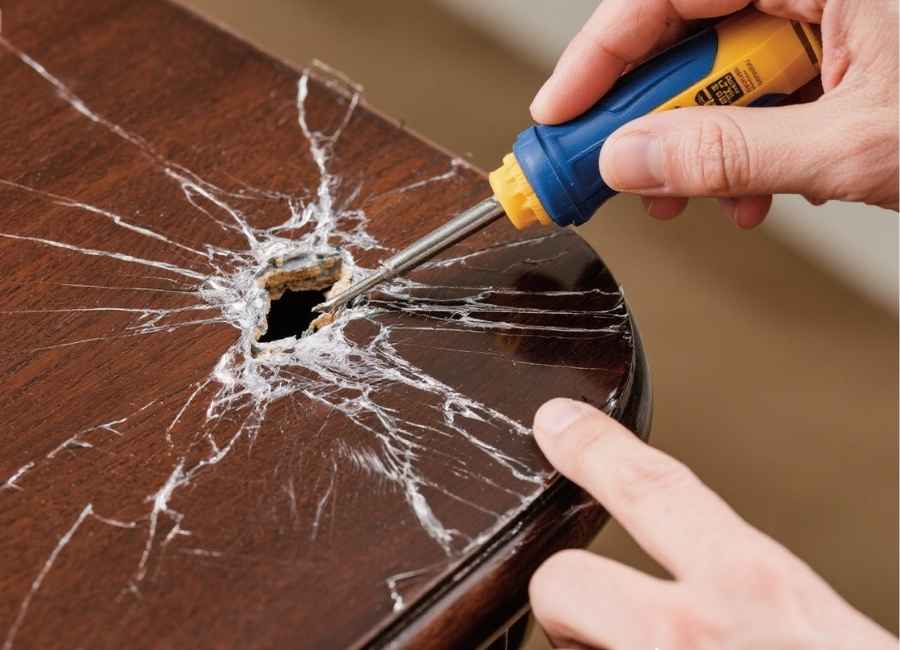
Deep scratches require a more involved process, but these steps can help even serious damage disappear.
Step 1. Clean and Sand the Area
Thoroughly clean the scratch and its surrounding area to remove any debris. Use fine-grit sandpaper to smooth out the rough edges of the gouge gently. Be cautious not to damage the surrounding wood.
Step 2. Fill the Scratch with Wood Filler
For deep gouges, use a wood filler or putty that matches the color of your hardwood floor.
- How to Use: Apply the wood filler into the scratch using a putty knife. Smooth out any excess to ensure an even surface and allow it to dry completely.
Step 3. Sand Again
Once the wood filler has dried, lightly sand the area again to ensure it’s flush with the rest of the floor.
Step 4. Stain and Seal
Apply a matching wood stain and finish off with a protective sealant to blend the repaired area with the rest of the floor. For added durability, consider applying a finish like polyurethane to the entire floor section to ensure consistency.
Tips for Preventing Scratches on Hardwood Floors
Repairing scratches can be straightforward, but prevention is always the best strategy. Follow these tips to keep your hardwood floors looking their best for years to come.
- Use Furniture Pads
Place felt pads under all furniture legs to avoid heavy objects scratching the floor when moved.
- Trim Pet Nails
If you have pets, keep their nails trimmed to prevent them from scratching the finish.
- Avoid Harsh Cleaning Tools
Stick to soft microfiber mops and avoid abrasive brushes or harsh chemical cleaners.
- Lay Rugs in High-Traffic Areas
Use rugs or runners in areas that experience heavy foot traffic, such as entryways and hallways.
- Sweep or Vacuum Regularly
Dust and dirt can be abrasive and cause minor scratches when walked on, so make it a habit to sweep or vacuum often.
Bring Your Floors Back to Life
Scratches on hardwood floors are inevitable, but with the right tools and techniques, you can fix them with ease. From quick repair kits for minor scratches to filling and refinishing deeper gouges, there’s always a solution to make your floors look as good as new.
By taking proactive steps to prevent scratches, you’ll keep your hardwood floors stunning for years to come. Got deeper damage you’re not sure how to fix? Contact a flooring professional for custom advice or big repair jobs.


