


Crown molding adds a touch of elegance to any room or woodworking project. Still, the tricky angles needed for installation can make even experienced DIYers feel unsure. The good news is that with the right setup and technique, you can cut accurate crown molding joints easily and consistently.
This comprehensive guide will walk you through a simplified method for cutting crown molding using a miter saw with custom attachments. By the end, you’ll understand how to eliminate complex bevel cuts and focus solely on miter angles, making your crown molding projects much more manageable.
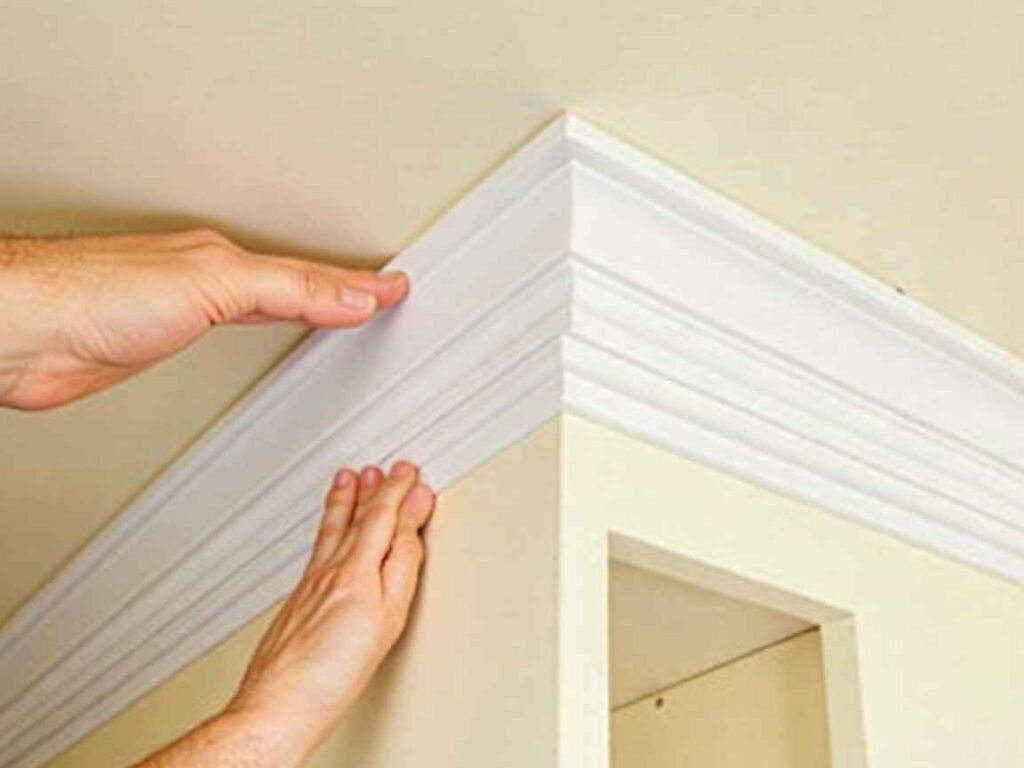
Understanding Crown Molding Basics
Crown molding sits at an angle between the wall and ceiling, creating its distinctive profile. (OPERATOR’S MANUAL, n.d.) This angled installation requires what’s called a compound cut—a combination of both miter and bevel angles when the molding lies flat on your saw table. (Crown Molding Angle Chart, n.d.)
Many woodworkers find compound cuts intimidating because the angles can be confusing, and you need a special miter saw for bevel cuts. (Staff, 2016) Luckily, there’s a much easier way that lets you skip bevel cuts altogether.
The Upside-Down Method: A Game-Changer
The trick to easier crown molding cuts is to place the molding upside down against your miter saw fence. (Marshall & Chris, 2012) This way, the molding sits just like it will on your wall, so you don’t need to worry about bevel cuts. You only have to set the miter angle, which makes things much simpler.
Setting Up Your Miter Saw for Success
Building an Auxiliary Fence
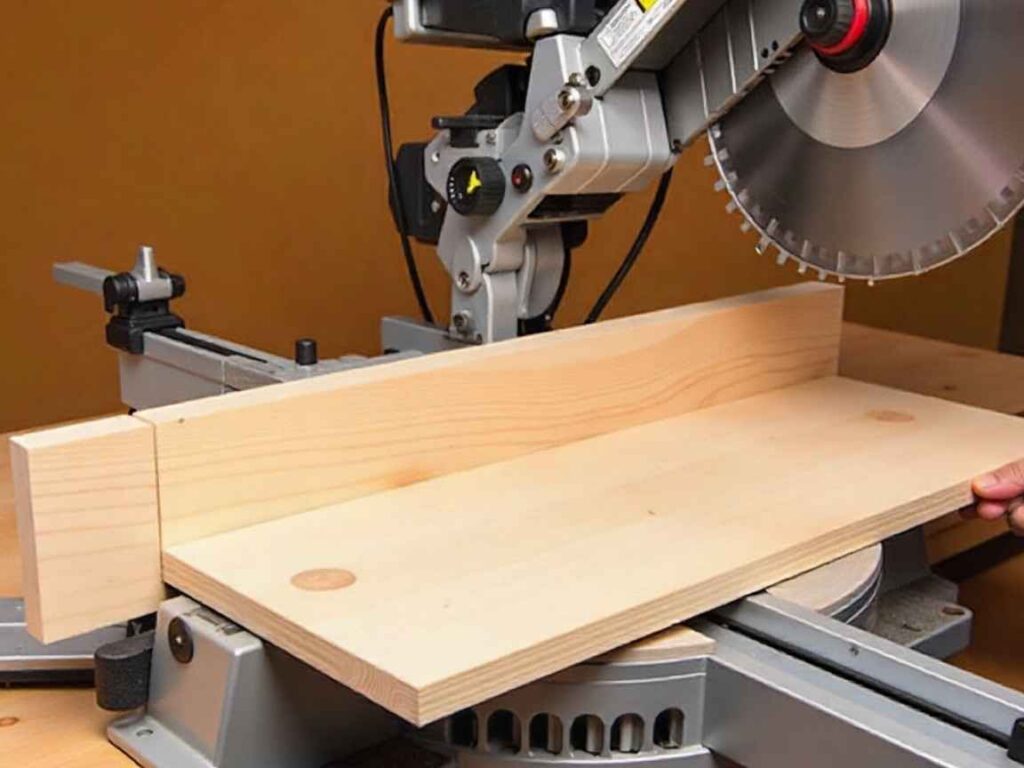
A regular miter saw fence is usually too short to hold crown molding upside down. (Setting Up A Miter Saw For Crown Molding, n.d.) You’ll need to make a taller fence, just a bit higher than your molding. This extra support helps keep your cuts steady and in the right spot every time.
Make sure your extra fence is strong and stands straight up at a 90-degree angle to your saw table. If it’s not lined up right, your joints might have gaps, so take your time to get it just right.
Adding a Table Extension
Crown molding often comes in long pieces that can teeter or shift during cutting without proper support. (Master Miter-cuts on Crown Molding, 2025) A table extension provides a stable surface for the entire length of your molding, preventing dangerous movement during cuts.
Make sure your table extension is even with your saw’s table and long enough to hold your longest molding pieces.
Installing a Positioning Stop
To get neat, professional-looking joints, you need to keep your molding in the same spot for every cut. A positioning stop helps with this. Use a spacer to set the stop at the right distance from your fence before you install it.
After you take out the spacer and push your crown molding up to the stop, the back edges should touch both the fence and the table evenly.
Creating Blade Visibility
After installing your auxiliary fence and table extension, cut away the center portions where they meet. This modification allows you to see exactly where your saw blade will cut, helping you mark and position your molding accurately.
Identifying Top and Bottom of Crown Molding
Before making any cuts, you must correctly identify which edge of your crown molding is the top and which is the bottom. The bottom edge always features the most detailed portion of the profile—the decorative elements that will be most visible once installed. (All About Crown Molding Forms, n.d.)
When you use the upside-down method, turn the molding so the bottom edge—the side with the details—faces up against your fence.
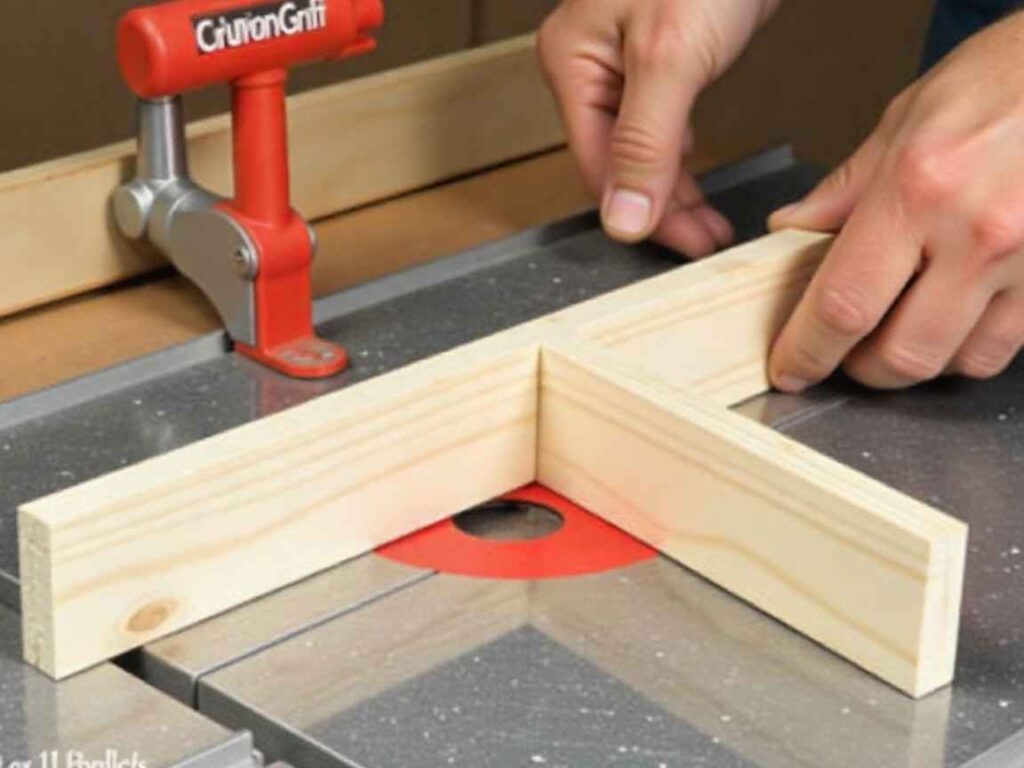
Mastering Inside and Outside Corners
Crown molding installations involve two types of corners. When you install crown molding, you’ll deal with two kinds of corners: inside corners, which are found inside rooms, and outside corners, which are on the outside edges of projects. Each one needs a different way of cutting—two components: a left piece and a right piece. For outside corners, you’ll need two pieces: a left piece and a right piece. Here’s how to cut them: set the depth of your saw blade and swing the saw to 45 degrees right. Make your cut with the molding held firmly against the fence and table.
Left Component: Move the molding to the right side of your saw blade and swing the saw to 45 degrees left. Again, ensure the molding stays firmly positioned against your fence and table during the cut.
If you cut both pieces correctly, they’ll fit together to make a tight outside corner.
Cutting Inside Corners
Inside corners also need a left and a right piece, but you’ll cut them the opposite way from outside corners:
Left Component: Place the molding on the right side of your saw blade and swing the saw to 45 degrees right. The molding should maintain contact with both the fence and the table throughout the cut.
Right Component: Position the molding on the left side of your saw blade and swing the saw to 45 degrees left. Keep steady pressure against the fence and table while cutting.
Tips for Great Crown Molding Cuts
MeaCrown molding isn’t cheap, so it’s important to measure carefully. (2025 Crown Molding Costs | Per Foot Prices & Cost To Install, 2025) Always check your measurements twice and mark your cuts clearly before you start cutting before making any cuts.
Test Your Setup
Try out your setup with some scrap molding before you cut your real pieces. This test run helps you spot any changes you need to make to your fence, table, or stop.
Maintain Consistent Pressure
Hold the molding firmly against both the fence and the table while you cut. If it moves, your joints won’t fit as well.
Use Sharp Blades
Use a sharp, fine-tooth blade for cleaner cuts and less splintering. Change out any dull blades before you start your crown molding project.
Troubleshooting Common Issues
If your joints aren’t fitting just right, check for these common problems: perpendicular: Verify your auxiliary fence is exactly 90 degrees to your table.
- Inconsistent positioning: Ensure your positioning stop maintains the same molding angle for every cut
- Measurement errors: Double-check all measurements before cutting
- Blade drift: Confirm your miter saw cuts are accurate at both 45-degree settings
Bringing It All Together
You don’t need advanced woodworking skills or fancy tools to cut crown molding accurately. With a miter saw set up with an extra fence, table extension, and a positioning stop, you can get results that look professional.
The upside-down cutting method makes the whole process easier by removing the need for tricky bevel calculations. If you set up your tools right, use the same technique each time, and measure carefully, you’ll be able to install great-looking crown molding with confidence.
Be sure to practice on scrap pieces before you cut your real molding, and take your time. Making sure each cut is right will save you materials, time, and hassle when you install your molding.


