


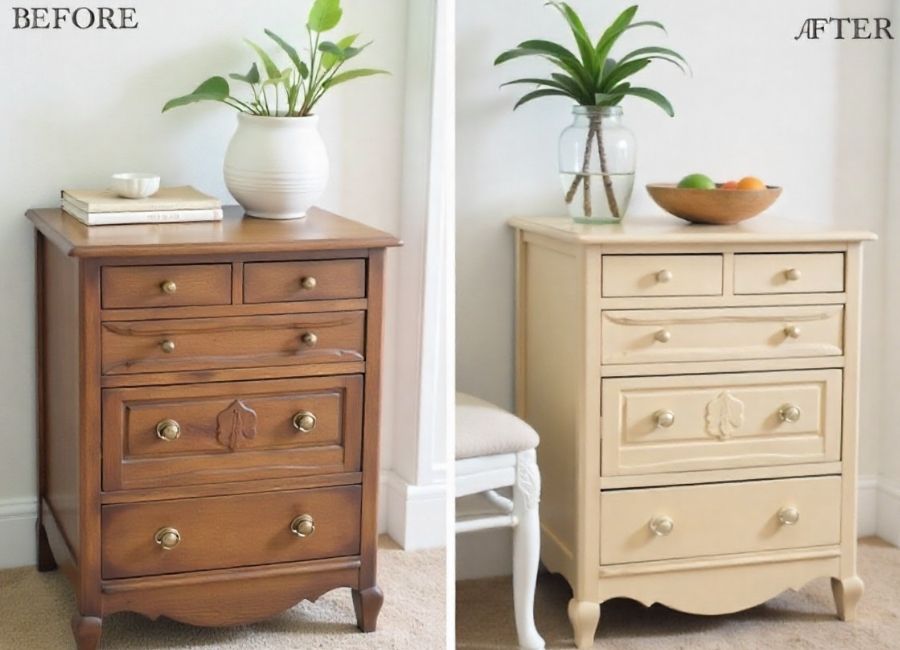
That old dresser or rickety side table you’ve been thinking of tossing might just be your next favorite piece of furniture. With a bit of effort, you can transform dated, worn-out items into something beautiful and functional. Refurbishing furniture saves you money, reduces waste, and allows you to create custom pieces that perfectly match your style. This guide will walk you through the essential steps to bring your old furniture back to life.
Why Refurbish Furniture?
Before we get to the “how,” let’s look at the “why.” There are several strong reasons to choose refurbishment over buying new.
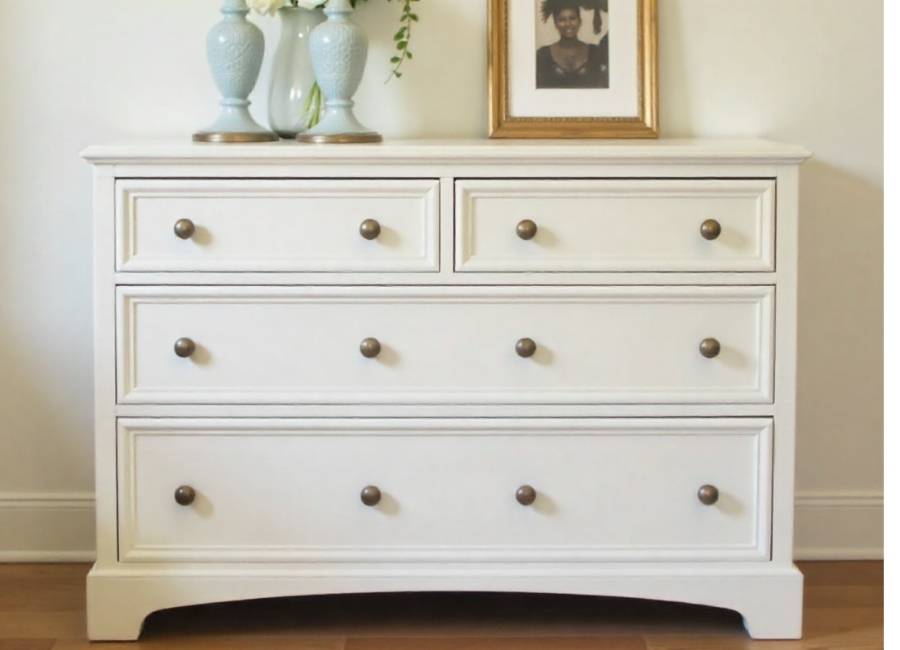
- Cost Savings: Finding a new, solid wood dresser can cost hundreds or even thousands of dollars. (Dorset Solid Wood 4-Drawer Dresser, 2025) Refurbishing an old one often costs a fraction of that.
- Eco-Friendly: Every piece of furniture you save is one less item in a landfill. It’s a practical way to reduce consumption and make a positive environmental impact.
- Superior Quality: Older furniture is frequently made from solid wood, which is far more durable than the particleboard and MDF common in today’s mass-produced items. (Pros and Cons of Wood Materials: Solid Wood, MDF, and Particle Board, n.d.)
- Customization: You have complete creative control. You choose the color, finish, and hardware to create a piece that is uniquely yours.
Step 1: Prepare Your Workspace and Gather Supplies
A good project starts with good preparation. Before you touch the furniture, set up your workspace to make the process smooth and safe. Choose a well-ventilated area, like a garage with the door open or an outdoor space. If you must work indoors, open windows and use fans to circulate the air. Cover the floor with a drop cloth or old sheets to protect it from dust, paint, and spills.
Next, gather your tools and materials. Having everything on hand before you begin will prevent interruptions.
Essential Supplies:
- Safety Gear: Gloves, safety glasses, and a dust mask are non-negotiable.
- Cleaning Supplies: Mild soap, water, rags, and a bucket.
- Sanding Tools: A random orbital sander is ideal for large, flat surfaces. For detailed areas, have various grits of sandpaper (80, 120, and 220 are good to start) and a sanding block.
- Stripping Chemicals (Optional): If the piece has thick varnish or multiple layers of paint, a chemical stripper might be necessary.
- Wood Filler: To repair any gouges, cracks, or holes.
- Tack Cloth: A specialized sticky cloth to remove all dust before painting.
- Primer: A quality primer is crucial for a smooth, long-lasting finish.
- Paint or Stain: Choose a high-quality furniture paint (like chalk, milk, or acrylic) or your desired wood stain.
- Brushes and Rollers: Invest in good brushes and a small foam roller for a professional-looking finish.
- Topcoat: A clear protective topcoat (like polyurethane or wax) will seal and protect your work.
- Basic Tools: Screwdrivers, pliers, and a hammer for removing hardware and making minor repairs.
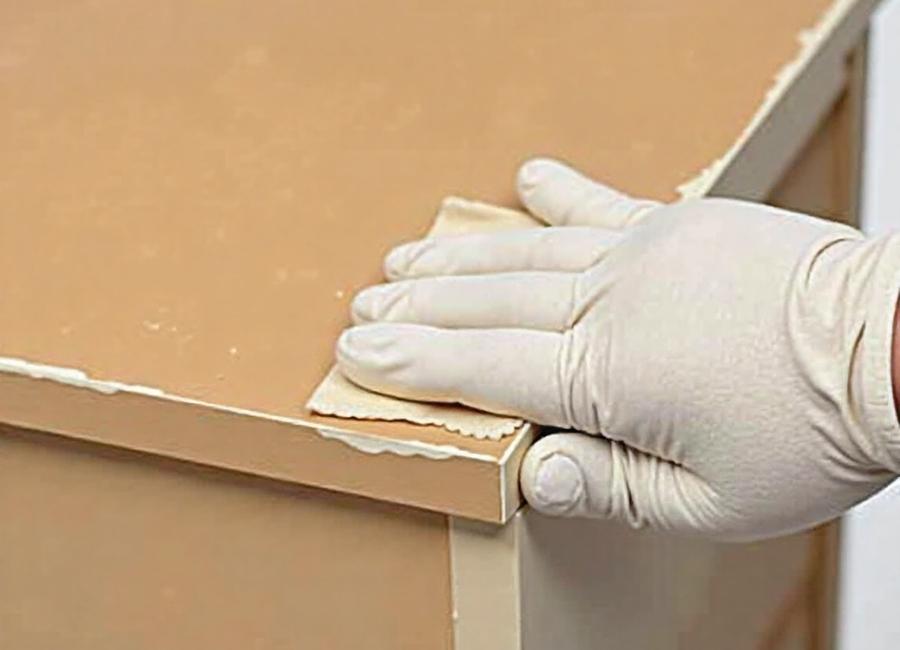
Step 2: Clean and Disassemble the Furniture
Start by giving the piece a thorough cleaning. Mix mild soap with warm water and use a rag to scrub away all the dirt, grime, and oils that have accumulated over the years. A clean surface is essential for the primer and paint to adhere properly.
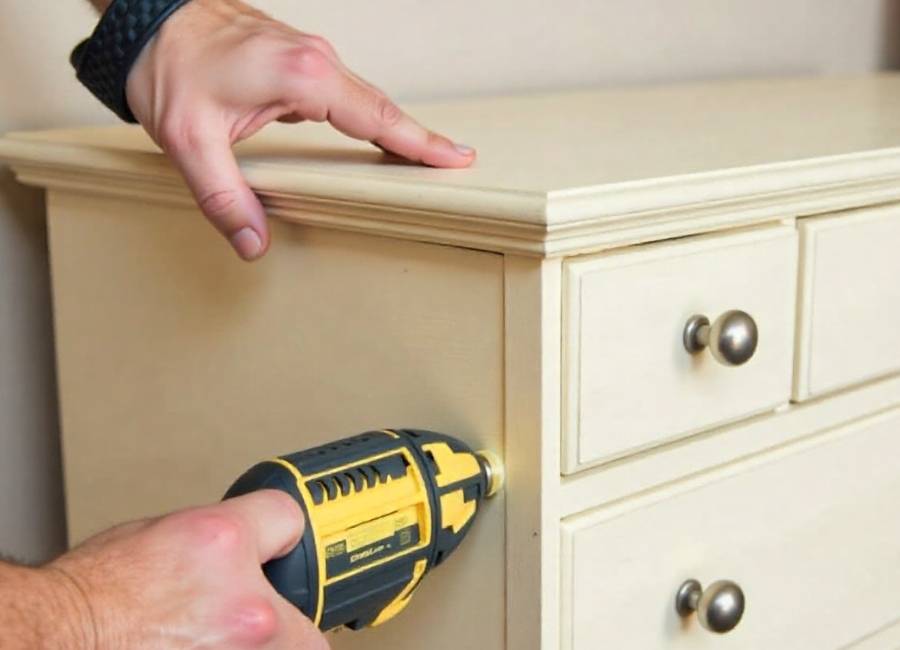
Once it’s clean and dry, remove all hardware, such as knobs, handles, and hinges. Place them in a labeled bag so you don’t lose any pieces. If possible, remove drawers and doors to make sanding and painting each component easier. This step ensures you can reach every nook and cranny for a complete and professional finish.
Step 3: Sand and Repair
Sanding is arguably the most important step for achieving a professional finish, but it’s also the most labor-intensive. Its purpose is to remove the old finish and create a smooth surface for the new paint or stain to stick to.
Start with a lower-grit sandpaper (like 80 or 120-grit) to remove the existing varnish, paint, or major imperfections. If you’re using an electric sander, keep it moving constantly to avoid creating divots in the wood. After the old finish is gone, switch to a finer grit (like 220-grit) to smooth the surface.
After sanding, inspect the furniture for any damage. Use wood filler to patch up cracks, dents, or deep scratches. Apply the filler with a putty knife, slightly overfilling the area to account for shrinkage as it dries. Once the filler is completely dry, sand it flush with the surrounding surface.
Step 4: Prime the Surface
With your piece sanded and repaired, it’s time to prime. Wiping the entire surface with a tack cloth first will remove any lingering dust particles.
Primer does two critical things: it blocks stains from bleeding through and helps the paint adhere better for a more durable finish. Apply a thin, even coat of primer using a brush or roller. Don’t worry about getting perfect coverage on the first coat; it’s better to apply two thin coats than one thick, drippy one. Let the primer dry completely according to the manufacturer’s instructions, then lightly sand it with fine-grit sandpaper (220-grit) to create an ultra-smooth base for your paint.
Step 5: Paint or Stain Your Piece
Now for the fun part—adding color. Whether you’re painting or staining, the key is to apply thin, even coats.
- For Painting: Use a high-quality brush for corners and detailed areas, and a small foam roller for large, flat surfaces. This combination helps minimize brush strokes. Let each coat dry completely before applying the next. Most projects will require at least two coats of paint for full, even coverage.
- For Staining: Apply the stain with a rag or foam brush, working in the direction of the wood grain. Let it sit for the time recommended on the can, then wipe away the excess with a clean rag. The longer the stain sits, the darker the color will be.
Step 6: Apply a Protective Topcoat
After your final coat of paint or stain has fully cured, you need to protect your hard work. A topcoat seals the finish and protects the furniture from scratches, scuffs, and spills.
Polyurethane is a popular choice for its durability, especially for high-traffic pieces like tables and dressers. (Top 10 Wood Floor Finishes for High Traffic, n.d.) It comes in various sheens, from matte to high-gloss. Apply it in thin, even coats with a quality brush, lightly sanding between coats for the smoothest finish.
Furniture wax is another option, often used over chalk paint. It provides a softer, more subtle sheen and is applied with a cloth.
Step 7: Reassemble and Enjoy
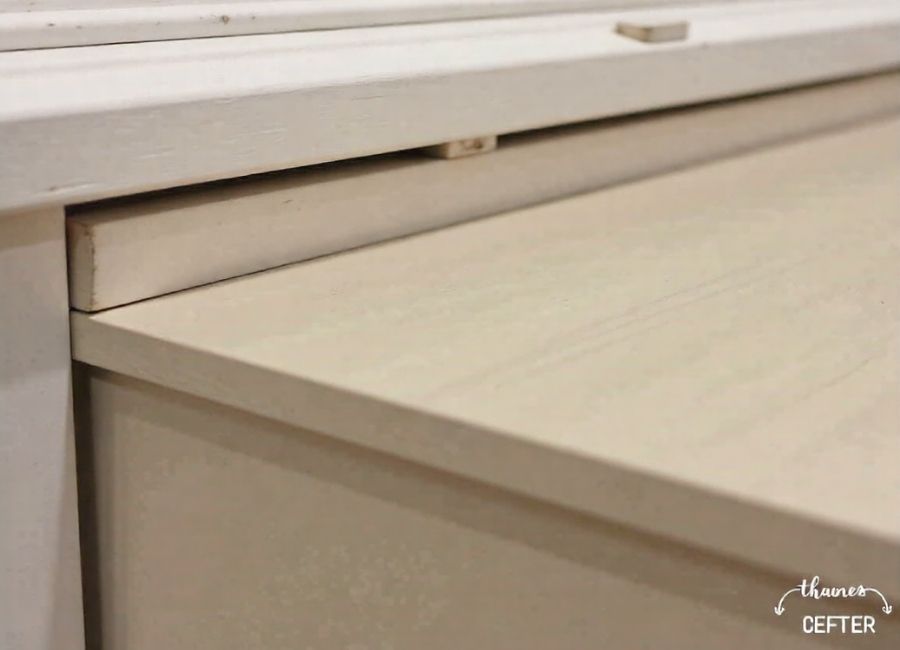
Once the topcoat is completely cured (this can take several days, so be patient), it’s time to put your masterpiece back together. Reattach the hardware—you can use the original hardware or install new pieces for an updated look. Slide the drawers back in, rehang the doors, and step back to admire your work. You’ve successfully turned a piece of forgotten furniture into a functional and stylish part of your home.
Your Next DIY Project Awaits
Refurbishing furniture is a rewarding process that allows you to breathe new life into old items. By following these steps, you can confidently tackle your first project and create custom pieces that reflect your personal style. All it takes is a little patience and the right techniques to transform trash into treasure.


