


Reupholstering old furniture is a great way to refresh pieces that have seen better days. Swapping out the foam and fabric on a chair, sofa, or cushion can really change how it looks and feels. Cutting foam to fit might seem challenging, but with a few basic tools and the right approach, it’s easier than you’d expect. Here’s a simple guide to cutting foam for your next upholstery project using items you probably already own.
Why Cutting Foam Properly Matters
Before you start, it helps to know why cutting foam the right way is important. The foam is what gives your furniture comfort and support. If it’s not cut well, you might end up with uneven spots or upholstery that doesn’t fit right, which can affect how your furniture looks and feels. Even though the foam gets covered, mistakes can still show in the finished piece.
Choosing the Right Foam
The type of foam you select will depend on the furniture’s purpose. Here are the three main types of foam used in upholstery:
- Medium-Density Foam: This is ideal for furniture that’s used occasionally, such as decorative chairs.
- High-Density Foam: Best for daily-use furniture, as it provides firm support and durability. (Comfort Standard HD Foam Technical Data Sheet, 2023)
- Outdoor Foam: Made for patio furniture and cushions, this foam is designed to withstand moisture. (Can Patio Furniture Cushions Get Wet? What You Need to Know, 2025)
Foam usually comes in thicknesses from 1 to 6 inches. (Foam Slab: 6X30X80 Medium, n.d.) For most projects, high-density foam is a good choice because it offers both comfort and durability. (Comfort Standard HD Foam, n.d.)
Materials You’ll Need:
- Foam: Choose high-quality foam suitable for your project.
- Measuring tape: For accurate measurements.
- Sharp serrated knife or electric carving knife: A serrated blade is best for clean cuts.
- Felt-tip pen: For marking the foam.
- Straightedge: To guide your cutting line.
- Cardboard or thin template: Helps with precision and ensures an accurate shape.
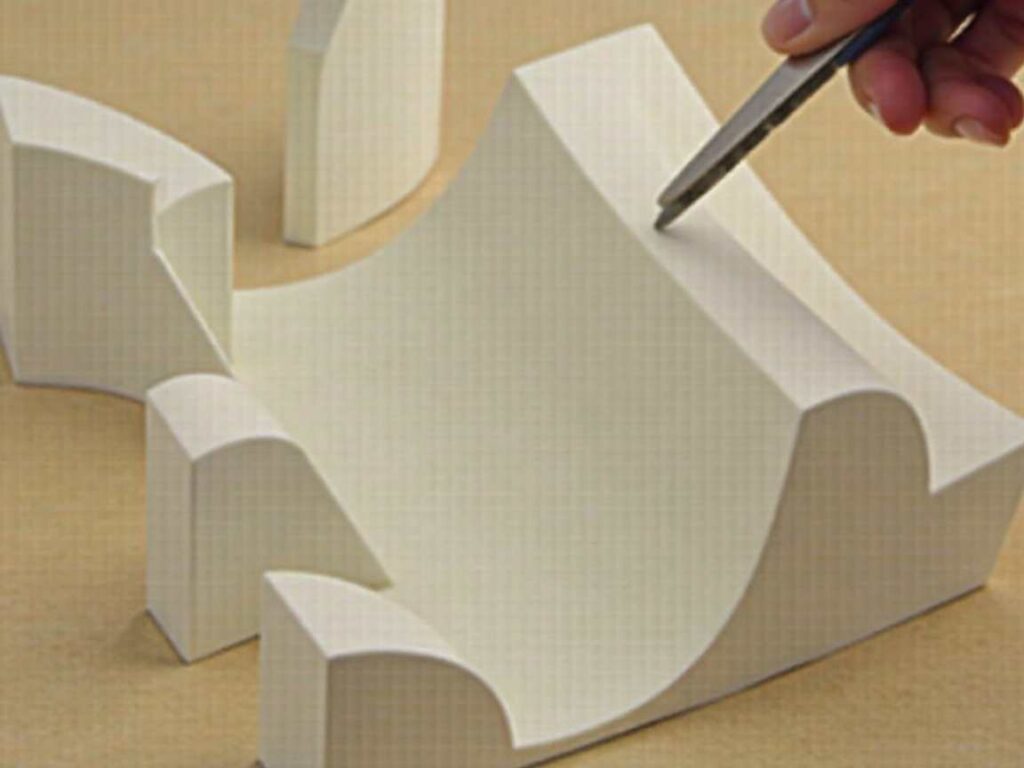
Step 1: Measure and Mark the Foam
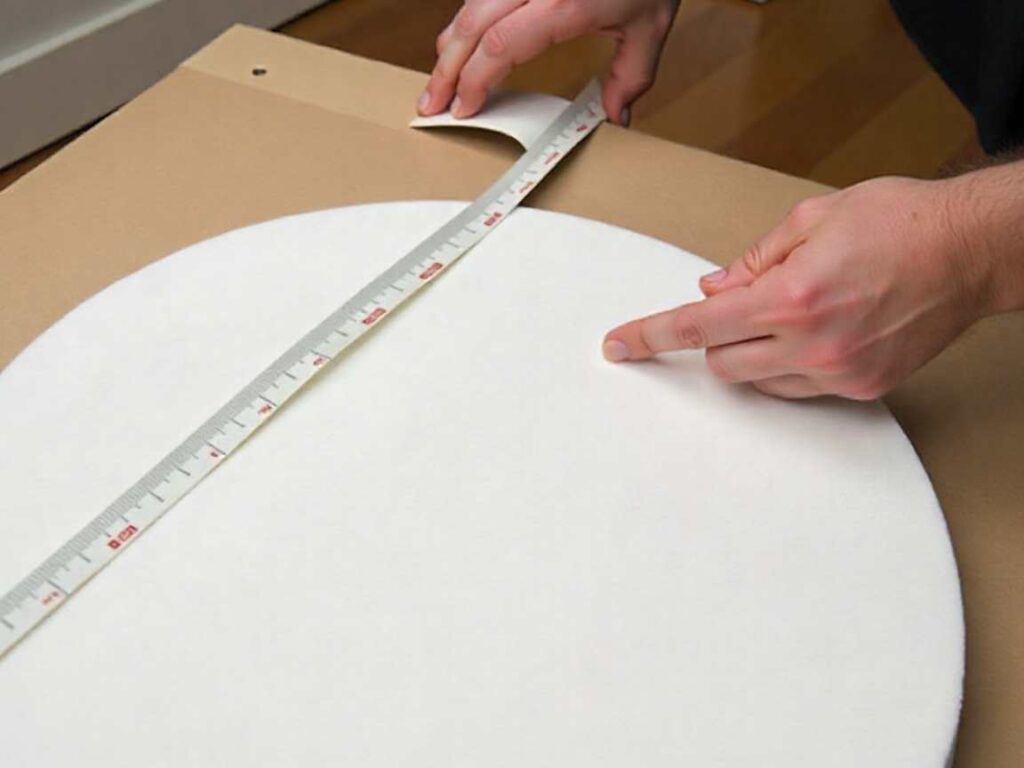
Accurate measurements are crucial when cutting foam. Start by measuring the area. Getting the measurements right is key when cutting foam. Measure the spot on your furniture where the foam will sit. Please don’t use the old foam for measurements, since it’s probably squished or misshapen. Measure the actual seating area to get the right size. For this:
- Mark directly on the Foam: Use a felt-tip pen to draw your cutting lines. Avoid pressing too hard as this could damage the foam. Use a straightedge to ensure straight lines, and be careful not to compress the foam while marking.
- Use a Template: For more complex shapes or to ensure consistency, create a template out of cardboard or thin material. Cut the template to the desired shape and then place it on the foam. This allows for precise measurements and reduces errors.
If you’re cutting several pieces from one sheet of foam, plan your layout to use the foam efficiently. Leave enough space between each piece so that a mistake on one edge doesn’t mess up another piece.
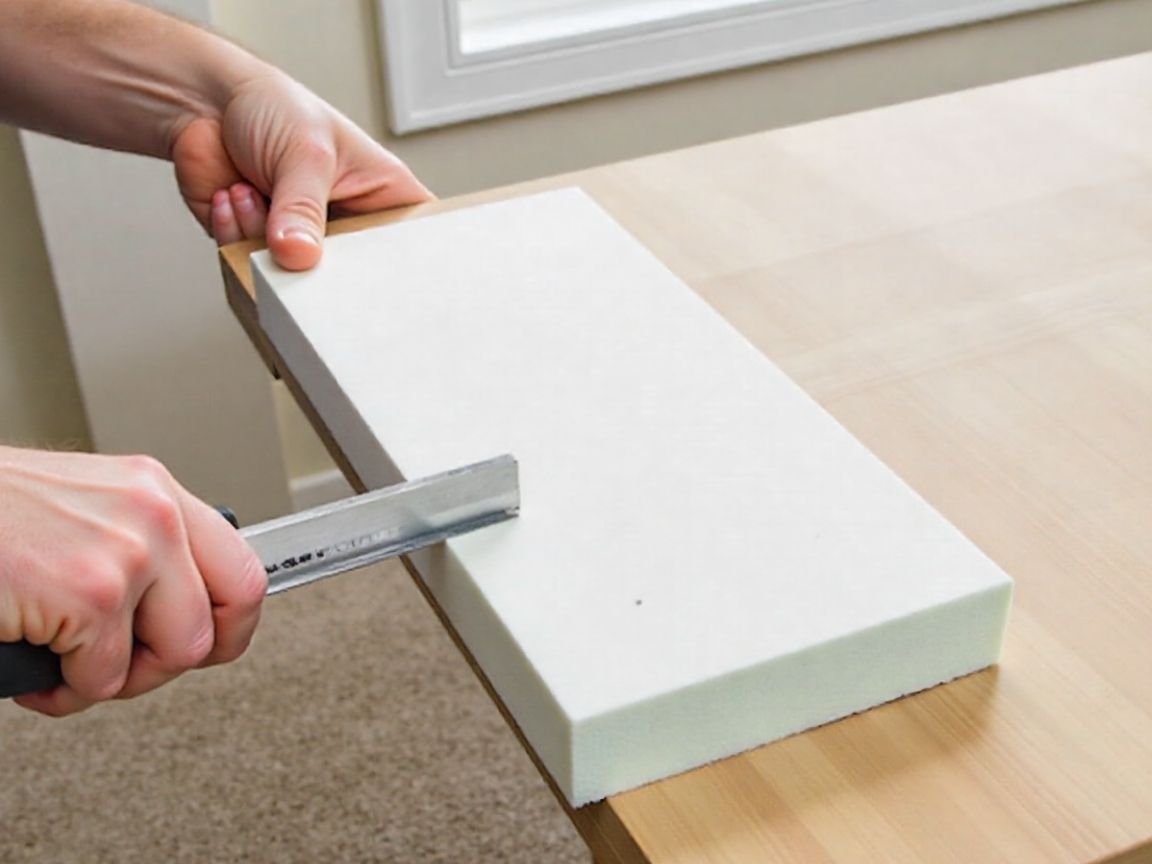
Step 2: Score the Foam with a Serrated Knife
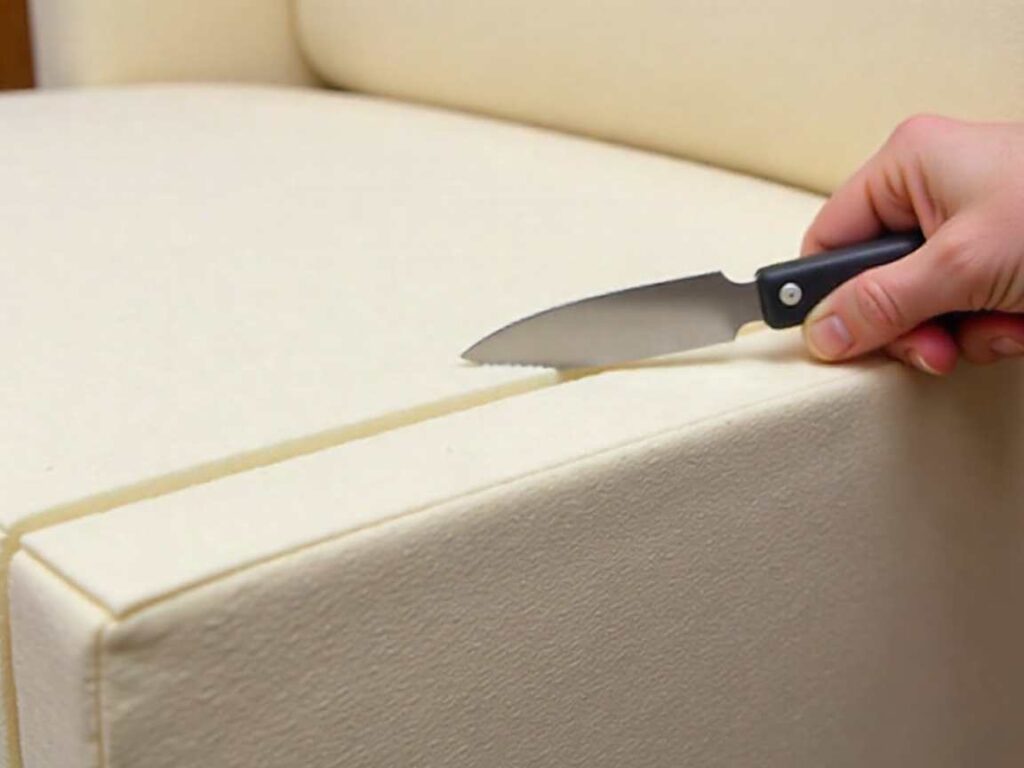
Once the foam is measured and marked, you’re ready to cut. A sharp, serrated knife is usually best for a clean cut. Smooth blades can get stuck or pull at the foam, making the cut uneven. Serrated knives typically give you a softer result. (Upholstery Basics: How To Cut Foam…With a Bread Knife!, n.d.) Begin by lightly scoring the foam with the tip of the knife along your marked line. This initial shallow cut helps guide the blade as you cut deeper.
- Cut with long, steady strokes, keeping your hand steady as you follow the line. You can cut freehand or use a straightedge if you want more accuracy. Try not to press down too hard, since that can squish the foam and make your cut uneven.
- If your foam is thick, you might need to go over the cut a few times, making it deeper each time until you’re all the way through. You can also use an electric carving knife for quicker results, but it takes a little practice to get the hang of it. (How to Cut Polyurethane Foam with an Electric Carving Knife, n.d.)
Tip: Practice on a scrap piece of foam before cutting your final piece. This will help you get comfortable with the motion and feel of the knife.
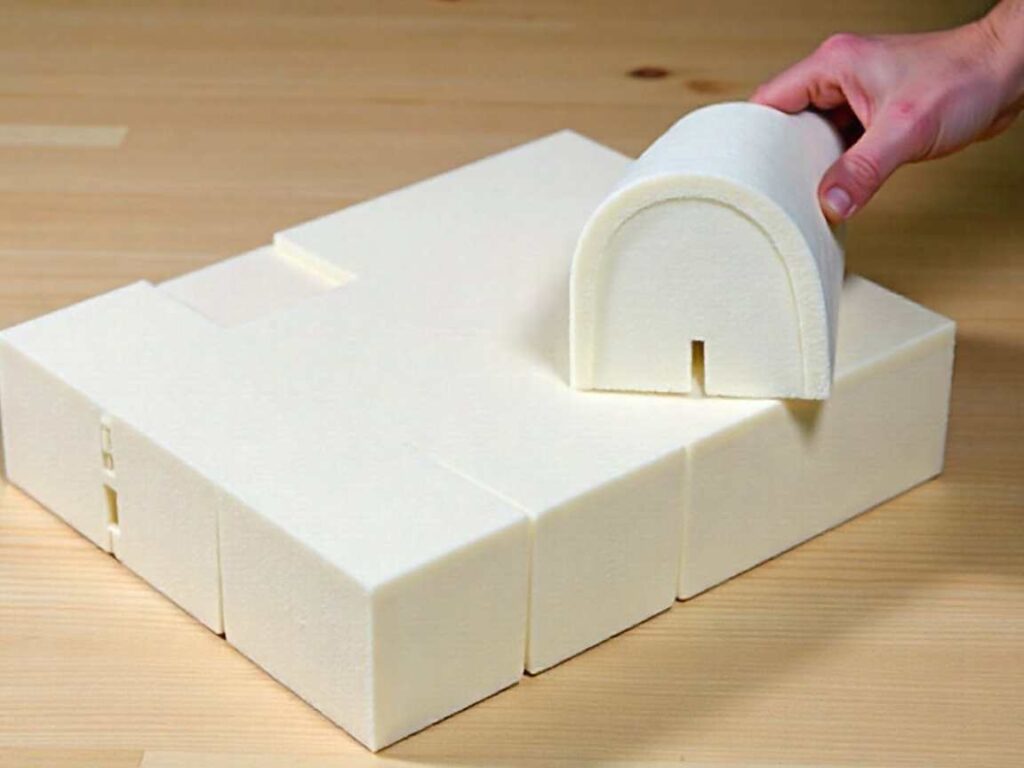
Step 3: Cutting Curves and Details
Cutting straight lines is relatively simple, but cutting curvCutting consecutive lines is easy, but curves or rounded corners can be a bit harder. Since foam is soft, the knife might pull in the wrong direction. Here are some tips for making smooth curves: Use a knife as upright as possible. This helps prevent the blade from dragging on the foam and distorting the shape.
- Use a Short Sawing Motion: Work in small, incremental movements, gently following the curve. Instead of trying to cut the entire curve at once, cut it in short sections to maintain control.
- As you cut, turn the foam itself to help guide your knife along the curve. Moving slowly and keeping your hand steady will help you get the smoothest results.
For small cuts or more detailed shapes, you can use a pair of sharp, long-bladed scissors. Snip off small sections, checking often to ensure the shape is correct.
Final Thoughts
Cutting foam for reupholstery projects can be simple. With the right tools and a little practice, you’ll get clean, accurate cuts for any shape or size. No matter what type of foam you use, these steps will help you get great results. Rushing through the cutting process can lead to mistakes that might affect the overall outcome of your project. Take your time, work carefully, and soon you’ll be enjoying a beautifully reupholstered piece of furniture with foam that fits perfectly.
Finally, keep your workspace tidy and clear away foam scraps as you work. These little pieces can be a choking hazard for kids or pets, so it’s best to clean up as you go.
By following these simple steps, you’ll be cutting foam like a pro in no time. Your reupholstering skills will only get better from here!


