


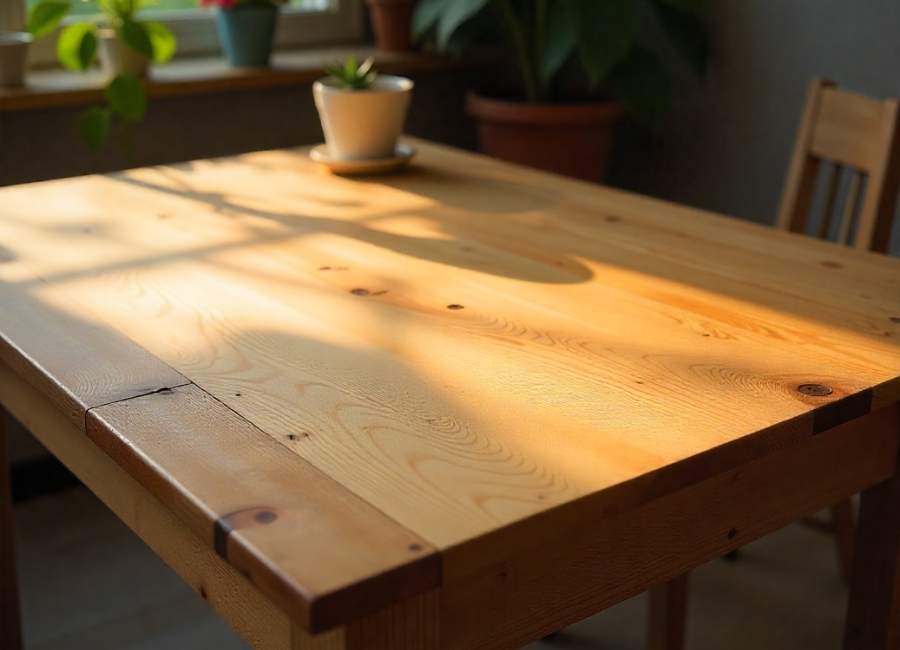
Refinishing a table transforms worn furniture into beautiful centerpieces. This comprehensive guide walks you through each step, from preparation to final protective coating. You’ll learn professional techniques that deliver lasting results without expensive contractor fees.
Many homeowners avoid table refinishing projects, thinking they lack the necessary skills. The truth is simpler. With proper preparation and the right materials, anyone can achieve professional-looking results. This process typically takes a weekend and costs significantly less than buying new furniture.
Whether you’re working with a family heirloom or a thrift store find, refinishing breathes new life into tired wood surfaces. You’ll learn how to assess your table’s condition, select suitable finishes, and execute each step with confidence.
Assessing Your Table’s Condition
Start by examining your table thoroughly. Look for deep scratches, water rings, chips, or loose joints. Surface-level wear requires different treatment from structural damage.
Surface Issues to Identify:
- Light scratches and scuffs
- Water rings and heat marks
- Worn or faded finish
- Minor dents and dings
Structural Problems:
- Loose or wobbly legs
- Split wood or cracks
- Missing veneer pieces
- Damaged joints
Tables with only surface damage are ideal candidates for DIY refinishing. Structural issues may require professional repair before refinishing begins.
Essential Tools and Materials

Successful table refinishing depends on having quality tools and materials ready before starting.
Tools You’ll Need
Sanding Equipment:
- Orbital sander or sanding block
- Sandpaper (80, 120, 220 grit)
- Sanding sponges for curved areas
- Dust mask and safety glasses
Application Tools:
- High-quality brushes (natural bristle for oil finishes)
- Foam brushes for stain application
- Clean rags and a tack cloth
- Paint scraper for stubborn finish removal
Materials List
Stripping and Preparation:
- Chemical stripper (if needed)
- Wood conditioner
- Wood filler for repairs
- Denatured alcohol for cleanup
Finishing Products:
- Wood stain (optional)
- Polyurethane, lacquer, or oil finish
- Primer (for painted finishes)
Quality materials may cost more upfront, but they deliver superior results that last longer.
Prepare Your Workspace
Set up your refinishing area before beginning work. Select a well-ventilated area with sufficient lighting. Garages, basements, or covered outdoor areas work well.
Workspace Requirements:
- Good ventilation for fume dispersal
- Dust-free environment
- Stable work surface at a comfortable height
- Easy cleanup access
Lay drop cloths to protect surrounding surfaces. Remove all hardware, such as knobs, handles, and hinges. Store small parts in labeled containers to prevent loss and ensure easy identification.
Temperature and humidity affect the application of the finish. Work in temperatures between 65°F and 75°F with relative humidity below 50% for optimal results.
Remove the Existing Finish
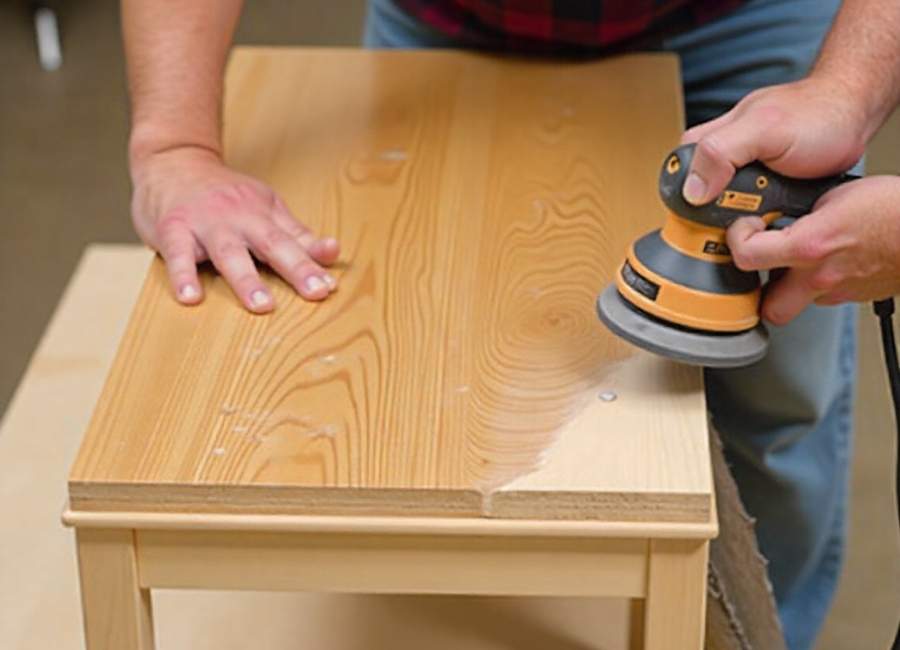
Most tables need complete finish removal before refinishing. You have three options: sanding, chemical stripping, or heat removal.
Sanding Method
Sanding is most effective for tables with thin finishes or minor damage. Start with 80-grit sandpaper and progress through finer grits.
Sanding Process:
- Begin with coarse grit (80) to remove the finish.
- Switch to medium grit (120) for a smoother finish.
- Finish with fine grit (220) for final preparation.
- Sand with the grain, never against it
- Clean between grits with a tack cloth.
Chemical Stripping
Chemical strippers handle thick, multiple-layer finishes more efficiently than sanding alone.
Safety First:
- Work in well-ventilated areas
- Wear gloves and eye protection.
- Follow the manufacturer’s instructions exactly.
- Dispose of waste materials properly.
Apply stripper with a brush, wait for the recommended time, then scrape away softened finish. Multiple applications may be necessary for stubborn coatings.
Sand and Smooth the Surface
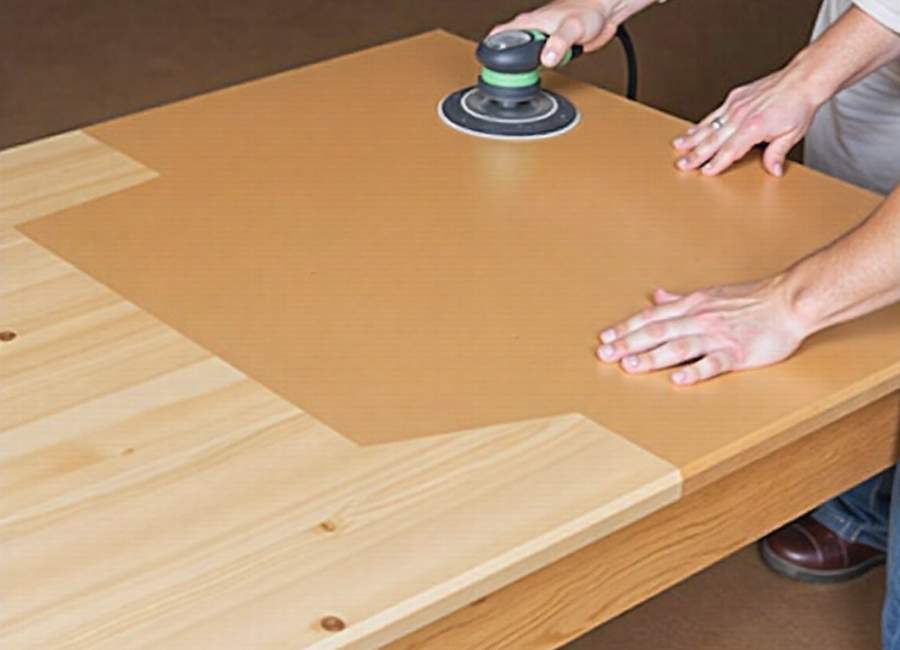
After finishing the removal, sand the entire table surface systematically. This step creates the smooth foundation necessary for professional results.
Start with 120-grit sandpaper if you used a chemical stripper, or continue your progression if you sanded initially. Pay special attention to areas with remaining finish residue.
Sanding Tips:
- Keep sandpaper moving to avoid gouges.
- Apply consistent, light pressure.
- Check your progress frequently.
- Remove all dust between grits.
Hand-sand detailed areas, such as spindles, carvings, or tight corners, where power sanders can’t reach. Use sanding sponges or folded sandpaper for better control and precision.
Repair and Fill Imperfections
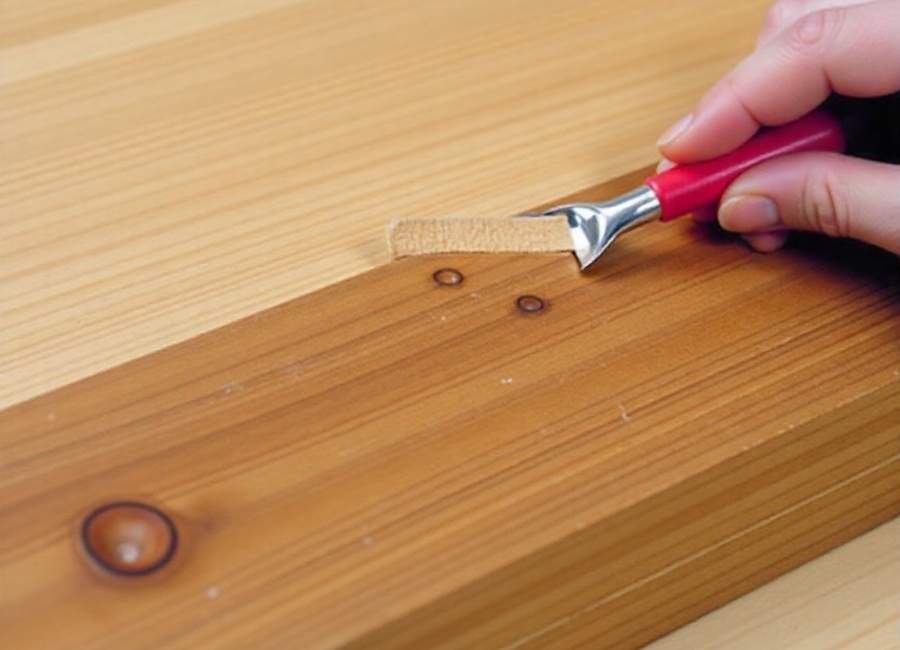
Address any damage before applying the new finish. Small nail holes, scratches, and dents can be filled with wood filler.
Filling Process:
- Clean out loose debris from holes or cracks.
- Apply wood filler with a putty knife.
- Overfill slightly to account for shrinkage.
- Allow to dry completely according to the manufacturer’s instructions.
- Sand-filled areas are flush with surrounding wood.
Choose a wood filler that matches your intended final color. Water-based fillers work well under most finishes and clean up easily.
For deeper damage, consider using wood patches or seeking professional repair before proceeding.
Apply Wood Conditioner (If Needed)
Softwoods, such as pine or cherry, can absorb stains unevenly, resulting in blotchy finishes. Wood conditioner helps prevent this problem.
Apply conditioner with a clean cloth, following the direction of the grain. Work quickly to maintain wet edges. Allow to penetrate for the recommended time, then wipe away excess.
Hardwoods like oak or maple typically don’t require conditioning, but test a hidden area first to be certain.
Stain Your Table
Staining adds color and enhances wood grain patterns. Select a stain color that complements your decor and personal preferences.
Staining Process:
- Stir the stain thoroughly before use
- Apply with a foam brush or clean rag.
- Work in manageable sections
- Follow the wood grain direction.
- Wipe away excess after the recommended time has passed.
- Allow to dry completely between coats.
Test your chosen stain on an inconspicuous area first. Different woods accept stain differently, and results may vary from sample cards.
Apply multiple light coats rather than one heavy coat for even color distribution. Allow each coat to dry completely before evaluating color depth.
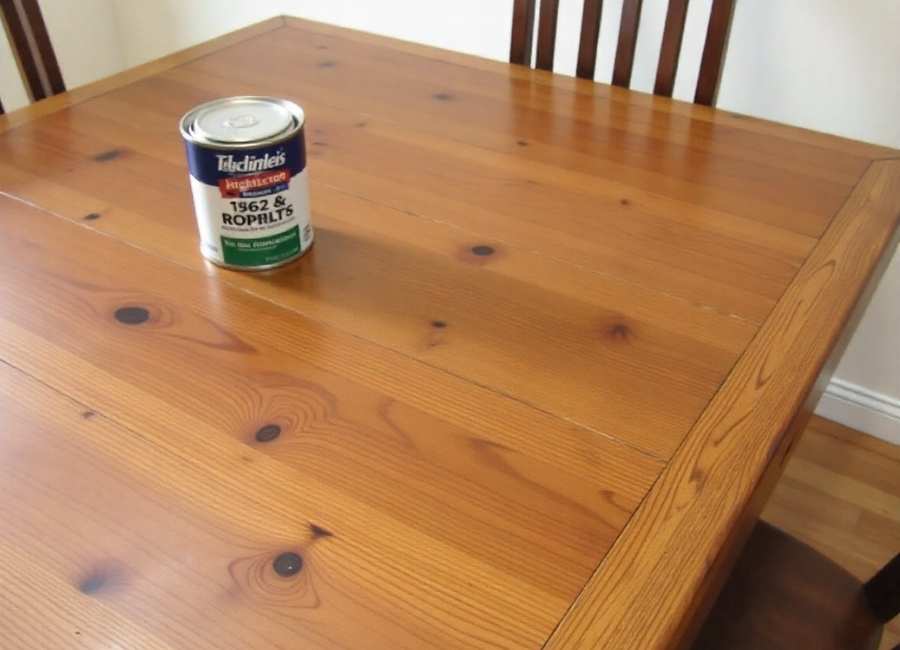
Apply Your Chosen Finish
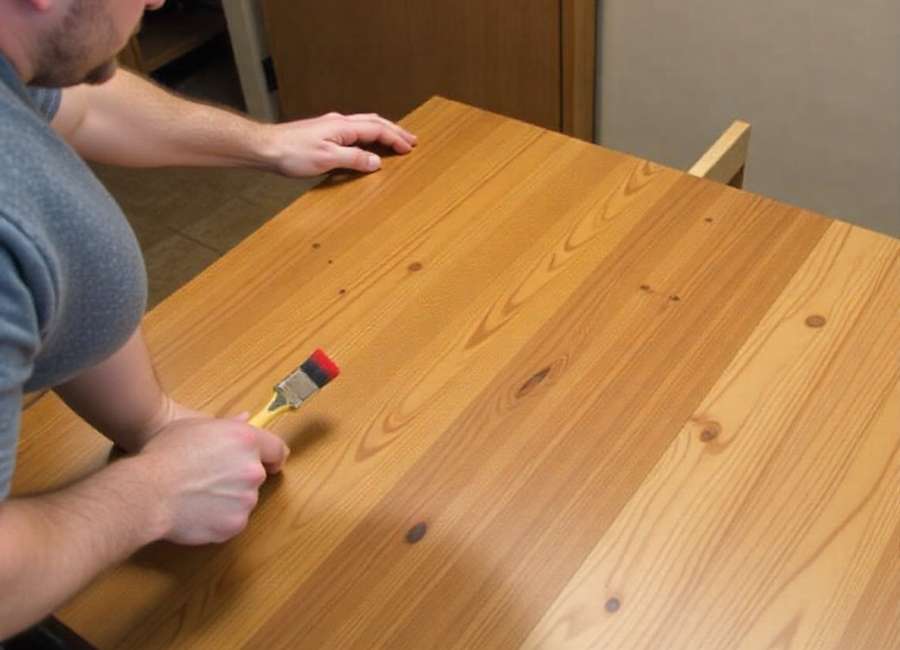
The final finish protects your table from daily wear while enhancing its appearance. Popular options include polyurethane, lacquer, and oil finishes.
Polyurethane Finish
Polyurethane provides excellent durability for dining tables and high-use surfaces.
Application Steps:
- Thin the first coat 10% with mineral spirits.
- Apply with a high-quality brush in long, smooth strokes.
- Maintain a wet edge to avoid overlap marks.
- Allow to cure according to the manufacturer’s instructions.
- Sand lightly between coats with 220-grit paper
- Apply 2-3 coats for optimal protection.
Oil Finishes
Oil finishes penetrate wood fibers, providing natural-looking protection that’s easy to maintain.
Oil Application:
- Apply a generous coat with a clean cloth.
- Allow to penetrate for 15-30 minutes.
- Wipe away excess thoroughly.
- Allow the coating to cure for 24 hours between coats.
- Apply 3-4 coats for full protection.
Lacquer Finishes
Lacquer dries quickly and provides excellent clarity, but requires spray application for best results.
Consider a professional application for lacquer finishes only if you have access to spray equipment and relevant experience.
Final Sanding and Touch-ups
After your final finish coat cures completely, inspect the surface for any imperfections. Light sanding with 320-grit paper can smooth minor issues.
Use steel wool (0000 grade) to create a satin finish texture if desired. Work with the grain using light pressure.
Clean the surface thoroughly with a tack cloth to remove all dust before final inspection.
Reassembly and Hardware Installation
Once curing is complete, reinstall all hardware using the original holes when possible. Clean the hardware before installation, or consider upgrading it to complement your newly refinished table.
Assembly Tips:
- Check that all joints are tight.
- Apply a suitable wood glue to the loose joints.
- Use clamps for secure bonding.
- Allow glue to cure before use.
Test table stability before declaring the project complete. Address any wobbling or loose connections immediately.
Maintenance and Care
Proper maintenance extends the life of your refinished table. Use coasters for drinks, placemats for dining, and trivets for hot items.
Regular Care:
- Dust weekly with a microfiber cloth
- Clean spills immediately
- Avoid harsh chemicals or abrasive cleaners.
- Reapply oil finish annually if needed.
- Touch up minor scratches promptly.
With proper care, your refinished table will provide years of beautiful service.
Transform Your Space With Professional Results
Table refinishing offers incredible value for DIY enthusiasts. You’ve learned the complete process from assessment through final care. This systematic approach delivers professional-looking results at a fraction of replacement cost.
Start your next refinishing project with confidence. Gather your materials, prepare your workspace, and transform that worn table into a stunning focal point. The skills you’ve developed here can be applied to other furniture pieces, expanding your DIY capabilities.
Your refinished table represents more than saved money—it’s a testament to your craftsmanship and commitment to quality. Enjoy the satisfaction of daily use knowing you created something beautiful with your own hands.


