


If your wood cabinets feel outdated or lighter than you’d prefer, darkening them can drastically alter your space’s aesthetic without requiring a full remodel. Deep, rich cabinet tones contribute to a cozier atmosphere, highlight wood grain patterns, and pair effortlessly with modern or traditional decor.
Thankfully, getting that bold, darker look doesn’t always mean ripping out your old cabinets. This guide will walk you through expert methods to darken your wood cabinets, whether you’re looking for a simple DIY solution or a more involved makeover.
Why Darker Cabinets Are a Great Choice
Enhanced Aesthetic Appeal
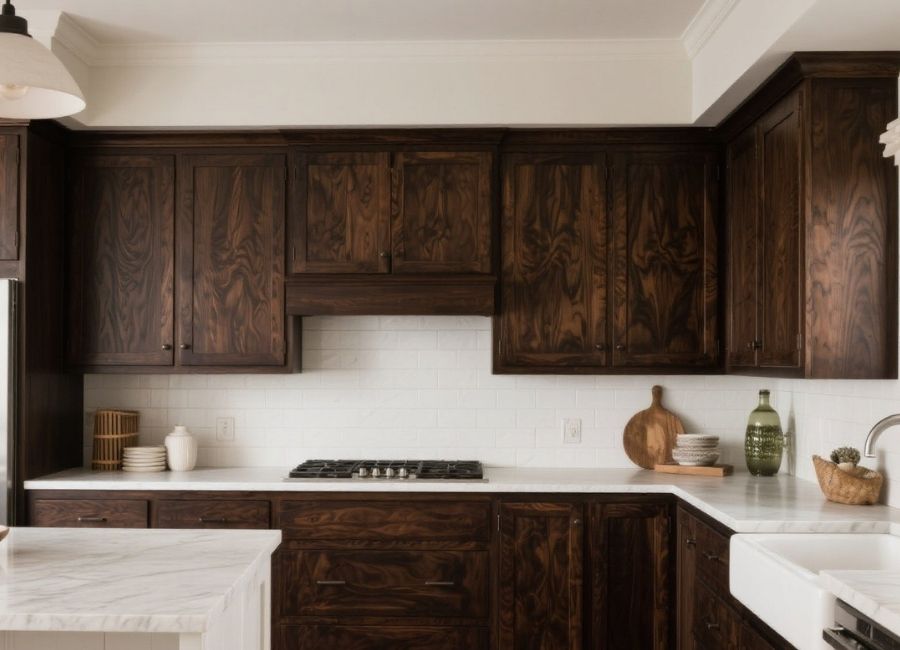
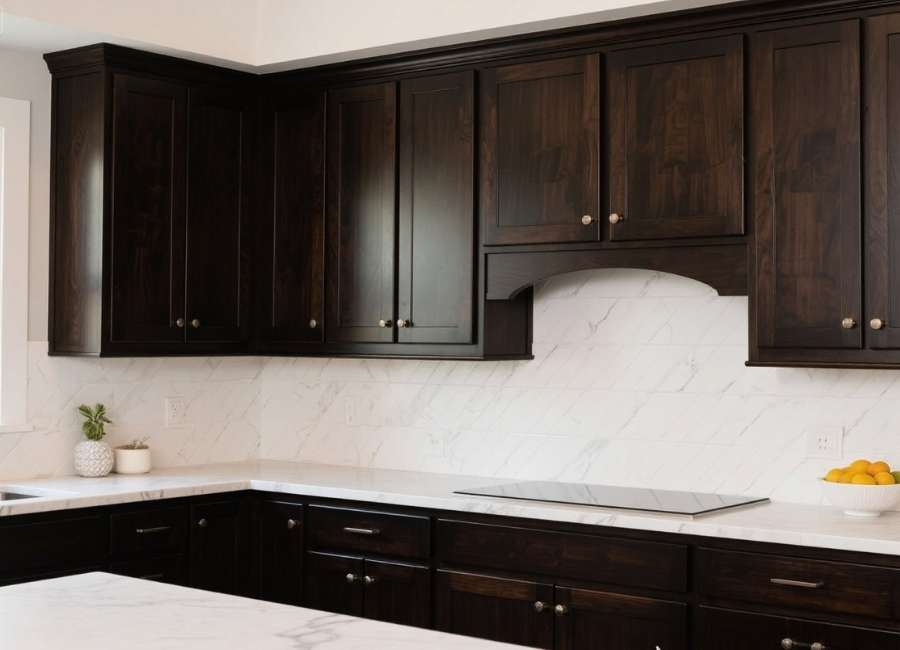
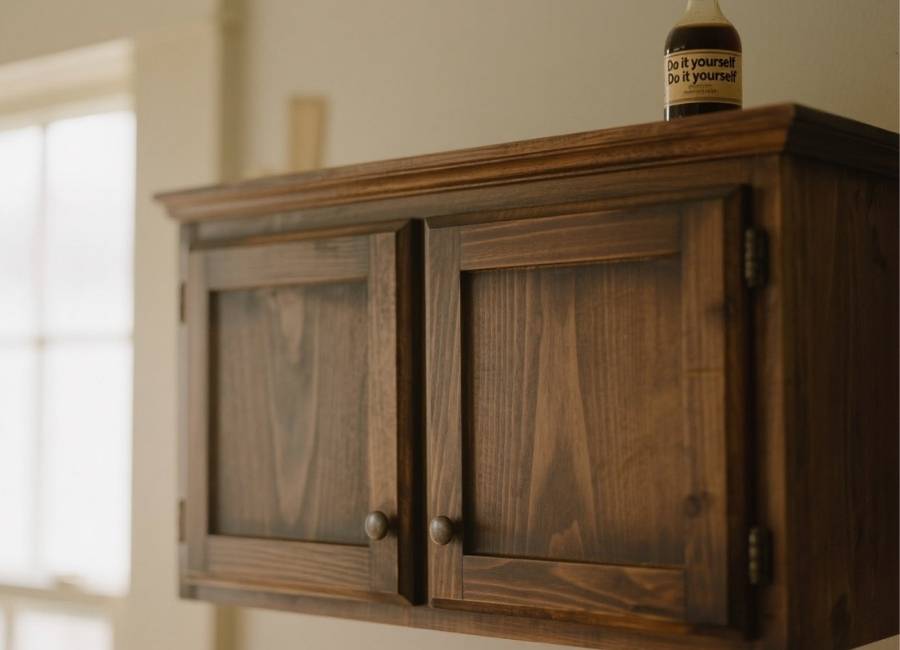
Dark wood cabinets add sophistication and warmth to your home. They’re timeless and create a bold contrast when paired with lighter walls, countertops, or backsplashes.
Versatility
Whether your aesthetic leans modern, rustic, or classic, darker cabinets blend easily with diverse design styles. From sleek espresso shades in contemporary homes to rich mahogany in farmhouse settings, they complement almost any vibe.
Improved Durability
When darkened correctly, stains and protective finishes can also add durability to cabinets, reducing wear and tear over time.
Now that we know why darker cabinets are a fantastic choice, let’s explore how to achieve this transformation.
How to Make Your Wood Cabinets Look Darker
Here are five methods to help you darken your wood cabinets, ranging from beginner-friendly approaches to more advanced techniques.
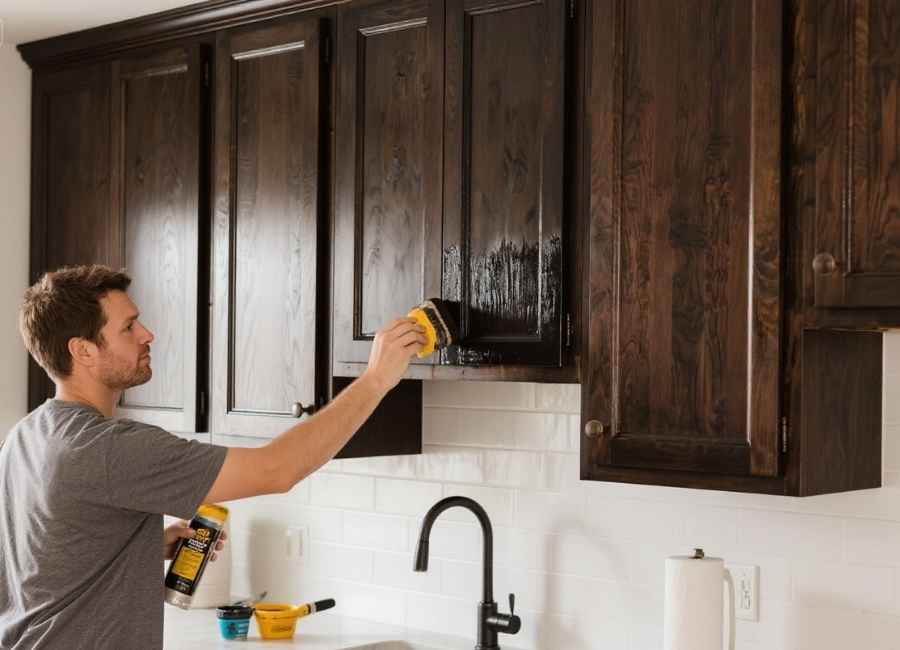
1. Use a Gel Stain
Gel stain is one of the easiest and most popular options for darkening wood cabinets. It requires minimal sanding, making it especially suitable for DIY beginners.
Steps for Applying Gel Stain:
- Clean the Cabinets
Use a gentle degreaser or wood cleaner to remove dirt and oils. Allow them to dry completely.
- Lightly Sand
With a fine-grit sandpaper (180–220 grit), lightly scuff the surface to ensure the stain adheres properly.
- Apply the Gel Stain
Use a rag or foam brush to apply the gel stain, working in the direction of the wood grain. Wipe away the excess stain to reveal a clean, even coat.
- Add Additional Coats
Allow the first coat to dry as per the manufacturer’s instructions, then repeat until you achieve your desired shade.
- Seal It
Finish with a clear polyurethane sealant to protect your newly darkened cabinets from moisture and scratches.
Pro Tip: Opt for a darker gel stain color (like walnut or espresso) for the most dramatic change.
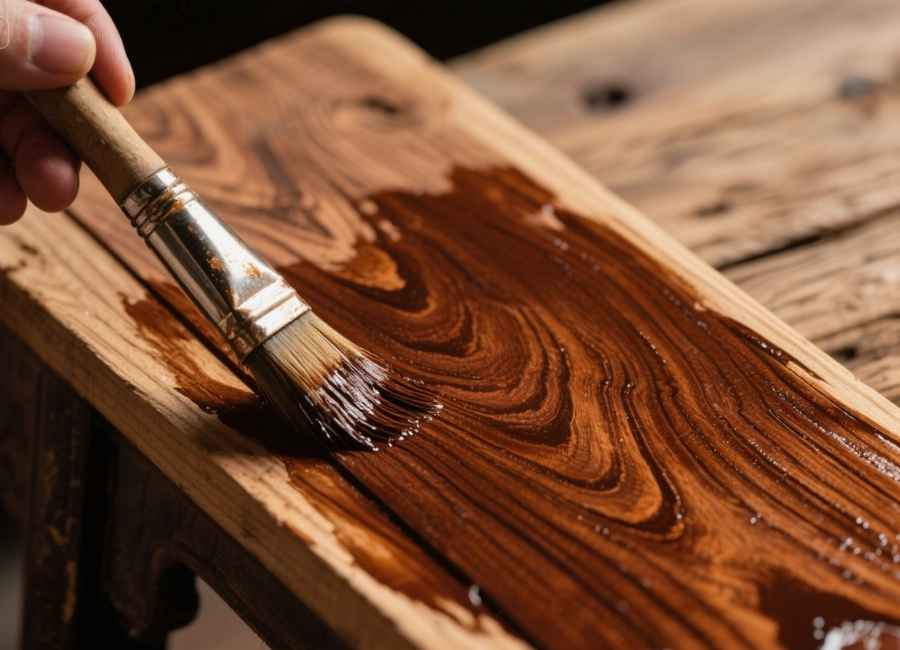
2. Try a Traditional Wood Stain
For those wanting a deep, penetrating color that highlights the wood grain, traditional wood stains are a go-to choice. While the process is more involved than gel stain, the results can be stunning.
Key Steps:
- Sand the cabinets thoroughly to remove any existing finish.
- Apply a wood conditioner (this helps the stain absorb evenly).
- Brush on the wood stain, working in small sections. Wipe off excess stain to control the depth of the color.
- Seal with a durable clear coat.
This method lets you customize the tone and finish but requires patience and attention to detail.
3. Apply a Tinted Polyurethane Finish
If you want to avoid stain entirely, tinted polyurethane can darken your cabinets while simultaneously providing a protective coat.
How It Works:
- Tinted poly adds a layer of color to your existing finish without removing it.
- After cleaning the cabinets, apply the tinted poly with a synthetic brush.
- Allow it to dry and add additional layers for greater darkness.
This approach works best if you’re only looking for a subtle darkening (a shift from light oak to medium walnut, for example).
4. Use a Paint and Glaze Combo
Don’t mind more dramatic alterations? Paint combined with glaze is an excellent method, especially if you prefer an antiqued or rustic look.
Process:
- Paint the cabinets in a base color (dark gray or black works wonders).
- Once dry, apply a glaze using a cloth or brush. Work it strategically into grooves and edges to create depth.
- Wipe away excess glaze for a subtle, darkened effect.
This method works well for kitchens with vintage charm or farmhouse vibes.
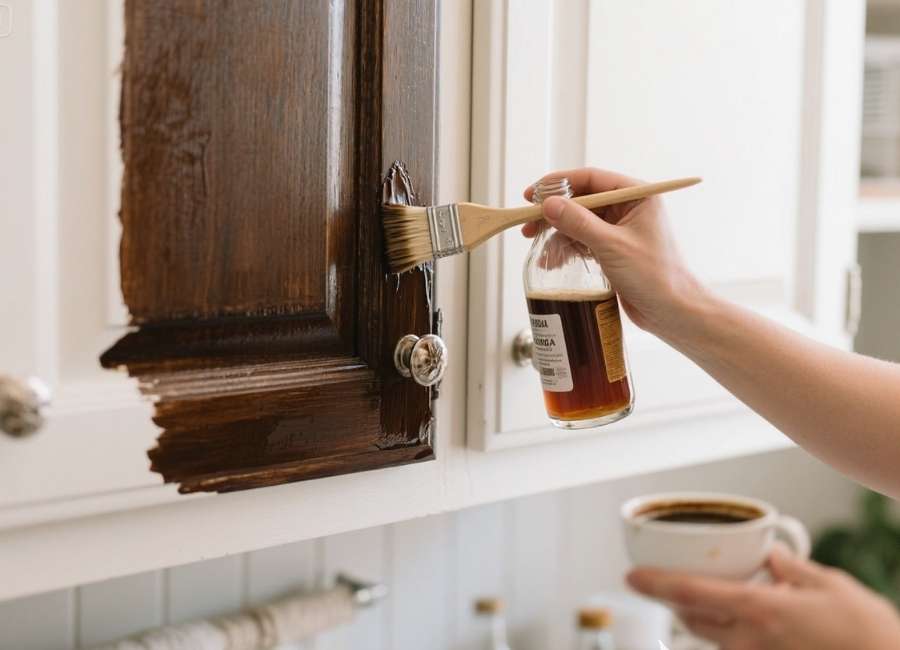
5. Use a DIY Coffee or Vinegar Stain
Looking for a more natural or budget-friendly solution? Coffee or vinegar can darken cabinets effectively, though they may yield subtler results compared to conventional stains.
Coffee Stain:
- Brew a pot of strong coffee.
- Apply to the cabinet surface with a cloth or sponge.
- Repeat layers until you achieve the desired color.
Vinegar and Steel Wool:
- Combine white vinegar and steel wool in a jar.
- Allow the mixture to sit for 24–48 hours.
- Apply it to your cabinets for an aged, dark wood appearance.
These options are environmentally friendly and offer a charming, DIY touch.
Preparation Tips for Darkening Wood Cabinets
Darkening cabinets requires some prep work to ensure a smooth and long-lasting finish. Here’s a checklist to get you started:
- Clean Thoroughly
Remove grease, dust, and debris with a strong cleaner suitable for wood.
- Sanding Is Key
Even if the method you choose doesn’t require full sanding, at least scuff the surface to ensure better adhesion.
- Test First
Always test your stain or product on an inconspicuous area before committing to the entire surface.
- Plan for Drying Time
Darkening cabinets isn’t a one-day project. Be prepared to wait between coats and for drying time.
Styling Tips for Dark Wood Cabinets
Once your cabinets are darkened to perfection, complement them with well-matched design elements to enhance their beauty.
- Light Walls and Countertops
Create contrast with light-colored walls, neutral countertops, or bright backsplashes.
- Metallic Hardware
Gold, brass, or brushed nickel hardware pairs beautifully with dark cabinets.
- Open Shelving
Mix the dark richness of cabinets with open shelving to balance the overall look of the space.
Transform Your Cabinets Today
Darkening wood cabinets can breathe new life into your kitchen or bathroom, lending it a warm, elegant feel. Whether you’re opting for a professional-grade wood stain or trying out a natural DIY method, the process is straightforward and incredibly satisfying.
Not sure which method to choose? Leave a comment below and share your project goals—we’re happy to help you get started!


