


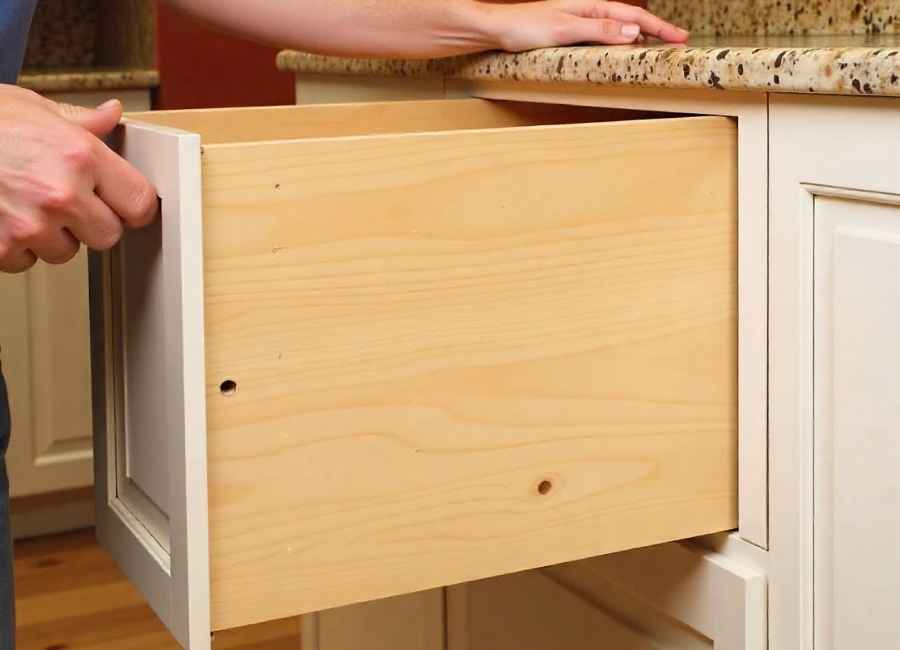
Building your own drawers can feel intimidating, but it’s easier than you might think. With some basic tools and a bit of patience, you can make drawers that look great and work well. This guide covers every step, from measuring and cutting to mounting and finishing, so you can build drawers for kitchen cabinets, furniture, or any project that needs storage.
You don’t need any special jigs—just simple techniques that get the job done.
Choose Your Drawer Slides First
Choose your drawer slides before you start cutting any wood. This choice will affect all your measurements.
Three common types:
- Euro slides (3/4 opening) are the easiest option and work well for lightweight drawers. They’re simple to install and open smoothly, but they don’t feel as refined as some other types. (What’s the Difference: Drawer Slides, n.d.)
- Full-extension ball bearing slides: These offer smoother operation and a more premium feel. They require slightly more precise measurements but handle heavier loads better. (Full Extension Ball Bearing Undermount Drawer Slides 77 lbs Capacity, n.d.)
- Soft-close slides are available for both types. They cost a bit more and need careful alignment, but many people find the gentle closing action worth it. (Soft-Close Slides: Durable & Smooth Cabinet Movement, n.d.)
Calculate Slide Length
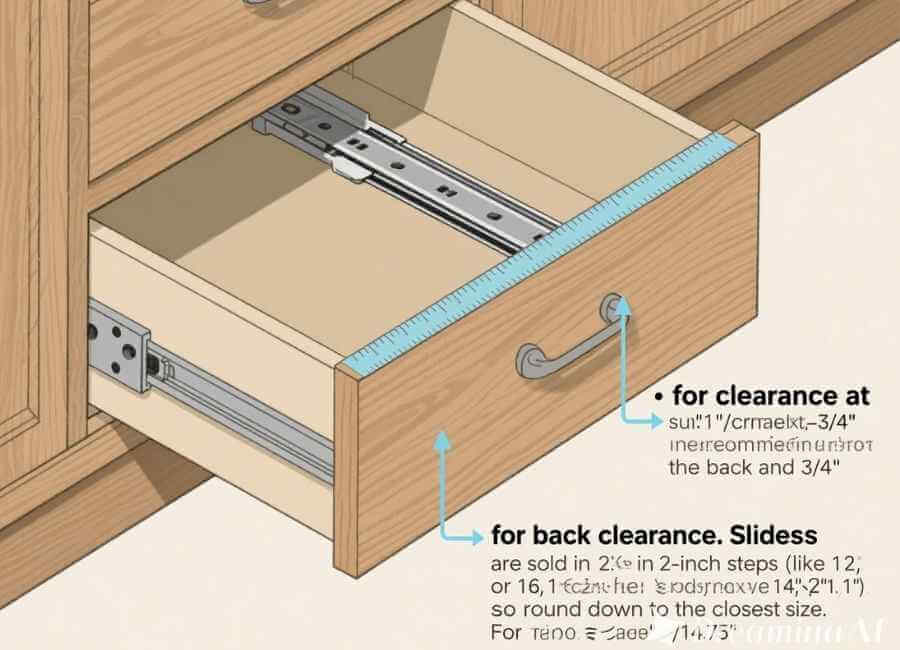
Your slide length depends on two factors: your drawer front style and available depth.
Inset drawers (front sits inside the cabinet frame): Measure your total opening depth, then subtract 1″ for clearance at the back and 3/4″ for the drawer front thickness.
Overlay drawers (front covers the cabinet frame): Measure total depth and subtract only 1″ for back clearance.
Slides are sold in 2-inch steps (like 12, 14, or 16 inches), so round down to the closest size. (Drawer Slides, n.d.)
Example calculation for inset:
- Total opening: 16.5″
- Minus back clearance: -1″
- Minus front thickness: -0.75″
- Available depth: 14.75″
- Order: 14″ slides
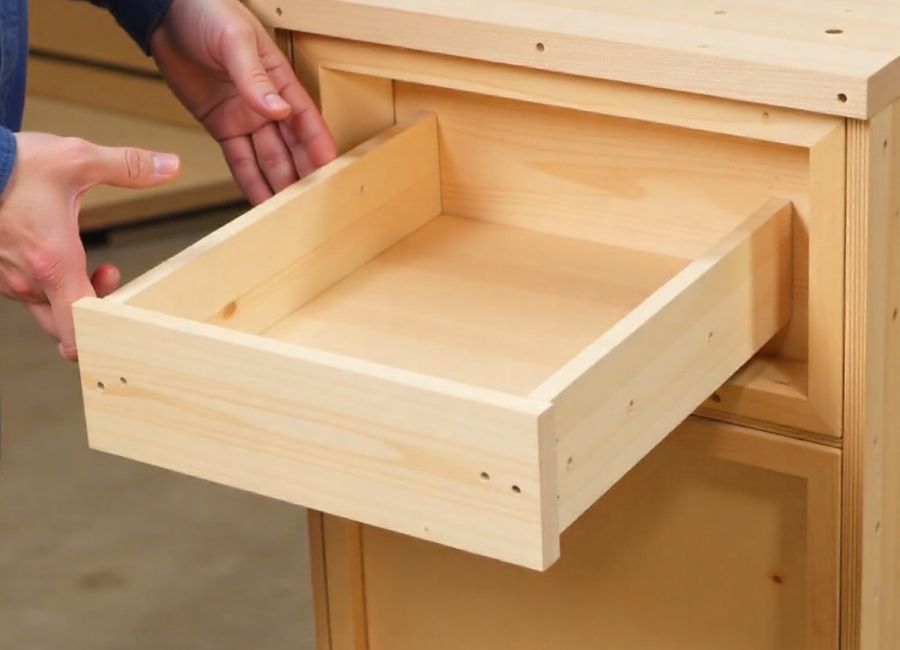
Determine Drawer Box Dime (Drawer Size Calculator, n.d.)nsions

Once you’ve picked your slide length, you can work out the exact size for your drawer box.
Depth
Cut your drawer sides to match your slide length, or make them a little shorter. For example, if you’re using 14-inch slides, cut your sides to 14 or 14.75 inches deep.
Height
For a single drawer, take 1 inch off your opening height to get a snug fit.
If you’re making more than one drawer, subtract 2 inches for each drawer (1 inch of space above and below each one).
For example, if your opening is 18 inches and you want two drawers, subtract 4 inches, which leaves 14 inches of usable height. You can make two 7-inch drawers, or use different sizes like 9 and 5 inches, as long as they add up to 14.
Width
This measurement requires precision because the drawer slides use up space on both sides.your drawer material (1/2″ or 3/4″ plywood)
- Place both scraps against one side wall to simulate drawer sides.
- Measure from these scraps to the opposite wall
- Subtract 1″ for the slides (1/2″ per side)
- Optional: Remove another 1/16″ for extra wiggle room
Using real scraps of your material helps you account for any small differences in plywood thickness.
Cut and Prep Your Drawer Parts
Now it’s time to cut your pieces based on your measurements.
Material Options
1/2″ plywood: Lighter drawers with m (Beginners Guide to Drawers. Measure, Cut, Assemble, Mount, Finish. No Jig Method, 2025)ore interior space
3/4″ plywood: Heavy-duty construction for items with more. MoBirch plywood looks clean and takes stain nicely. Stain well. (3/4 Plywood Buy Wholesale | BrightPly, n.d.)
Cutting Safely
Full sheets of plywood are heavy and hard to handle. Only use a table saw for them if you have a big, stable setup and know what you’re doing.
Better option: Use a circular saw with a sharp blade and a track guide on sawhorses. Make your height rip cuts first (running the full length of the sheet), then cross-cut those strips to width at your miter saw.
Pocket Holes
Set your pocket hole jig for your material’s thickness. Find the good side and the rougher side of each panel, and drill holes on the rougher side so they stay hidden.
Drill pocket holes on front and back panels only:
- 5″ tall drawer: 2 holes per end
- 9″ tall drawer: 3 holes per end
Keep the holes about 1 inch from the edges, and space the screws about 3 inches apart.
Edge Banding (Optional but Recommended)
Iron-on edge banding makes the tops of your drawers look finished. Choose a banding that matches your plywood, like birch or oak. (RED OAK PRE-GLUED IRON ON WOOD VENEER EDGE BANDING, n.d.)
Application:
- Iron band onto top edges
- Press firmly and hold for 30 seconds.
- Trim excess with an edge banding trimmer or sharp chisel.
- Lightly sand with (Boyle & Kevin, 2024) 220-grit sandpaper to smooth out the transition.
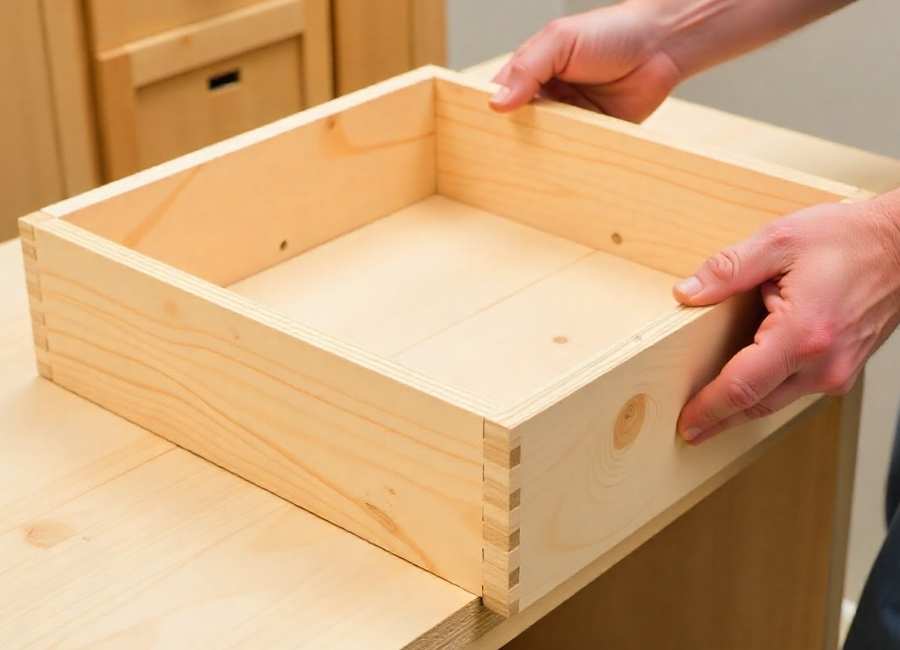
Assemble the Drawer Box
Once you’ve prepared all your pieces, putting the drawer together goes quickly.
Assembly order:
- Apply wood glue to the pocket hole edges of one panel.
- Attach a side panel (pocket holes facing out, nice sides facing in)
- Make sure tops are flush and drive pocket screws.
- Add the opposite panel with pocket holes.
- Glue and attach the remaining side panel
This order helps prevent glue from smearing, since you’re pressing the pieces together instead of sliding them. The pocket holes will be hidden on the back and inside the front, behind the drawer face.
Install the Drawer Bottom
Cut a piece of 1/4-inch plywood (or 3/8-inch for heavy-duty drawers) to fit your drawer box, using a track guide or table saw. (Beginners’ Guide to Drawers. Measure, Cut, Assemble, Mount, Finish. No Jig Method: 10 Steps (with Pictures), n.d.)
Attachment:
- Flip the box upside down.
- Run a thin glue bead around the entire perimeter.
- Set the bottom panel in place, one corner at a time.
- Secure with 5/8″ brad nails, keeping them centered on the drawer sides.
For the nails, start with one in each corner, check that the box is square, then add more nails evenly along the sides. (Beginners’ Guide to Drawers. Measure, Cut, Assemble, Mount, Finish. No Jig Method: 10 Steps (with Pictures), 2024)
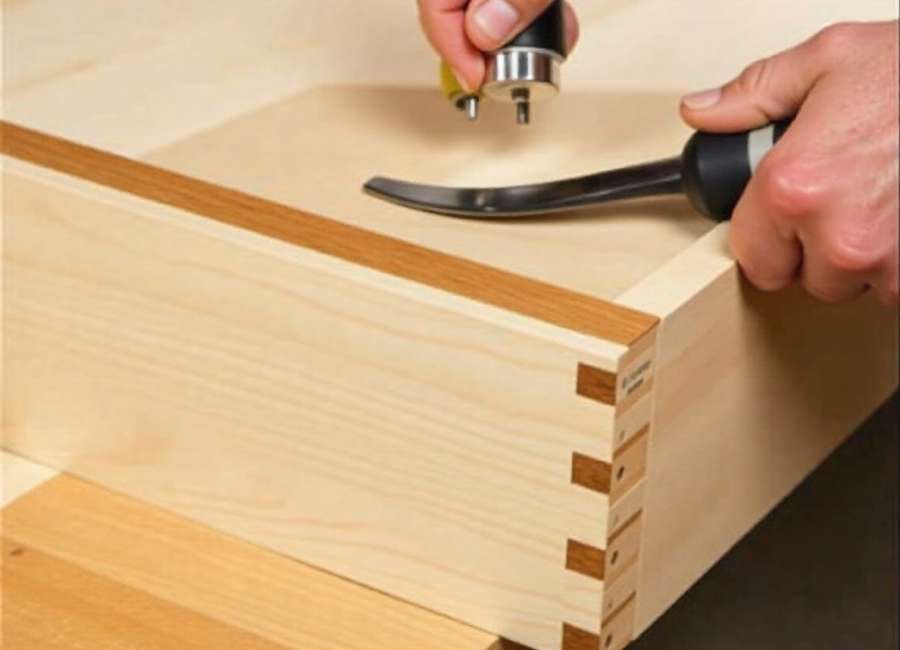
Chamfer Trick for Clean Edges
The bottom leaves one exposed plywood edge. You can remove it using a router with a 45-degree chamfer bit. (45° Chamfer Bit, n.d.)
- Set bit depth to remove the bottom panel edge (not the sides)
- Route completely around the bottom
- Sand any fraying by hand with 220 grit.
This makes the plywood edge disappear, giving you clean lines all the way around.
Mount Frame-Side Slides
Take your slides apart. Euro slides come apart easily. For ball bearing slides, press the release tab and pull them apart. (EZ Open 16″ Soft Close Ball Bearing Slides, n.d.)
Mount the larger part of the slide to the cabinet frame, and the smaller part to your drawer box.
Frame Installation

Setup:
- Stack your 3/4″ scrap pieces flat as spacers (for Euro slides, only use spacers under the flat middle section)
- Rest the slide on these spacers against the side wall.
- Use a block the same thickness as your drawer front to set the depth of the slide.
Securing:
- Drill pilot holes with a 1/16″ bit (set depth stop to match screw thread length)
- Install the front screw through the pilot hole.
- Move to the middle hole—drill and screw.
- Put in the rear screw, but leave it a half-turn loose so the slide can align itself.
Repeat for the opposite side. Extend slides and reattach the sections you removed earlier.
Mount Drawer-Side Slides
Cut two 1/4″ plywood scraps roughly the same depth as your drawer. These act as temporary spacers.
Installation:
- Place spacers on the cabinet bottom, one per side
- Set the drawer box on the spacers.
- Press down to ensure the box sits flat.
- Pull the drawer forward slightly to expose the front mounting hole.
- Use a scrap block to align the slide flush with the drawer side, then push back 1/32″
- Drill a pilot hole and install a screw.
- Repeat for the opposite side.
- Pull the drawer farther out to access the middle holes.
- Keep spacers under the drawer and maintain downward pressure.
- Install middle screws on both sides.
- Fully extend the drawer to access the rear holes.
- Install rear screws, backing them off slightly by hand.
The drawer may need to slide in and out a few times to work smoothly as everything lines up.
Euro Slide Alternative
These mounts are even simpler. Lay the drawer on its side outside the cabinet:
- Wrap the slide around the bottom edge of the drawer.
- Position it 1/32″ back from the front.
- Screw through the bottom (not sides) for a better grip.
Installing Slides Without a Bottom Reference
If you need to mount a second drawer and there’s no floor or divider to support it, you’ll need to do a little math. Create Virtual Boxes
Divide your total opening height by the number of drawers. This creates equal “virtual boxes” for spacing.
Example: 18″ opening ÷ 2 drawers = 9″ per virtual box
Mark these intervals on your cabinet side.
Calculate Spacer Size
Your spacer takes the place of the previous drawer and keeps the spacing even.
Formula: Virtual box height – slide width = spacer height
If your virtual box is 8″ and your slide measures 1 7/8″ wide: 8″ – 1 7/8″ = 6 1/8″ spacers (Shop Tip: Use a scrap spacer for dead-on drawer guide installation, n.d.)
For different-sized drawers: Adjust based on your actual drawer allocation. If your bottom drawer uses 9″ of an 11″ virtual box: 11″ – 1 7/8″ = 9 1/8″ spacers (Beginners Guide to Drawers. Measure, Cut, Assemble, Mount, Finish. No Jig Method: 10 Steps (with Pictures), n.d.)
Stack spacers on your installed slide and mount the next frame-side slide using the same technique as before.
Mount Upper Drawer Without a Floor
Since there’s nothing to set this drawer on, you’ll transfer measurements instead.
Process:
- Measure from the center of a mounting hole to the bottom of your installed drawer side (ignore the routed bottom panel)
- Transfer this measurement to your upper drawer and mark it.
- Use a combination square held flush to the drawer front to strike a level line through your mark.
- Lay slide on drawer with 1/32″ setback from front
- Align the slide center with your marked line.
- Drill and install the front screw
- Straighten the slide back onto the line (it probably shifted)
- Install the middle screw.
- Install rear screw, backing off slightly.
Repeat for the other side.
Add Drawer Fronts
You’ll need to size your drawer fronts carefully to get even gaps all around.
Size Your Fronts
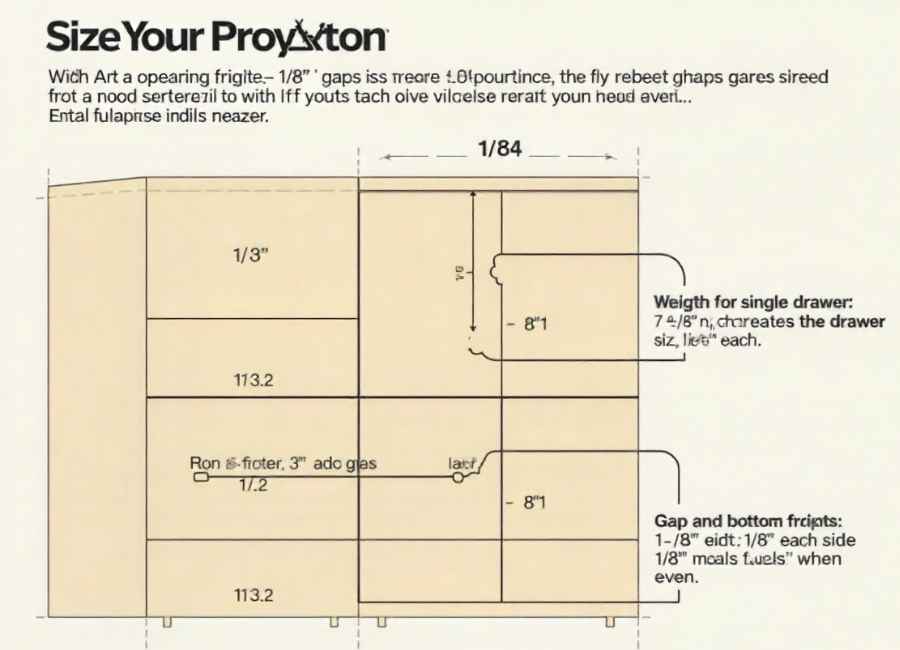
Width: Total opening width – 1/4″ (creates 1/8″ gap on each side)
Height for single drawer: Total opening height – 1/4″ (creates 1/8″ gap top and bottom)
For multiple drawers, it’s a bit trickier. You want 1/8-inch gaps at the frame, but smaller gaps between the drawer fronts so everything looks even.
Example with two drawers:
- Top and bottom gaps: 1/8″ each
- Gap between fronts: 1/16″ each side (totals 1/8″ when combined)
- Take a total of 3/8 inch off the opening height (1/8 inch for the top, 1/8 inch for the bottom, and 1/16 inch for each gap between fronts). (Drawer Size Calculator – Calculate Optimal Drawer Dimensions, n.d.)
If your opening is 18″: 18″ – 3/8″ = 17 5/8″ total front height
Split this amount between your drawers based on their sizes, taking 3/16 inch off each front.
Material Choices
Solid wood (1×10, 1×12): Paint or stain ready, various species available
3/4-inch plywood with edge banding is a budget-friendly choice if you plan to paint the drawers.
Frame-and-panel construction is more advanced, but it makes beautiful, traditional-style drawer fronts.
Install Drawer Fronts with Cards
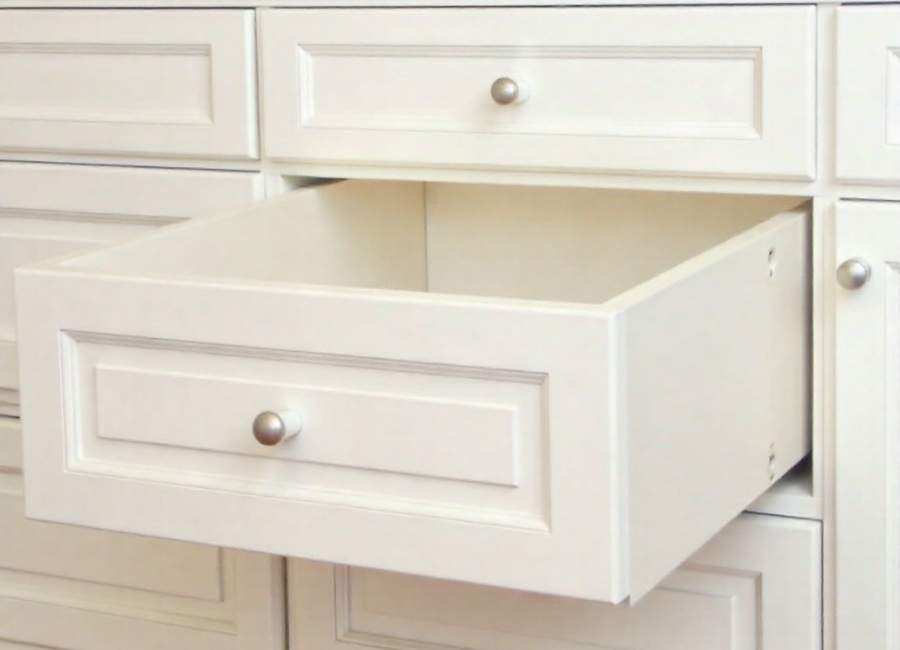
Playing cards work great as spacers to keep your gaps even.
Installation:
- Place the front in the opening, and push it all the way to one side.
- Insert playing cards in the gap on the opposite side until snug.
- Split that stack in half—these are your side spacers.
- Make two more identical stacks for the top and the bottom.
- Position the front using all four spacer stacks.
- Drill through existing hardware holes (if applicable)
- Remove the drawer from the cabinet.
- Attach the hardware pulls through these holes. They’ll hold the front in place for now.
- Drive short screws from inside the drawer box at each corner.
- Repeat the process for the remaining drawers.
Another way is to skip the pulls at first and use small screws through the pull holes from the front to hold things together. Add screws in the corners from the inside, then take out the temporary screws and drill the pilot holes properly. Hold a scrap block inside while drilling to avoid tear-out.
Install Drawer Pulls
Put masking tape where you’ll mark and drill. This helps you see your pencil lines and keeps the wood from tearing out.
Center Single Knobs
- Mark the halfway point on height
- Mark the halfway point on the width
- Cross marks to find the center
- Put a piece of scrap wood behind the drawer front to prevent the wood from splintering.
- Drill through
Center Bar Pulls
- Mark the halfway point on height, offset to each side of the center.
- Mark the center of the width
- Draw a level line connecting your two height marks.
- Measure the center-to-center distance between pull holes.
- Divide this measurement in half.
- From your width center mark, measure half the distance in each direction along your level line.
- Mark both spots
- Hold a scrap piece behind the front and drill both holes.
Finishing Touches
Once everything is installed and operating smoothly, you might want to add:
- Drawer liners: Protect contents and reduce noise
- Dividers: Organize drawer interiors
- Soft-close dampeners: Add them to standard slides for quieter operation
- Finish or paint: Seal and protect your work.
Test your drawers by sliding them all the way in and out. They should move smoothly without sticking. If one does stick, make sure all the screws are tight and the drawer box is level.
Your Drawers Are Done
Once you know how to build drawers, you’ll find that lots of woodworking projects are easier than you thought. Kitchen updates, dresser repairs, and workshop storage all become more doable when you know the basics.
The first drawer might take a while as you learn each step. By the second or third, it’ll feel much easier. You’ll find your own rhythm and shortcuts that fit your tools and space.
You can save broken drawers from the landfill by making replacements, upgrading basic cabinets with smooth, soft-close drawers, and adding organized storage wherever you need it.
Best of all, every time you open a drawer you built yourself, you’ll feel a real sense of accomplishment. That feeling makes all the effort worthwhile.p guide to get residue-free results.


