


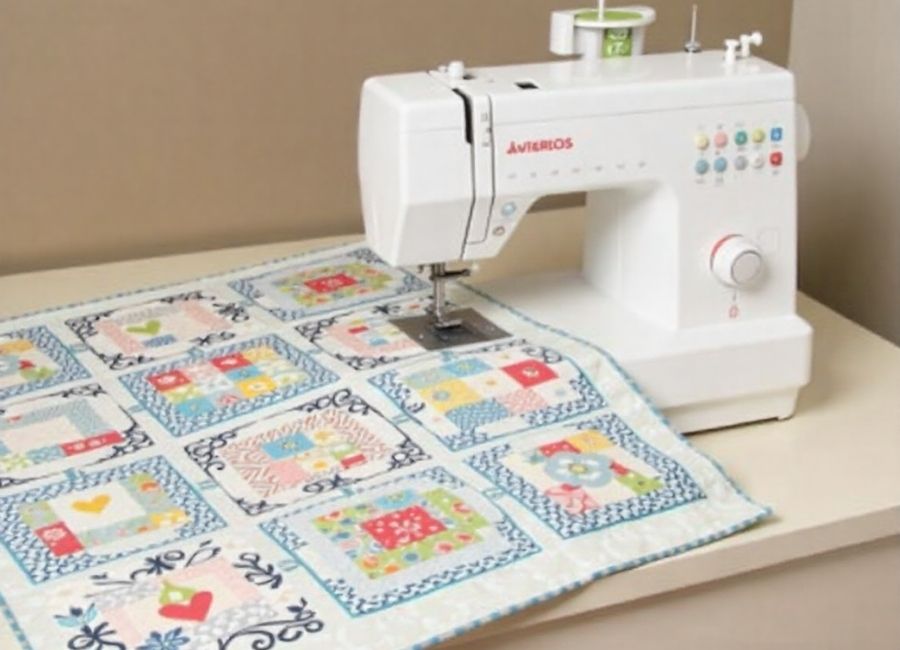
Getting into quilting can seem like a big commitment, especially when you look at the specialized equipment involved. A common question from aspiring quilters is whether a dedicated quilting machine is necessary or if their trusty regular sewing machine will do the job. The good news is, you absolutely can quilt with a regular sewing machine.
This guide will walk you through everything you need to know to get started. We’ll cover the essential attachments, the different quilting techniques you can use, and some practical tips to help you create your first quilt without buying a new, expensive machine. By the end, you’ll have the confidence and knowledge to start quilting today.
Quilting vs. Sewing Machines: What’s the Difference?
Before diving into the “how-to,” it helps to understand the main differences between a standard sewing machine and one built specifically for quilting. While both can perform the same basic function—stitching fabric together—quilting machines come with features designed to make quilting large projects easier.
- Throat Space: This is the distance between the needle and the body of the machine. Quilting machines have a much larger throat space (often 9 inches or more) to accommodate the bulk of a quilt. A standard machine usually has a throat space of around 6-7 inches. (What’s the difference between a sit-down longarm machine vs a domestic sewing machine for quilting?, 2014)
- Stitching Speed: Quilting machines are built for speed and can often stitch much faster than regular sewing machines, which is useful for long seams and free-motion quilting. (7 Best Quilting Sewing Machines – (Reviews & Guide 2022), 2022)
- Specialized Feet: Many quilting machines come bundled with essential quilting feet, like a walking foot and a darning foot. (BERNINA Darning Foot #9 – especially for free-motion quilting, n.d.)
- Extension Table: An extension table provides a larger, flat surface to support your quilt, preventing it from pulling or dragging on the needle. This is often an included accessory with quilting machines, but can be purchased separately for most regular sewing machines. (Top Benefits of a Sewing Machine Extension Table, n.d.)
Despite these differences, a standard sewing machine is more than capable of handling quilting projects, especially for beginners. With a few key accessories and techniques, you can overcome the limitations of a smaller machine.
How to Set Up Your Sewing Machine for Quilting
To turn your regular sewing machine into a quilting workhorse, you’ll need a few essential tools and settings.
1. Attach a Walking Foot
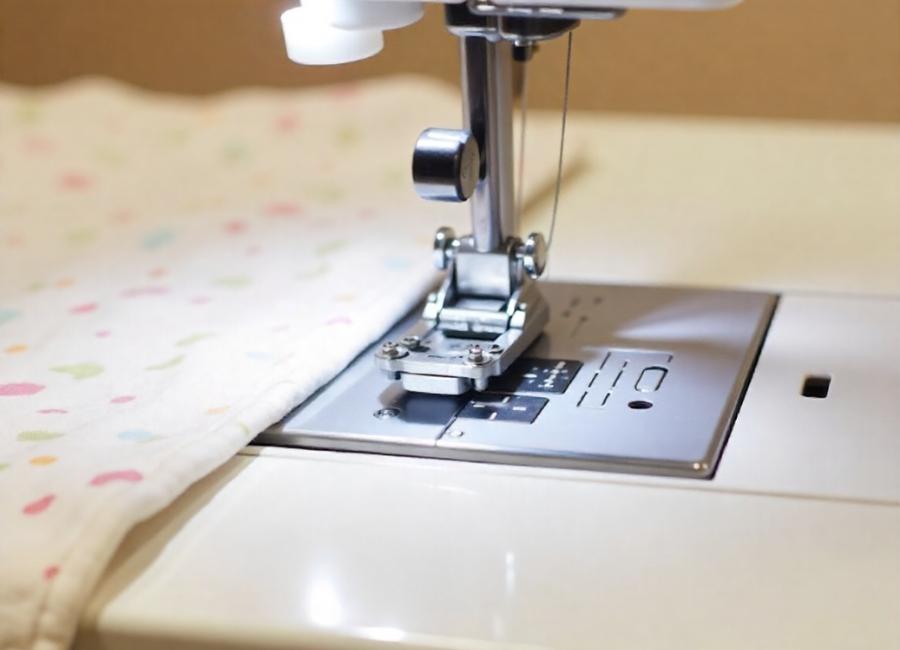
If you buy only one accessory, make it a walking foot. A walking foot, also called an even-feed foot, has a set of feed dogs on the bottom that work with your machine’s built-in feed dogs. This mechanism grips and pulls the top layer of your quilt sandwich at the same pace as the bottom layer.
Why is this important? A quilt sandwich has three layers: the top, the batting, and the backing. (How to Assemble a Quilt Sandwich, n.d.) Without a walking foot, the machine’s feed dogs only move the bottom layer, which can cause the top layer to shift, bunch up, and pucker. A walking foot ensures all three layers feed through smoothly, giving you neat, flat stitches. This is essential for straight-line quilting. (Wickell & Janet, 2020)
2. Use a Darning or Free-Motion Foot
For quilters who want to try more creative, curvy designs, a darning foot (or free-motion foot) is a must. This foot hovers over the fabric instead of holding it down, allowing you to move the quilt in any direction. When using this foot, you’ll also need to lower or cover your machine’s feed dogs. (Free Motion Darning Quilting Foot for Kenmore Sewing Machine, n.d.) This combination gives you complete control to “draw” with your stitches, creating beautiful free-motion quilting patterns.
3. Install the Right Needle
Quilting involves sewing through multiple thick layers, which puts a lot of stress on the needle. It’s important to use the right type and size.
- Quilting Needles: These needles have a stronger, tapered point designed to penetrate multiple layers of fabric and batting without bending or breaking. (Schmetz Quilting and Piecing Needles, n.d.)
- Needle Size: A 90/14 size is a great all-purpose choice for quilting. For finer fabrics or piecing, you might use an 80/12. (Schmetz Machine Needle – Quilting 130/705 H-Q 90/14, n.d.)
- Change It Often: A dull needle can cause skipped stitches, shredded thread, and pulls in your fabric. A good rule of thumb is to start every new quilting project with a fresh needle. (Tip of the Week: Start With Your Needle, 2022)
4. Choose the Right Thread
Using high-quality thread is crucial for a durable and beautiful quilt. Low-quality thread is more likely to break or create lint that can clog your machine. A 100% cotton thread in a 40 or 50 weight is the standard for both piecing and quilting. (Understanding Thread Weights for Quilting: A Complete Guide, 2025)
5. Consider an Extension Table
Managing the weight and bulk of a quilt on a small sewing machine can be challenging. An extension table slides around your machine’s free arm, creating a larger, level surface. This support prevents the quilt from dragging, which can distort your stitches and cause needle breakage. (Top Benefits of a Sewing Machine Extension Table, n.d.) If your machine didn’t come with one, you can often buy a generic or model-specific table.
Tips for a Successful Quilting Experience
With your machine set up, you’re ready to start. Here are a few final tips to ensure a smooth process.
- Start Small: For your first project, choose a small quilt, like a baby blanket or a table runner. (Easy Quilted Table Runner Pattern, n.d.) This will help you get comfortable with the process without feeling overwhelmed by a large, heavy project.
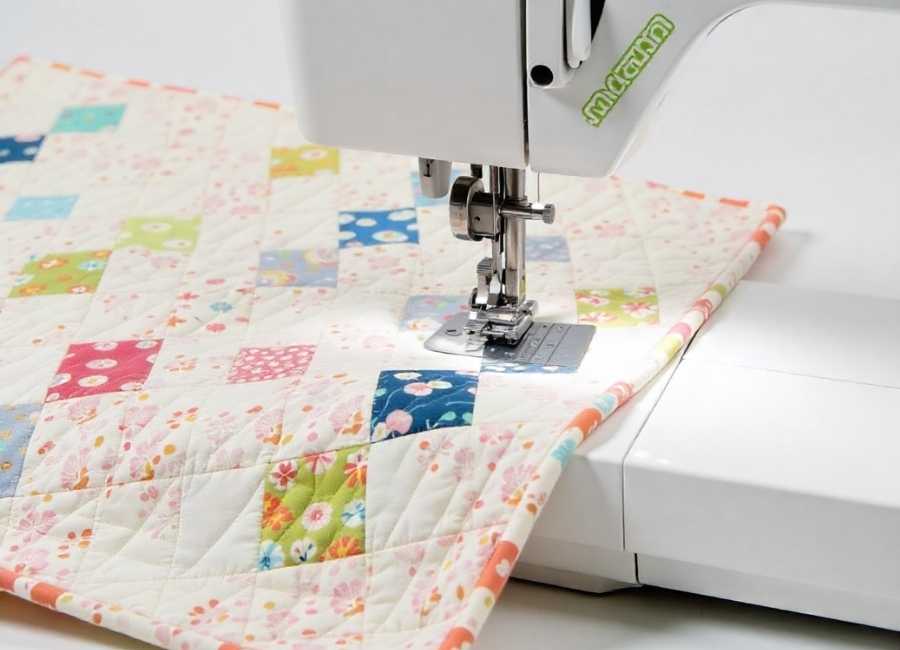
- Roll and Clip: To manage the bulk of your quilt as you work, roll the sides tightly and secure them with quilting clips or even large binder clips. This helps the quilt fit through the throat of your machine more easily.
- Set Your Stitch Length: For piecing the quilt top, a shorter stitch length of around 2.0 mm is ideal for strong seams. When quilting the layers together with a walking foot, increase the stitch length to 2.5–3.0 mm to create more visible and aesthetically pleasing stitches. (Harris & Diane, 2017)
- Practice, Practice, Practice: Before you start on your actual quilt, use a practice “quilt sandwich” made from scrap fabric and batting. This is especially important for free-motion quilting. Use the practice piece to adjust your tension and find a comfortable stitching speed.
Start Your Quilting Journey Today
You don’t need to invest in a high-end quilting machine to create beautiful, functional quilts. Your regular sewing machine is a powerful and versatile tool that, with the right accessories and a bit of practice, can produce stunning results. By equipping it with a walking foot, using the correct needle and thread, and starting with a manageable project, you can confidently begin your quilting journey.
Ready to take the next step? Explore our selection of high-quality sewing machine attachments and get everything you need to turn your quilting dreams into reality.


