


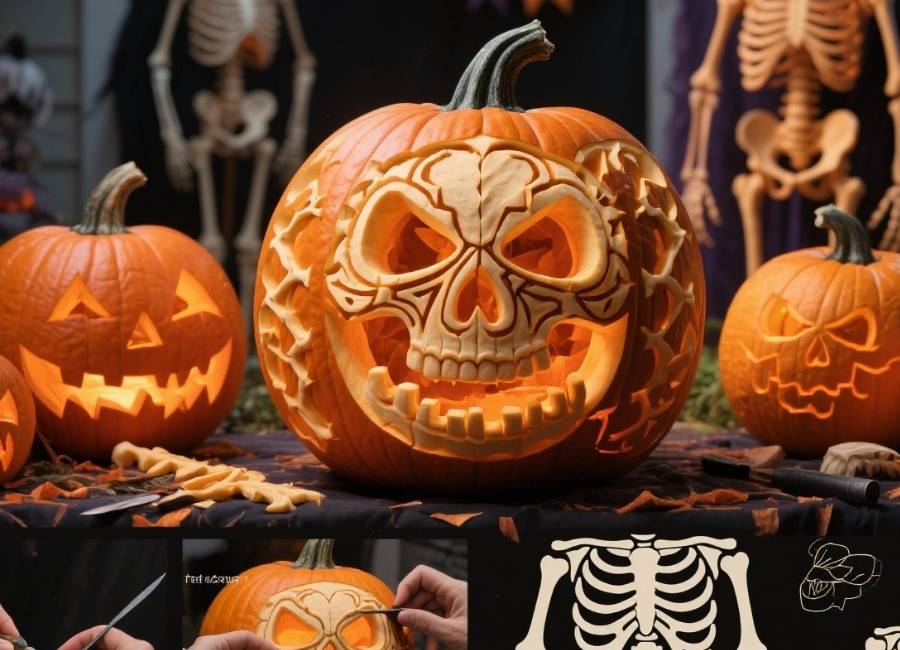
Halloween is just around the corner, and you’re probably brainstorming ways to create an unforgettable display that will leave your neighbors in awe. Why settle for the usual jack-o’-lanterns when you can take your pumpkin carving skills to bone-rattling new heights with a skeleton theme? Skeleton pumpkin carving is intricate, creative, and perfect for adding a spooky yet artistic flair to your Halloween décor.
This guide will take you step-by-step through everything you need to know to carve skeleton-themed pumpkins, including essential tools, pro tips, and clever ideas to make your designs stand out.
Why Choose Skeleton Pumpkin Carving
Skeleton pumpkin carving combines classic Halloween vibes with a touch of artistry. Unlike traditional grinning jack-o’-lanterns, skeleton designs allow you to play with creative, detailed patterns. Plus, they range in difficulty, making them ideal for both beginners and seasoned carvers.
Here’s why skeleton pumpkin carving is perfect for Halloween:
- It instantly captures the eerie, fun spirit of Halloween.
- It lets you flex your creativity with intricate designs.
- It creates a fantastic centerpiece or complement to other decorations.
- It’s a fun, rewarding activity for families, friends, or solo DIYers.
Supplies You’ll Need for Skeleton Pumpkin Carving
Before jumping into the carving process, gather all the essential tools and materials. A well-stocked kit will save you time and ensure precision.
What You’ll Need:
- Pumpkins: Look for medium to large pumpkins with smooth surfaces. These are easier to work with and allow more space for your design.
- Pumpkin carving kit: A standard kit usually includes saws, scoops, and pokers. For more detailed skeleton designs, you may want to add an X-Acto knife or finer carving tools.
- Printed stencil: Find a skeleton carving design online or draw your own to use as a guide.
- Tape: Use this to secure your stencil to the pumpkin.
- Push pins or awl for transferring the design outline onto the pumpkin.
- LED lights or candles to illuminate your design.
- Markers or pens for sketching freehand designs (optional).
Pro tip: Use a battery-powered LED light instead of a candle for safety and a longer-lasting glow.
Step-by-Step Guide to Skeleton Pumpkin Carving
Step 1. Choose Your Pumpkin
Select the perfect pumpkin. Smooth, unblemished surfaces are ideal for showcasing intricate skeleton designs. Avoid overly large pumpkins if this is your first time attempting detailed carving, as they can be harder to manage.
Step 2. Gut the Pumpkin
Cut a lid around the stem at an angle (so the lid doesn’t fall into the pumpkin) and scoop out all the seeds and pulp. Pro tip: Make your cut on the bottom of the pumpkin instead of the top for a cleaner look and sturdier base when lighting the finished design.
Use a sturdy metal spoon or a pumpkin scoop to scrape the walls. The thinner you make the walls, the easier it will be to carve fine details.
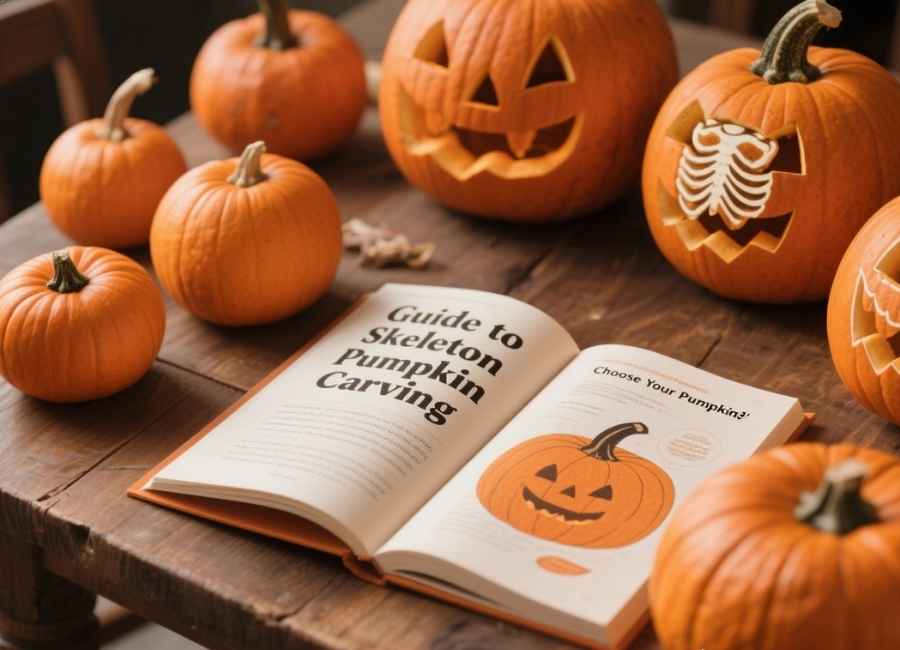
Step 3. Choose Your Skeleton Design
Find a skeleton-themed stencil that suits your skill level. You can download free templates online or purchase detailed ones from craft stores.
- Beginner tip: Start with simple designs like a skull or ribcage.
- Advanced challenge: Try a full skeleton scene or combine skeleton patterns with other Halloween elements like bats or tombstones.
Step 4. Transfer the Stencil
Once you’ve chosen your design, print it out and secure it to the pumpkin with tape. Use a push pin, awl, or needle tool to poke tiny holes along the outline of your stencil. This will transfer the design onto the pumpkin.
Remove the stencil once the holes are in place. If needed, connect the dots with a fine marker to make the design easier to follow.
Step 5. Start Carving
Grab your tools and start carving according to the stencil. Use larger saws for big areas and finer tools for small, detailed spaces like teeth or ribs. Work slowly and carefully to avoid mistakes or breaking fragile sections.
Pro tip: For sections that need shading or depth, try scraping the surface of the pumpkin skin instead of carving all the way through. This creates a glowing effect when the light shines inside.
Step 6. Light It Up
Once your design is complete, wipe down the pumpkin to remove any leftover scraps or marker lines. Place an LED light or candle inside to illuminate the skeleton design. Test the lighting in a dark room to ensure it looks as spooky and detailed as you envisioned.
Step 7. Display and Enjoy
Place your finished skeleton pumpkin on your porch, in a window, or as part of a Halloween-themed centerpiece. Pair it with other Halloween decorations like cobwebs, ghostly figures, or multiple carved pumpkins for added effect.
Creative Skeleton Pumpkin Ideas to Try
If you’re looking for inspiration, here are a few skeleton-themed carving ideas to take your designs to the next level:
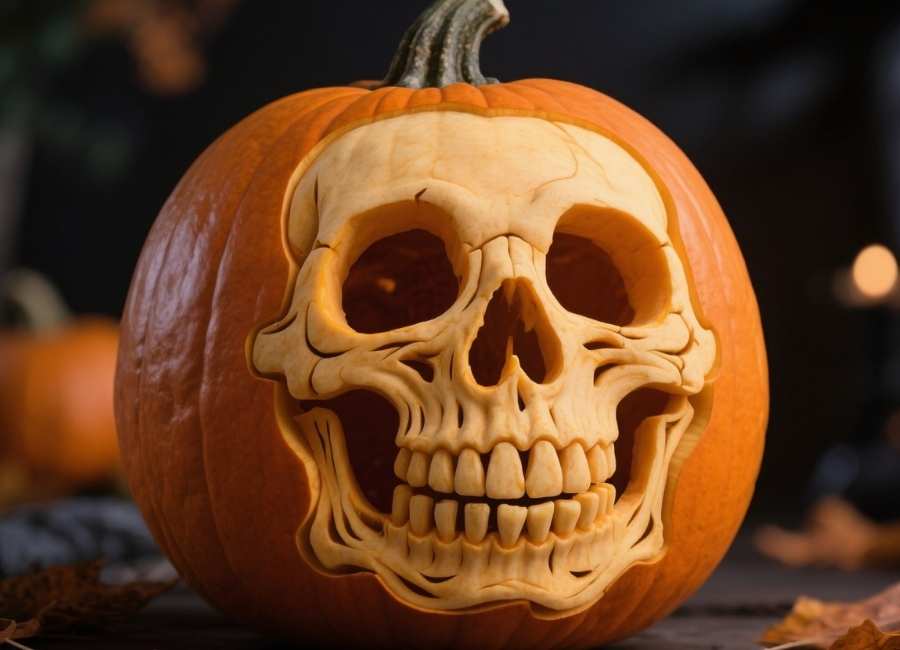
1. Traditional Skull
Keep it classic with a simple skull design. Focus on hollow eyes, teeth, and a jawline for an instantly recognizable look.
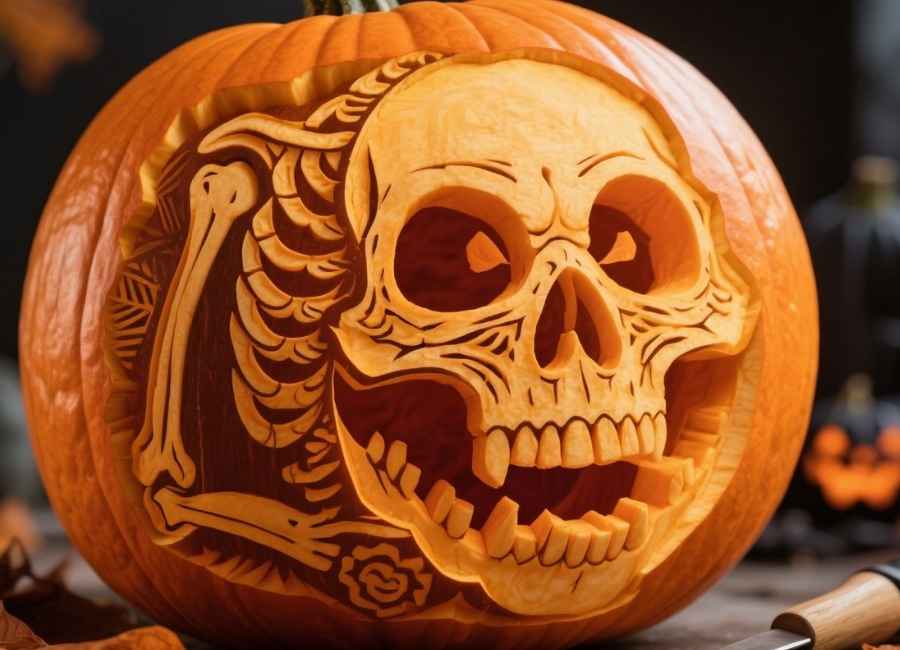
2. Full-Body Skeleton
Challenge yourself with a full-body skeleton. Include ribs, a spine, and bony limbs to create a detailed, larger display.
3. Skeleton Hands
Carve bony hands reaching out of the pumpkin, adding a 3D effect. This works great for window displays!
4. Skeleton Couple
Who says skeletons can’t be romantic? Create a pair of intertwined skeletons or a skeletal bride and groom.
5. Glow-in-the-Dark Accents
Paint your carved pumpkin with glow-in-the-dark paint for added spookiness. Highlight bones or small details to create a stunning effect at night.
6. Skeleton Animals
Switch things up by creating skeletal versions of cats, birds, or bats.
For even more ideas, browse online pumpkin carving galleries or look to nature and Halloween art for motifs.
Tips for Perfect Pumpkin Carving Every Time
- Keep your tools sharp: Dull tools can make carving harder and may cause you to lose precision.
- Start with simple designs: If this is your first attempt at detailed carving, stick to basic patterns before attempting more complex skeletons.
- Don’t rush: Take your time and ensure every carve is accurate. Precision makes a huge difference in skeleton designs.
- Preserve your pumpkin: Apply petroleum jelly or a pumpkin preserver spray to the carved edges to prevent your pumpkin from drying out too quickly.
Get Creative and Show Off Your Skeleton Pumpkin
Skeleton pumpkin carving is both fun and rewarding, offering you the chance to flex your creativity and impress your family, friends, and neighbors. Whether you stick to a classic skull or experiment with intricate skeleton scenes, your spooky creation is sure to be a Halloween show-stopper.
Have you mastered skeleton pumpkin carving or want to share your creations? Snap a photo of your best work and tag us on social media for a chance to be featured. Happy carving and have a frightfully fun Halloween!


