


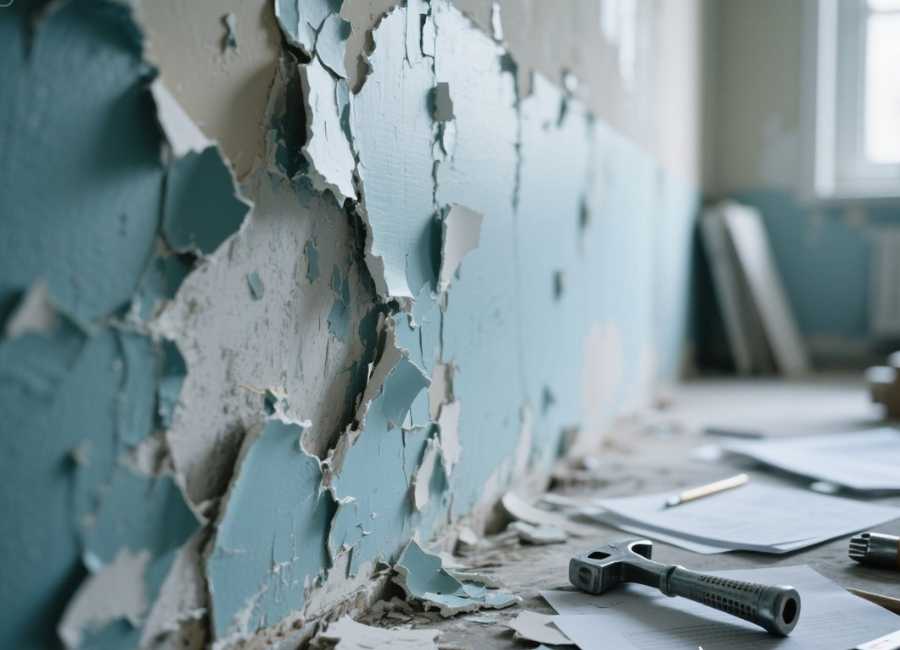
Paint chipping is one of the most common issues faced by homeowners and DIY enthusiasts. It can be frustrating to see a carefully painted wall, piece of furniture, or exterior surface begin to crack, peel, or flake over time. Whether you’re dealing with unsightly chips on your walls or looking to prevent paint damage in the first place, this guide will help you achieve a smooth, long-lasting finish.
This blog covers everything you need to know about paint chipping, including its causes, how to fix it effectively, and steps you can take to prevent it from happening again. By the end, you’ll be armed with actionable tips to maintain an impeccable paint job, improve the aesthetics of your space, and reduce future maintenance.
What Causes Paint to Chip or Peel?
Before we can address the solutions, it’s essential to understand what causes paint chipping in the first place. Recognizing these factors can help you avoid the problem during your next project.
1. Poor Surface Preparation
One of the top reasons paint chips is improper preparation of the surface before painting. A surface that is dirty, greasy, dusty, or rough can cause paint to adhere poorly. Paint applied over old, peeling layers can also start to flake prematurely.
2. Using the Wrong Type of Paint
Paint types matter more than you might think. For instance, using interior paint on exterior surfaces or opting for low-quality paint that isn’t suited for the material can make it more prone to wear and tear.
3. Moisture and Humidity
Excessive moisture weakens the bond between the paint and the surface. High-humidity areas, like bathrooms and kitchens, are particularly susceptible to paint chipping and peeling over time if not sealed properly.
4. Environmental Stress
Outdoor surfaces are subjected to extreme weather conditions, including UV rays, rain, and temperature fluctuations. These elements cause the paint to expand and contract, eventually leading to cracking and peeling.
5. Lack of Primer
Skipping the primer step is another critical mistake. Primers help the paint stick better to the surface and create a protective layer that can prevent chips and cracks.
Now that we know the key causes, let’s learn how to fix any existing paint chipping issues.
How to Fix Paint Chipping Step by Step
If you’re staring at chipped paint, don’t worry. The good news is that it’s relatively easy to repair. Follow these steps to restore a smooth, polished appearance:
Step 1: Assess the Damage
Examine the chipped paint area to determine the severity of the problem. Is it a small chip on a smooth wall or widespread peeling on an exterior surface? The approach you take will depend on the size and extent of the damage.
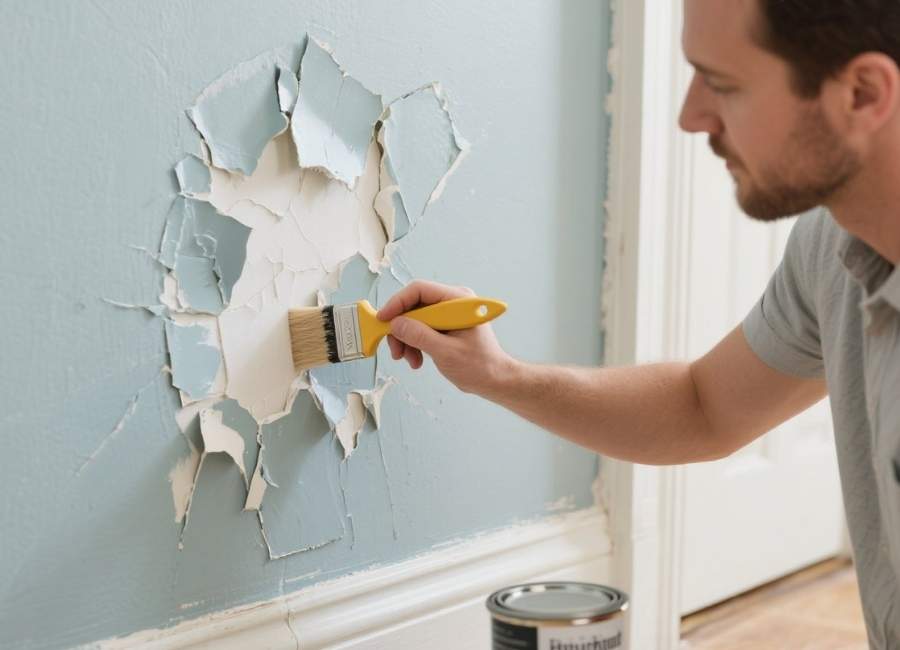
Step 2: Remove Loose Paint
Use a putty knife or a paint scraper to gently remove any peeling or flaking sections. Be careful not to damage the surrounding paint. For smaller areas, sandpaper works well to smooth the edges of the chipped area.
Step 3: Prepare the Surface
Once the loose paint is removed, clean the surface thoroughly. Use a damp cloth or sponge to wipe away dirt, grease, and debris. For walls with stubborn residues, a mix of water and mild detergent can do the trick.
Step 4: Apply a Patch (If Needed)
For larger chips or cracks, use a filler or spackle to even out the surface. Apply a thin layer over the damaged area using a putty knife, then smooth it out. Allow it to dry completely before moving to the next step.
Step 5: Sand the Surface
Once the filler is dry, sand it down until it is flush with the surrounding surface. Use fine-grit sandpaper for a smooth finish. Dust off any residue after sanding.
Step 6: Apply Primer
Priming is a crucial step. Apply a layer of primer to the patched or chipped area to ensure the new paint adheres properly. For moisture-prone areas, consider using a primer specifically designed to block humidity.
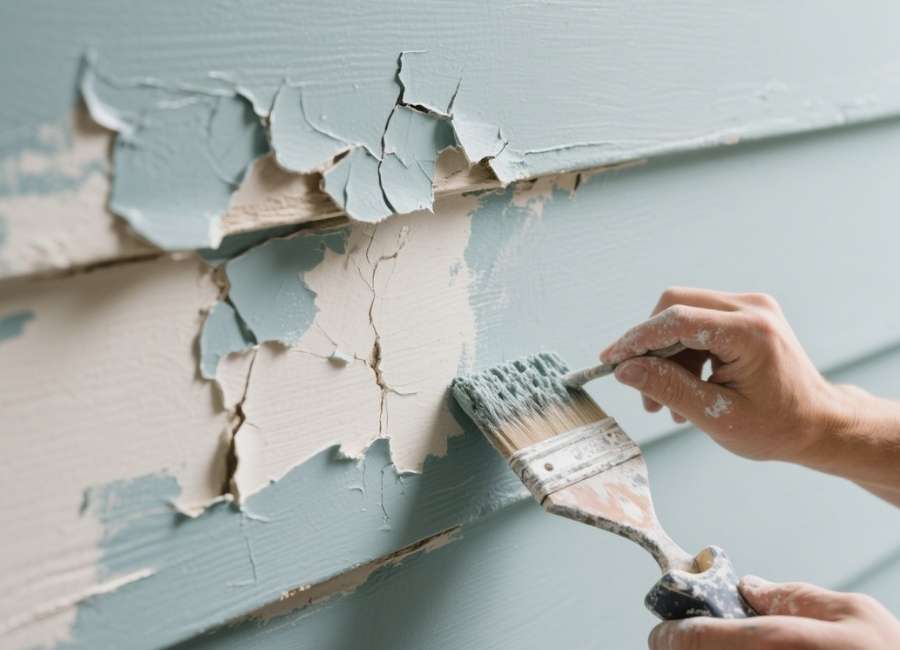
Step 7: Repaint the Surface
Finally, repaint the area with matching paint. Apply thin, even coats and allow adequate drying time between coats. For best results, use two coats of paint for stronger adhesion and better coverage.
Repairing paint chips isn’t difficult, but following these steps carefully ensures the final result is seamless.
Tips to Prevent Paint from Chipping
Prevention is always better than repair. To avoid paint chipping in the future, follow these expert tips and best practices:
1. Prep the Surface Thoroughly
The importance of preparation cannot be overstated. Before painting, clean the surface, fill any cracks, and sand uneven areas. A well-prepped surface creates a strong foundation for paint.
2. Invest in High-Quality Paint
Opt for high-quality paint that is designed for the surface you’re working on. Look for paints with added durability, such as those labeled “scrubbable” or “ideal for high traffic areas.”
3. Use Primer for Longevity
Always use a primer, especially on porous surfaces like drywall or wood. Primer not only enhances adhesion but also prevents the paint from soaking into the material unevenly.
4. Maintain Optimal Conditions During Painting
Painting works best in moderate temperatures with low humidity levels. Avoid painting on days with extreme weather conditions, as this can affect adhesion.
5. Apply the Right Number of Coats
Don’t skimp on paint coats. Be sure to apply at least two even coats of paint, letting each layer dry completely before adding the next.
6. Protect Surfaces Over Time
For exterior surfaces, consider applying a protective sealant. It prevents weather-related damage and keeps your paint looking fresh for years.
Following these preventative measures can save you time and effort while ensuring your paint job remains flawless.
Beyond the Basics
Whether you’re a homeowner refreshing your living space or a professional tackling large-scale painting projects, understanding how to fix and prevent paint chipping is a valuable skill. A pristine paint job not only adds to the aesthetic appeal of your space but also increases its longevity and value.
If you’re ready to transform your walls, furniture, or exteriors, there’s no better time than now to start implementing these tips. Equip yourself with high-quality tools, premium paints, and the knowledge shared above to ensure the best results every time.
Gone are the days of cracked, peeling paint. With the right approach, you can achieve a professional-grade finish that stands the test of time.


