


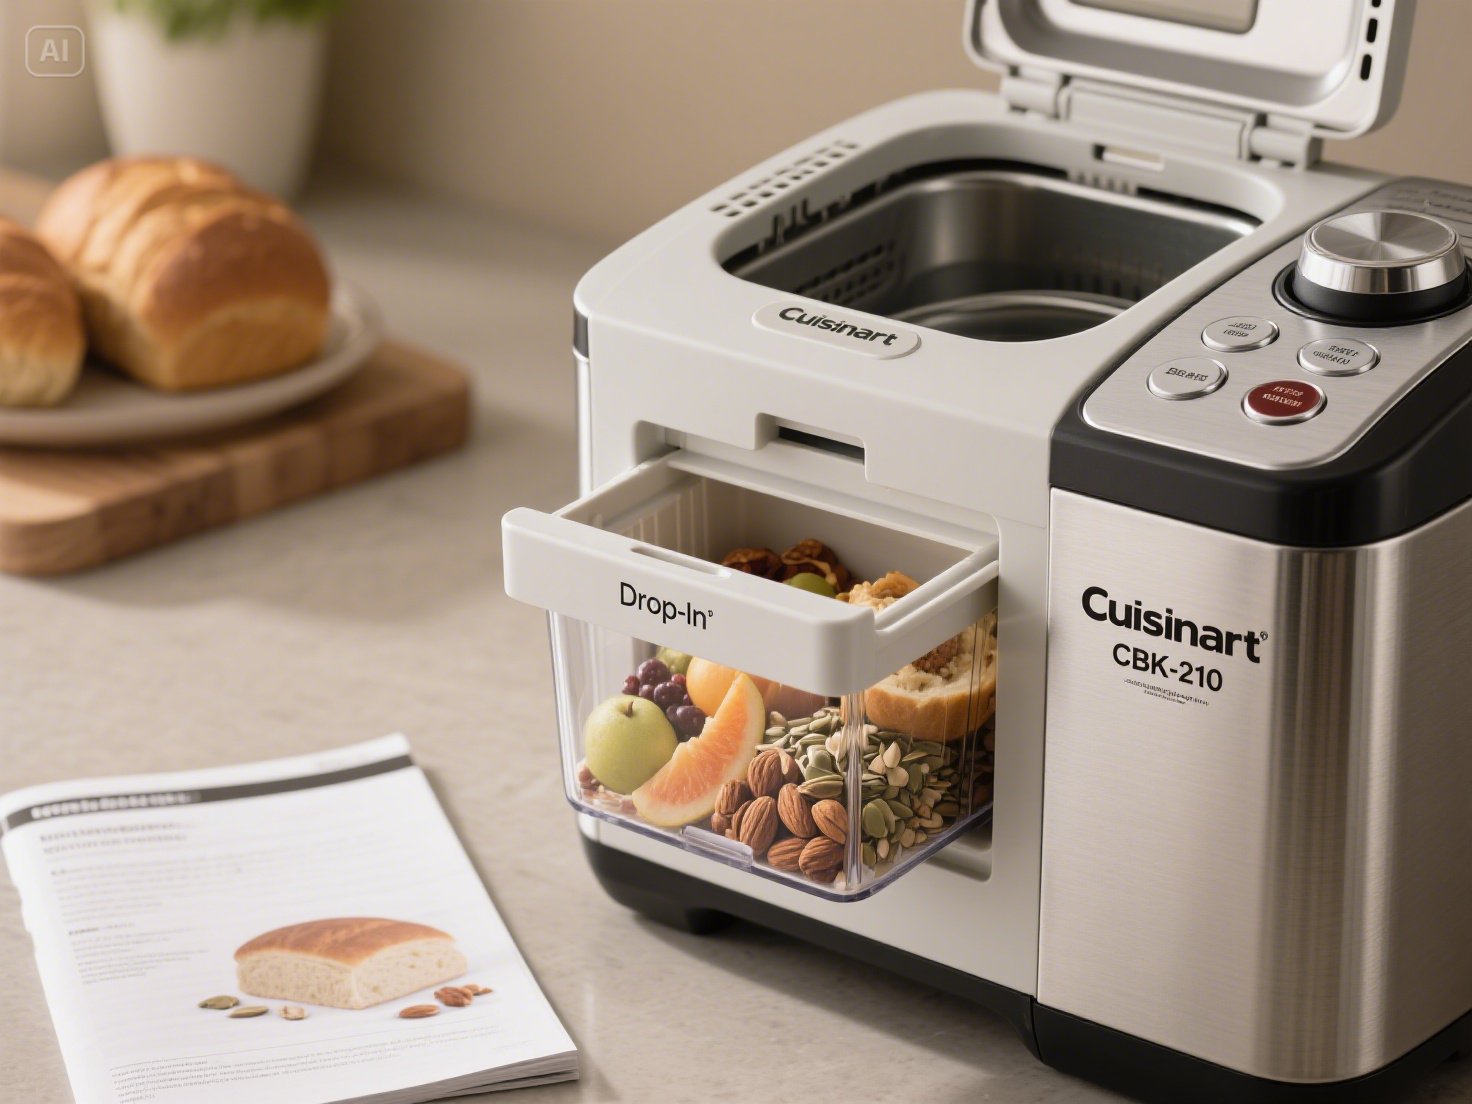
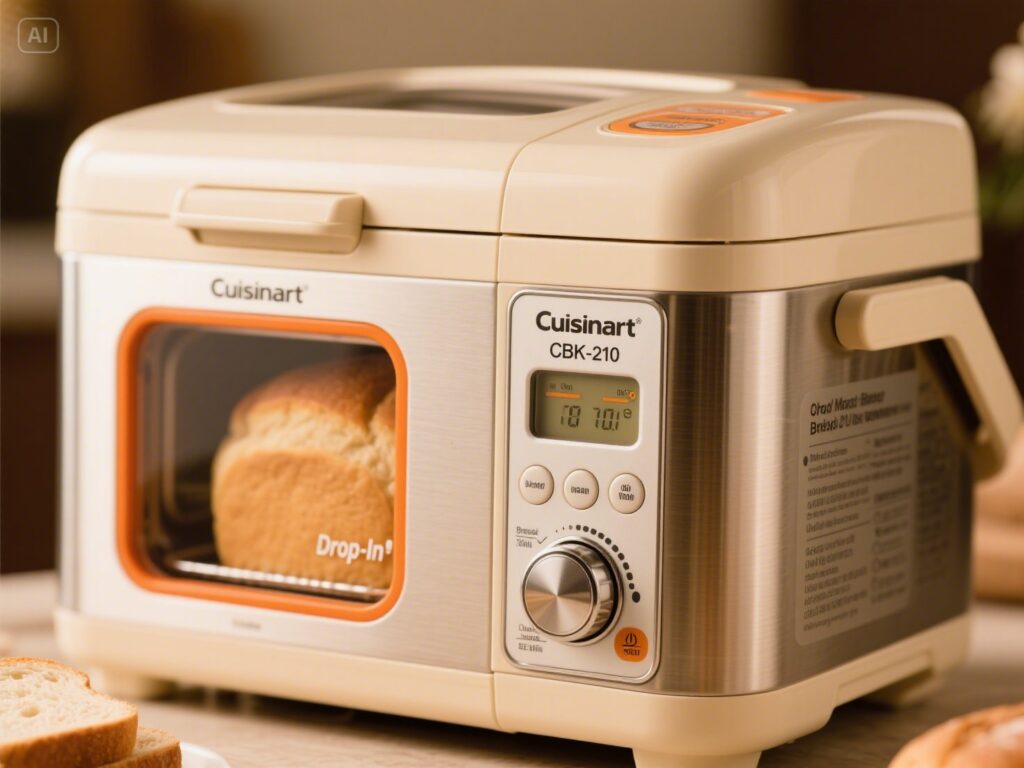
Owning a bread maker like the Cuisinart CBK-210 can completely change how you approach baking. This kitchen marvel lets you enjoy freshly baked bread without wrangling with dough and spending hours in your kitchen. One of its standout features is the “Drop-In” compartment, which takes your bread-making ventures to the next level with the easy addition of nuts, fruits, and seeds.
However, if you’re new to this machine, you might be scratching your head wondering how to properly use this function. Don’t worry—we’ve got you covered! This blog will walk you through everything you need to know about the Drop-In setting, from why it’s so convenient to detailed step-by-step usage instructions.
What Makes the Drop-In Setting Special?
If you’ve tried manually adding ingredients mid-cycle to a bread recipe before, you know how easy it is to mistime it, leading to lopsided or poorly mixed dough. This is where the Drop-In feature of the Cuisinart CBK-210 shines.
Here’s why this setting is a game-changer:
- Timed Precision: The bread maker automatically releases your mix-ins like dried fruits, nuts, or seeds into the dough at the precise moment in the kneading cycle.
- Even Blending: Instead of clumped ingredients stuck in one part of the dough, the Drop-In feature ensures an even distribution throughout the bread.
- Hands-Free Baking: Once you configure the Drop-In setting, the machine completely takes over. You can sit back, relax, and wait for perfectly enhanced bread.
How to Set Up and Use the Drop-In Function
Using the Drop-In feature of the CBK-210 might sound technical, but it’s actually fairly straightforward. Just follow the steps below to make the most out of your bread maker.
Step 1 Check the Instruction Manual for Program Guidance
Before anything else, consult the instruction manual that comes with the Cuisinart CBK-210. This will give you a deeper understanding of the compatible bread programs that support the Drop-In function. Not all programs use this feature, so it’s essential to confirm. Specialty bread like whole wheat or multigrain recipes usually work well with this function.
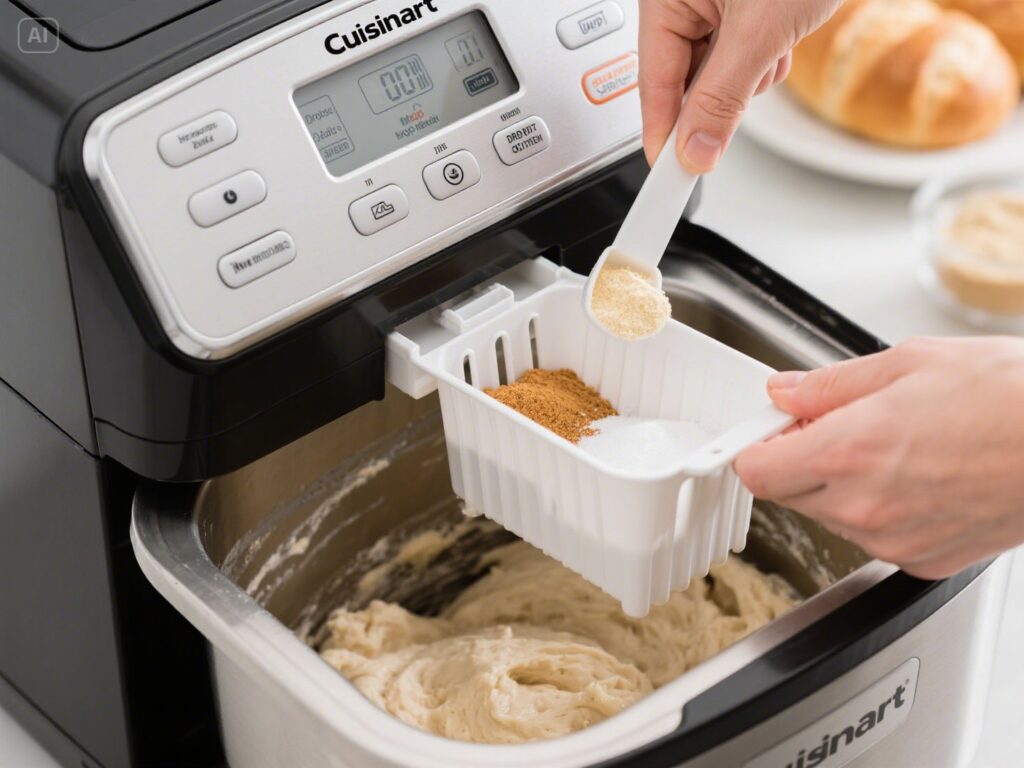
Step 2 Prepare Your Mix-Ins
Determine what additional ingredients you plan to include in your bread. Examples of common mix-ins that elevate any loaf include:
- Nuts (e.g., chopped walnuts or pecans)
- Seeds (e.g., sunflower seeds or chia seeds)
- Fruits (e.g., raisins, dried cranberries, or chopped dates)
- Chocolate Chips (for dessert-style bread)
Ensure your mix-ins are appropriately chopped or sized so they don’t cause issues during kneading.
Pro Tip: Avoid adding wet or sticky ingredients unless specified in the recipe, as they can clog the Drop-In compartment.
Step 3 Load the Ingredients into the Compartment
Locate the automatic ingredients dispenser on the CBK-210 bread maker. The compartment should have enough room to hold your prepared mix-ins. Open the lid, pour your ingredients in, and make sure it’s properly closed to avoid spilling.
Step 4 Select Your Desired Recipe Program
After loading the dispenser, choose a compatible bread-making program. Typically, this is done by navigating through the bread maker’s menu options to select the desired recipe. Look specifically for recipes in the manual that support customized additions.
Once the program is selected, double-check the display panel to see if the Drop-In setting has been activated.
Step 5 Start the Bread Machine
Press the start button and let the machine work its magic! Once the bread maker begins its process, the Drop-In feature will automatically release the extra ingredients at exactly the right moment, ensuring even blending into the dough. This usually happens during a mid-point in the kneading cycle.
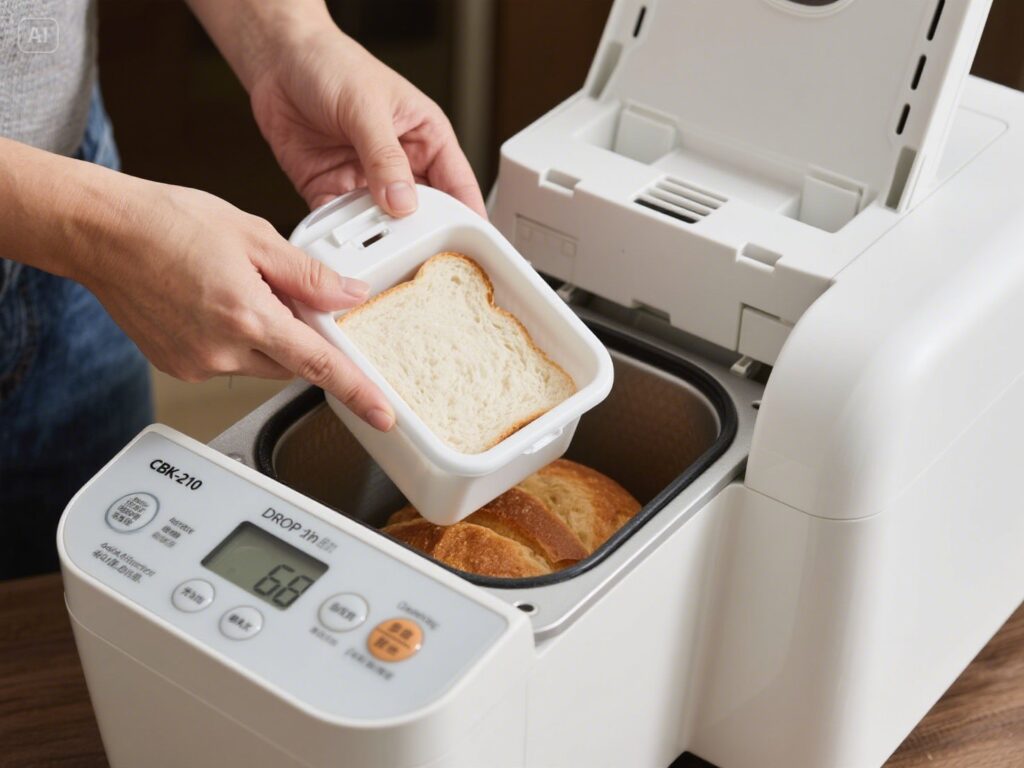
Step 6 Finalize Your Bread
When the baking cycle is complete, remove your freshly prepared bread to cool. You’ll notice that the added ingredients are evenly distributed throughout the loaf, providing extra bursts of flavor in every bite!
Tips to Master the Drop-In Feature
To achieve consistent results, here are a few best practices to keep in mind when using the Cuisinart CBK-210 Drop-In setting:
- Don’t Overfill the Dispenser Overloading the compartment may result in uneven distribution or jamming the mechanism. Check the manual for safe fill limits.
- Stick to Dry Mix-Ins Liquid-heavy additions like syrups or purees should remain part of the main dough base to avoid dripping into the machine.
- Run a Test Batch If you’re using experimental ingredients, try a practice run to ensure compatibility with the cycle.
- Use Fresh Ingredients Old or stale nuts and fruits can compromise texture and flavor. Use fresh, high-quality ingredients for best results.
Why Choose the Cuisinart CBK-210
The Drop-In feature is just the tip of the iceberg when it comes to why the Cuisinart CBK-210 stands out among other bread makers. This user-friendly device is perfect for beginner and seasoned bakers alike, offering additional features such as:
- Multiple Recipe Programs From gluten-free bread to sourdough, it handles diverse baking needs.
- Customizable Settings Tailor settings like crust color (light, medium, or dark) and loaf size to your preference.
- Compact and Stylish Design Fits neatly into any kitchen.
Take Your Bread Making to the Next Level
Creating bakery-style bread in the comfort of your kitchen just got easier, all thanks to the Cuisinart CBK-210 and its Drop-In setting. By incorporating this intuitive feature into your baking routine, you’ll not only save time and effort but also unlock creative possibilities for your bread recipes.
If you’re a bread enthusiast looking for a dependable, high-quality appliance to enrich your kitchen experience, the Cuisinart CBK-210 is your perfect match.
Happy Baking!


