


The Lazy Susan is a genius space-saving storage solution, but it has one downside. Cleaning underneath that spinning shelf can turn into a nightmare if you don’t know how to access it. Dust, food crumbs, and mysterious gunk seem to accumulate there, often out of reach and sight.
If you’ve been avoiding the task, don’t worry—we’re here to help. This guide will break down the easiest ways to clean under a Lazy Susan shelf. With the right tools and techniques, you can keep it spotless without the headache.
Why Cleaning Under a Lazy Susan Matters
Before we get into the cleaning methods, you might wonder, “Why bother?” Here’s why keeping this area clean is important:
- Hygiene: Crumbs and spills can lead to bacteria or even pests over time.
- Avoid Odors: A dirty Lazy Susan can contribute to unpleasant smells in your kitchen.
- Prevent Wear and Tear: Dirt or sticky residue could impact the spinning mechanism or warp your cabinet base.
- Aesthetic Appeal: A clean cabinet looks better and makes storage feel more organized.
Now that you know why this task deserves your attention, let’s talk about the best strategies to tackle it.
Tools You’ll Need to Clean Under a Lazy Susan
Cleaning this tight and often hard-to-reach space is easier when you have the right tools. Here’s what you should have ready:
- A Flexible Cleaning Wand: This tool is a lifesaver for tight spaces. Look for one with an extendable handle and a removable microfiber pad.
- Microfiber Cloths: These pick up dirt and crumbs effectively without leaving lint behind.
- A Small Hand Vacuum or Dustbuster: Perfect for sucking up debris in really tight areas.
- Cleaning Spray or DIY Solution: Use a mild, all-purpose cleaner or mix your own solution (a tablespoon of dish soap in a spray bottle of warm water works well).
- Wood-Friendly Cleaner (optional): If your Lazy Susan is made of wood or has a wooden base, go for a cleaner formulated specifically for wood surfaces.
- A Lazy Susan Cleaning Tool (if available): Some companies sell tools specifically designed to clean under Lazy Susan shelves, featuring flexible flat surfaces that slide into the crevice.
With these tools in hand, you’re ready to make your Lazy Susan shine.
Step-by-Step Guide to Clean Under a Lazy Susan Shelf
Step 1. Remove All Items From the Lazy Susan
Start by emptying your shelves entirely. This not only gives you access to the area that needs cleaning but also lets you clean the items themselves. Check for any expired or unused items and declutter as you go.
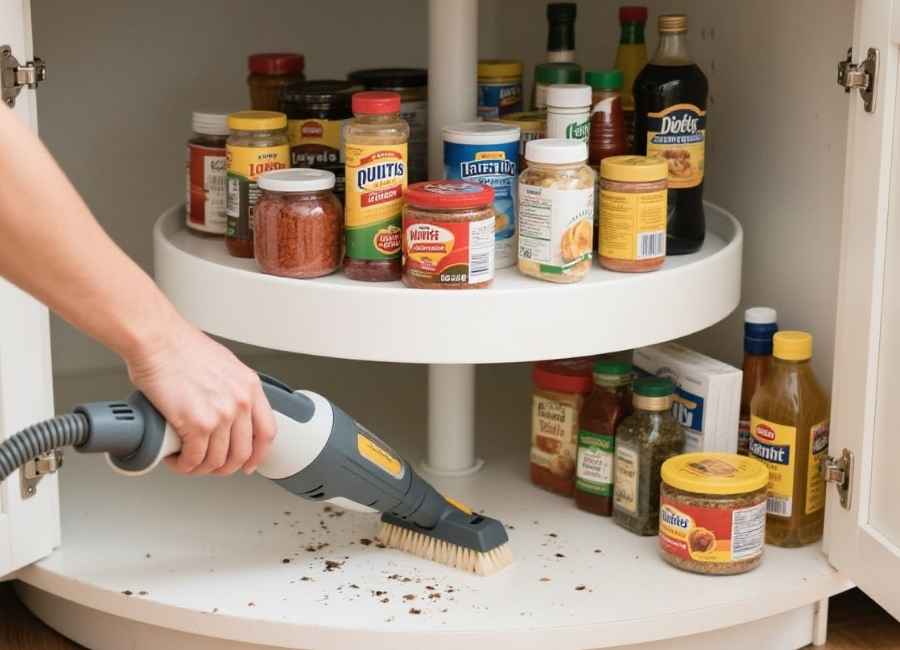
Step 2. Vacuum or Sweep Out Loose Debris
Use your small hand vacuum to remove crumbs, dust, and loose dirt. If you don’t have a vacuum, a small handheld broom or duster can work in a pinch. Focus on the crevices and the outer edge where debris tends to collect.
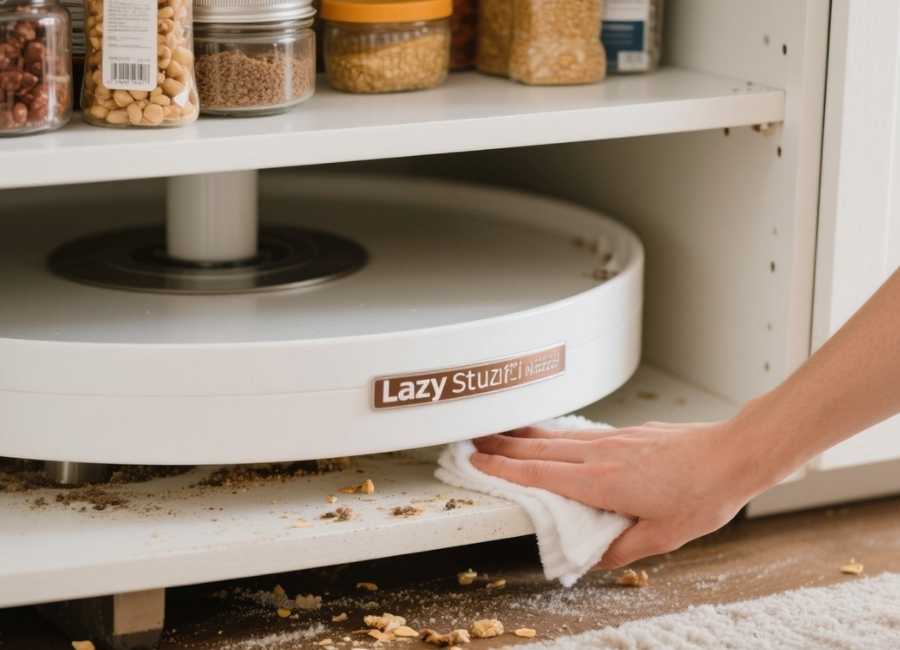
Step 3. Access Difficult Corners With a Cleaning Wand
The hardest part of cleaning a Lazy Susan is reaching the area between the shelf and the cabinet base. Here’s where a flexible cleaning wand comes in handy. Spray the wand’s microfiber pad with your cleaning solution and insert it into the gap to wipe away dirt from under the shelf.
If you don’t have a cleaning wand, you can DIY one using an old ruler wrapped in a microfiber cloth. Secure the cloth with a rubber band and use it to reach under the shelf.
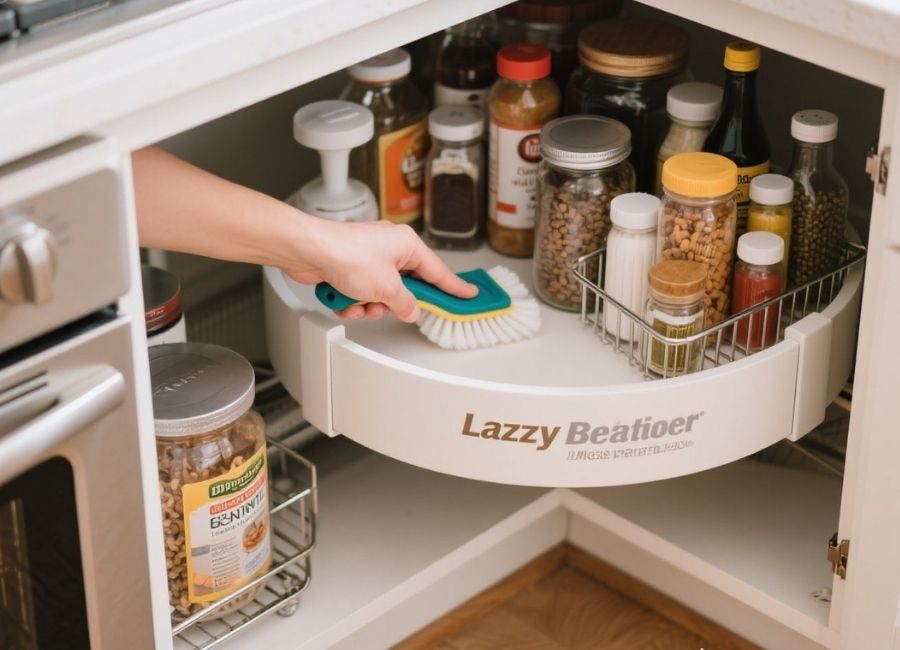
Step 4. Wipe the Surface
For the shelf itself and the accessible areas under it, spray your cleaning solution generously and wipe down the surface with a microfiber cloth. If there’s tough grime, allow the cleaner to sit for a few minutes before scrubbing gently.
Step 5. Address Tough Spots
If you notice sticky or stubborn spots, use a small toothbrush with soft bristles to scrub away the grime. A paste of baking soda and water works wonders on greasy stains.
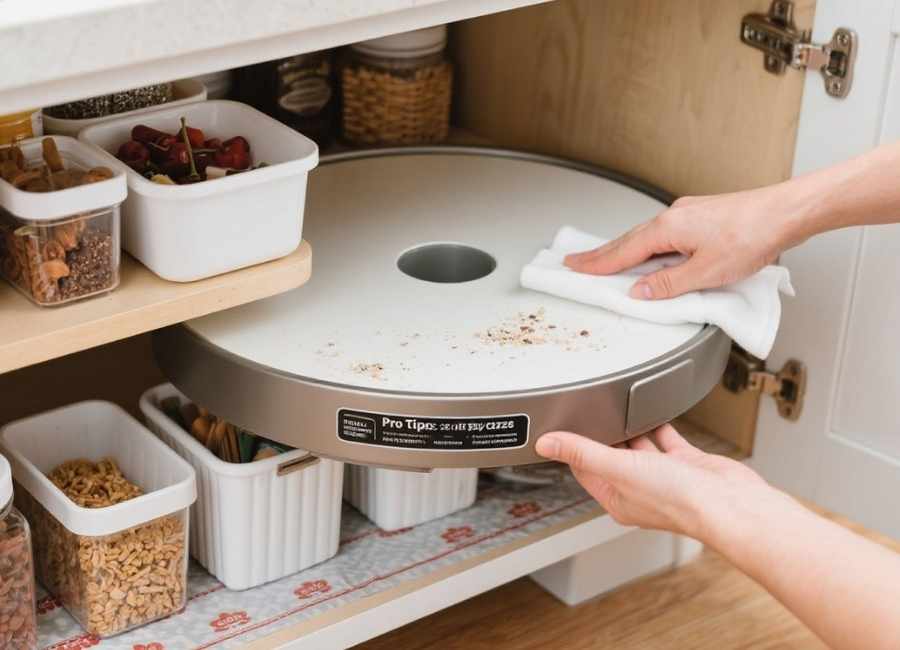
Step 6. Disinfect and Dry
Finish by disinfecting the area with an anti-bacterial cleaning spray or white vinegar. Dry the surface thoroughly using another clean microfiber cloth to prevent moisture from damaging the cabinet base.
Step 7. Restock Your Lazy Susan
Once the area is clean and dry, put all your items back in place. Use this time to organize your items thoughtfully. Group similar items together and keep frequently used ones toward the front for easy access. Consider adding tray dividers or shelf organizers for extra neatness.
Pro Tips to Keep Your Lazy Susan Clean
To make cleaning under your Lazy Susan less of a hassle in the future, follow these tips:
- Use Liners: A shelf liner can catch crumbs and spills, making it easier to clean up.
- Routine Maintenance: Wipe down your Lazy Susan every week to prevent buildup.
- Place Items in Containers: Store small or spill-prone items in bins or baskets to reduce mess.
- Check for Gaps: If crumbs are consistently falling into the gap under your shelf, consider adjusting the shelf height or adding a gap filler strip.
Tools Worth Investing in for a Hassle-Free Cleaning
While DIY cleaning solutions work just fine, there are tools on the market designed specifically for cleaning Lazy Susan shelves. Consider these purchases for an even easier process:
- OXO Good Grips Cleaning Wand – A flexible wand with a washable microfiber cloth for tight spaces.
- Full Circle Reach Bottle Brush – This brush is perfect for cleaning small gaps and corners.
- Rubbermaid Reveal Scrubber – A compact power scrubber for tough stains.
Keep Your Kitchen Storage Spotless
A Lazy Susan is one of the most convenient kitchen storage solutions, but it deserves the same level of care as your countertops and other surfaces. With the right tools and cleaning routine, you can ensure that your Lazy Susan stays clean, hygienic, and functional for years to come.
Cleaning under a Lazy Susan doesn’t have to be daunting. With a bit of planning and effort, you’ll master the task like a pro.
Happy cleaning!


