


Wiring a 3-way switch can be a rewarding project for any DIY enthusiast. This guide will walk you through the process step-by-step, ensuring you can control a single light fixture from defferent loacations.
Tools Needed
Before you start, gather these esswntial tools:
Voltage tester
Screwdriver (Phillips and flathead)
Wire stripper
Needle-nose pliers
Electrician’s tape
Wire nuts
Safety Precautions
Your safety is paramount when working with electricity. Follow these precautions:
Turn off the power at the breaker box for the circuit you’re working on.
Test the wires with a voltage tester to confirm the power is off before touching any wiring.
Wear appropriate personal protective (PPE), like gloves and safety glasses.
Ensure the workspace is well-lit.
Keep the Area dry.
Avoid working alone, especially for complex tasks.
Step-by-Step Instructions
Please turn off the power at the breaker box and verify it’s off with a voltage tester.
Identify the two switches that control the same light fixture. One is the original, and the other is the new or replacement switch.
Remove the cover plate from the original switch, and use the voltage tester to ensure no power is present.
Use a screwdriver to remove the switch from the box, avoiding contact with any wires. Double-check for no power in the box with a tester.
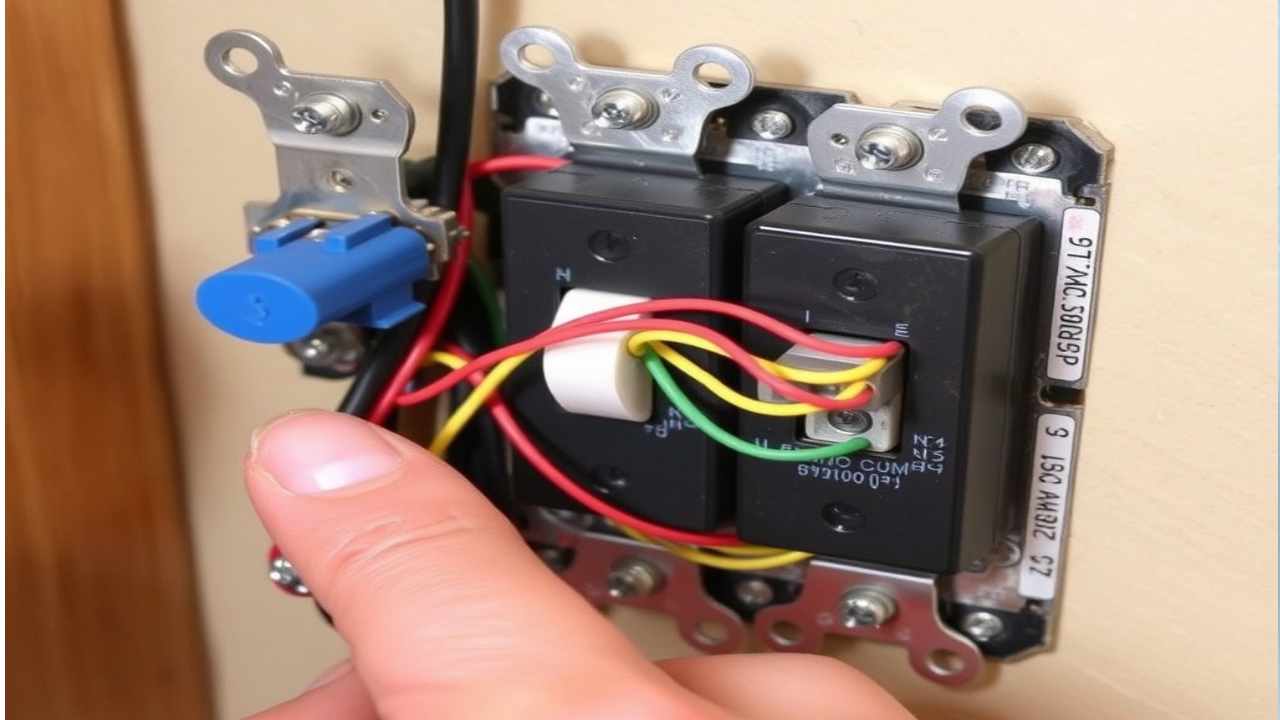
Identify the common terminal on the original switch. It’s usually a darker screw labeled “COM.”
Connect the common wire from the circuit to the common terminal on the original switch. This wire is typically black or “hot.”
On the new switch, identify the common terminal and connect the common wire from the light fixture to this terminal.
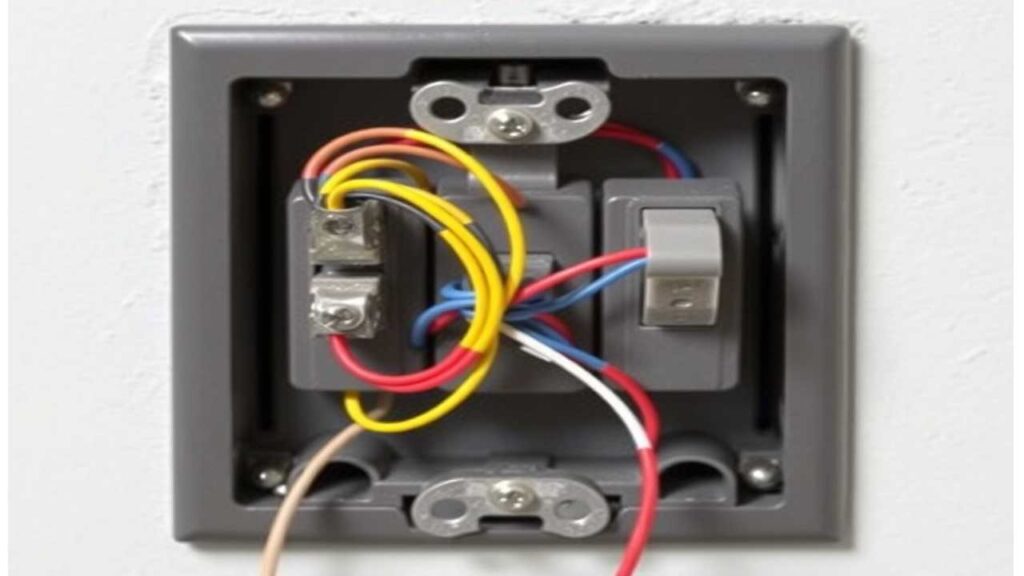
Connect the two traveler wires between the switches. These are usually red or white wires. It doesn’t matter which traveler wire connects to which traveler terminal on the switch.
Secure the switches back into their boxes, ensuring no wires are pinched. Reattach the cover plates.
Turn the power back on at the breaker box and test the switches. If they don’t work, recheck your wiring and connections.
By following these steps, you should successfully wire a 3-way switch system, which will allow you to control your lighting more conveniently. Remember, if you need more clarification or are uncomfortable with any step, it’s best to consult with or hire a professional electrician.
How to Wire a 3-Way Electrical Switch
Wiring a 3-way switch allows you to control a light fixture from two different locations. This is particularly useful in large rooms or hallways. Here’s a comprehensive guide to help you install or replace a 3-way switch safely and effectively.
Tools Needed
Before you begin, gather the following tools:
Voltage Tester: To ensure the wires are not live.
Screwdriver (Phillips and Flathead): For removing and securing screws.
Wire Stripper: To remove insulation from the wires.
Needle-nose Pliers: For bending or twisting wires.
Electrician’s Tape: For insulating connections.
Wire Nuts: To secure wire connections.
Safety Precautions
Safety first! Follow these precautions:
Turn off Power: Shut off power at the breaker box for the circuit you’ll be working on.
Test for Voltage: Use a voltage tester to confirm the power is off before handling wires.
Wear PPE: Gloves and safety glasses protect against shocks and debris.
Ensure Adequate Lighting: Work in a well-lit area to avoid mistakes.
Keep Area Dry: Water and electricity don’t mix—keep your workspace dry.
Don’t Work Alone: Have someone nearby in case of emergency, especially for complex tasks.
Step-by-Step Instructions
Turn off the Power to the Circuit:
Head to your breaker box and turn off the power to the circuit you’ll be working on. Use your voltage tester to ensure the power is completely off.
Identify the Two Switches:
Locate the two switches controlling the same light. One is the original, and the other is either new or being replaced.
Remove the Old Switch:
Unscrew the cover plate from the original switch. Use a voltage tester on the wires to double-check that the power is off. Then, remove the switch carefully without touching the wires and retest for power.
Identify the Common Wire:
On the original switch, find the common terminal—usually a darker screw labeled “COM.” The common wire, often black, is the hot wire.
Connect the Common Wire:
Attach the common wire from the circuit to the common terminal of the original switch.
Connect the Traveler Wires:
On the new switch, identify the common terminal and connect the common wire from the light fixture here. Then, connect the two traveler wires (usually red or white) between both switches. The order doesn’t matter.
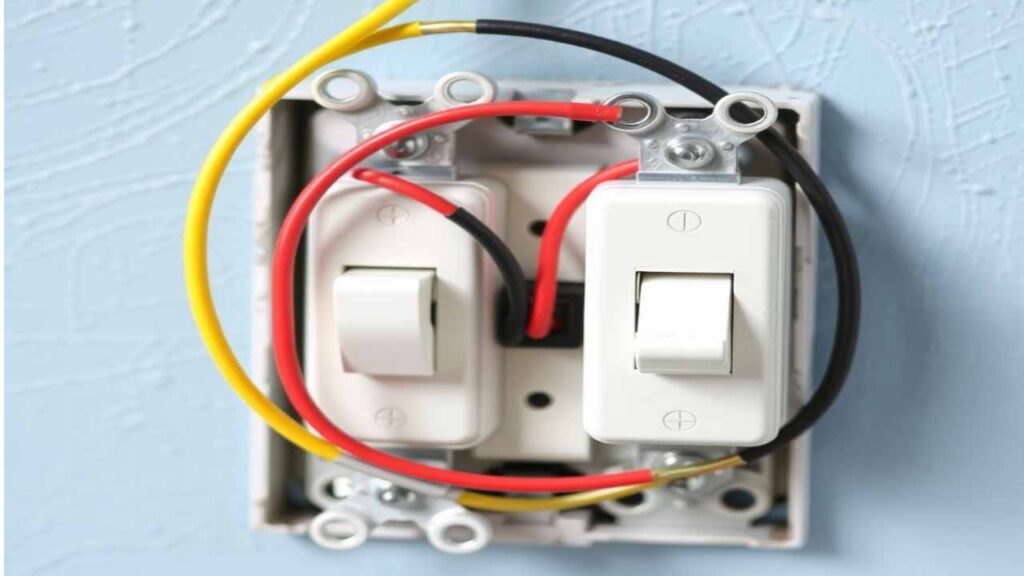
Connect the Ground Wire:
Ensure the ground wire is connected to the ground terminal on both switches.
Install the New Switch:
Secure the new switch into its box, ensuring wires aren’t pinched. Attach the cover plate.
Turn on Power and Test the Switch:
Restore power at the breaker box. Test both switches to confirm they work properly. If there’s an issue, recheck your wiring connections.
Secure the Switch in Place:
Once everything is confirmed working, securely fasten the switches back into the wall.
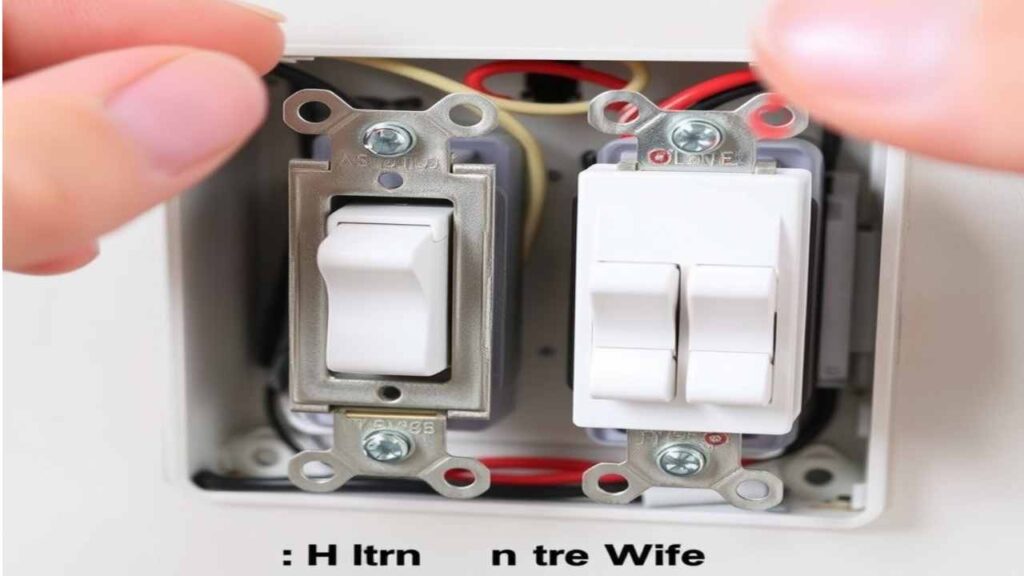
Label the Switches for Future Reference:
Mark the switches for easy identification in the future, indicating that they control the same light fixture.
By following these steps, you’ll successfully wire a 3-way switch, enhancing the functionality of your lighting setup. If you need more clarification at any point, consider consulting with a professional electrician.


