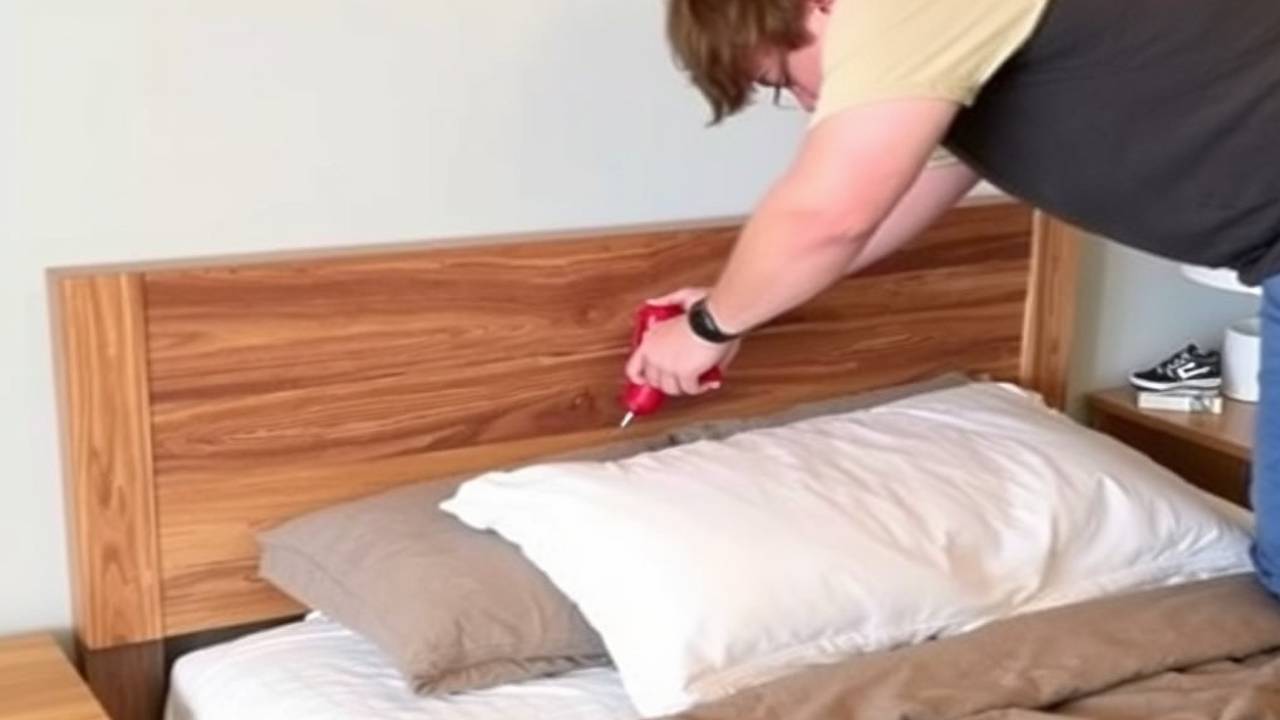
Attaching a headboard to your bed frame can transform the look of your bedroom and provide additional support for your bed setup. Follow these step-by-step instructions to attach your headboard securely.
The importance of Attaching the Headboard Properly
It’s important to properly attach your headboard to your bed frame for several reasons:
Stability and support: A securely attached headboard can provide additional strength and support for your mattress, preventing it from shifting or sliding.
Aesthetics: A well-attached headboard can enhance the overall look of your bedroom, adding decorative touch and bringing the entire room together.
Safety: An improperly attached headboard can pose a safety hazard, especially if it becomes loose or falls off unexpectedly. By following the correct steps, you can ensure that your headboard is safely and securly attached.
Materials Needed
Headboard: This can be purchased separately or as part of a bed frame set.
Bed frame: Mke sure the bed frame is the correct size for your headboard and mattress.
Screwdriver or drill: A screwdiver can be used for smaller screws, but a drill may be necessary for laeger screwa or bolts.
Step-by-Step Guide to Attaching a Headboard to a Bed Frame
1. Start by laying out all of the necessary materials and cheking that you have everything you need.

2. Place the hedboard the bed frame, making sure it is centered and aligned correctly.
3. Use a pencil or marker to mark where the holes on the bed frame line up with the holes on the headboard.
4. If your headboard does not already have pre-drilled holes use a power drill to create them at the maked spots.
5. With someone holding the headboard in place, insert, screws or bolts through each hole on the bed frame and into their corresponding holes on the headboard.
6. Use a acrewdriver or drill to tighten the screws or bolts, making sure they are secure but not too tight.
7. Check that the headboard is straight and attached adequately by gently pushing on it from different angles.
8. lf you notice any wobbling or looseness, go back and tighten the screws or bolts as necessary.
9. Once you are satisfied with the stability of the hedboard, step beck and admire your newly attached addition to your bed frame.
Additional Tips and Considerations
If you have a headboard with legs, maks sure they are securely attached to the bed frame as well. For added stability, you can use wall brackets to attach the hedborard to the wall behind it. If your headboard is made of heavier materials such as wood or metal, you may need addifionl help or support when attaching it to the bed frame. It’s essential to regularly check and tighten any screws or bolts on your headboard and bed frame to ensure they remain securely attached over time.
Securing the Headboard with Screws

Securing your headboard with screws is crucial for ensuring it stays fimly attachad to the bed frame. Begin by selecting screws that are the correct length and gauge for both your headboard and bed frame, ensuring they penetrate deeply enough to provide a firm hold without risking damage. Position the headboard carefully so its mounting holes align precisely with those on the bed frame. Once aligned, insert the screws into each hole, using a screwdriver or drill to drive them in evenly. It’s essential to apply steady pressure and stop once they are snug to avoid stripping the screw or damaging the materials. For best results, work systematically from one side to the other, continually checking that the headboard remains straight and aligned. Upon completion, inspect and test the attachment to confirm the headboard is stable and secure.
Troubleshooting Common Attachment Issues
Attaching a headboard to a bed frame may present a few challenge. Here are some common issues you might encounter and how to troubleshoot them:
Misaligned Holes: It the holes on the headboard do not line up with the bed frame, try adjusting the position of the headboard. You should slightly lift or lower it to find the proper alignment. If this doesn’t work, consider drilling additional holes, ensuring they won’t maintain the structural integrity of the headboard.
Loose Headboard: A headboard that feels loose after attachment may require additional tightening of screws or bolts. If tightening doesn’t resolve this, inspect the screws for wear or stripping and replace them if necessary. Adding washers can also help provide a tighter fit.
Headboard Wobbling: If the headboard wobbles, it may be due to uneven floors or an issue with the legs if the headboard has them. Use a level to check for even attachment, and adjust the legs or use shims if needed to stabilize.
Stripped Screw Heads: Stripped screw heads can prevent proper tightening. If this happens, use a screwdriver with a firm grip or a specially designed extraction tool to remove them. Replace with new screws to ensure secure attachment.

Incompatible Hardware: Sometimes, the screws or bolts provided may not be suitable for your particular bed frame and headboard. Consult with the manufacturer’s guide or seek alternative fasteners from a hardware store that are more appropriate for your materials.
Damaged Bed Frame or Headboard: Damage from previous assembly attempts or wear and tear might cause issues. Address any structural weaknesses or consider reinforcing the affected area with metal brackets or wood glue before proceeding with reattachment.
Maintaining Stability After Installation
Ensuring the continued stability of your headboard after installation involves regular maintenance and periodic checks. Begin by routinely inspecting the screws and bolts, particularly if the bed experiences frequent use. Tighten any loose components to maintain the integrity of the attachment. Additionally, dust and clean the headboard regularly, as accumulated dust can affect the material and lead to deterioration over time. If your headboard is attached to the wall, periodically check the wall brackets for stability and ensure there is no pulling away from the wall. Consider using furniture pads or bumpers on the headboard’s contact points with the wall to minimize noise and prevent damage. For headboards with legs, ensure the floor surface remains even by addressing any issues with the flooring that could lead to wobbling. Finally, now and then, reevaluate whether the existing screws and bolts remain suitable, replacing them with longer or stronger fasteners if necessary. This proactive approach will help keep your headboard secure and prolong its lifespan.
Alternative Methods for Attaching Headboards
While using screws and bolts is a common approach, there are alternative methods to attach headboards that can provide enhanced stability or aesthetic appeal. One popular option is the use of cleats or French cleats, which involve attaching a wooden or metal cleat to both the wall and the headboard, allowing it to hang securely. This method provides support and keeps the headboard flush against the wall.
Another technique is the use of bed frame brackets. These specially designed brackets are mounted onto the bed frame and allow the headboard to be easily attached or detached. They offer flexibility for those who may want to change their headboard or bed configuration frequently.
For a tool-free solution, adhesive strips or hooks can be used for lighter headboards. These industrial-strength strips offer a no-mess option and can hold surprisingly well, provided that the headboard’s weight is within the specified limits. This is ideal for renters or those who prefer not to drill holes.
Lastly, velcro strips can be an innovative and easy method for temporary attachment. Ideal for fabric or upholstered headboards, heavy-duty velcro allows for quick installation and removal, making it practical for frequent moves or redesigns. Whichever method you choose, consider the material, weight, and intended use of your headboard to select the most suitable solution.
Conclusion
Attaching a headboard to your bed frame may seem like a simple task, but it’s essential to follow the correct steps for stability and safety.If your bed frame has slats, make sure they are correctly aligned and secured before attaching the headboard. Consider using washers between the screws or bolts and the headboard to provide additional support and prevent


