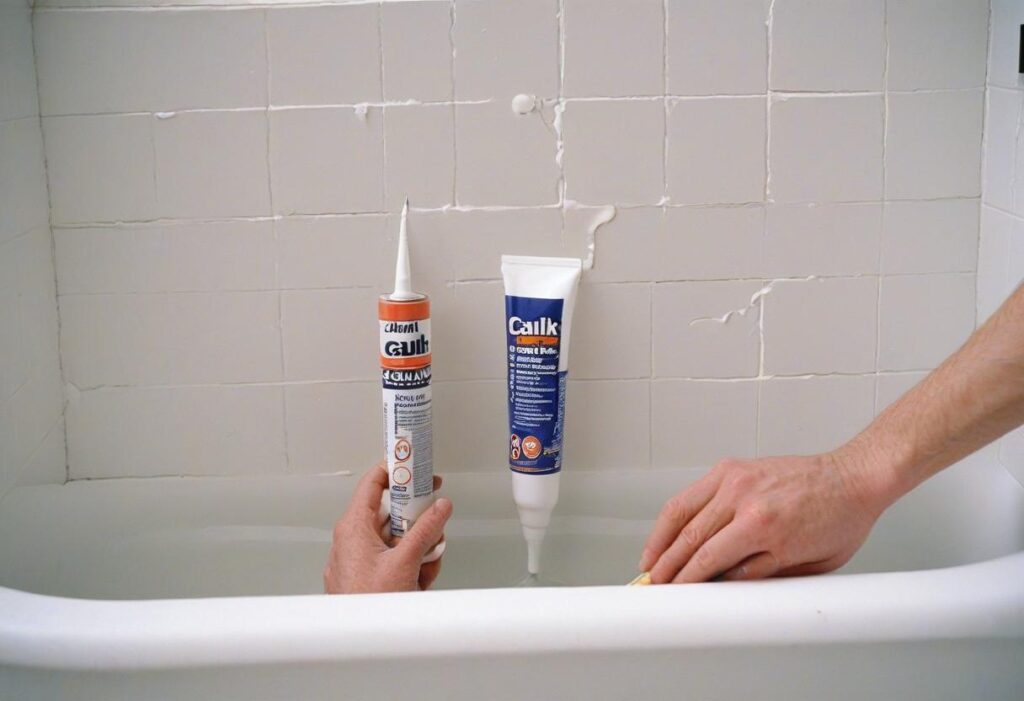
Caulking might seem straightforward—apply the caulk, smooth it over, and you’re done, right? Well, not quite. If you’ve tackled home improvement projects, you know it isn’t as simple as it looks, especially when it comes to drying and curing times. How long does caulk take to dry, you ask? The answer depends on various factors, such as the type of caulk, environmental conditions, and how it’s applied.
This guide is here to demystify the drying and curing process of caulk. Whether you’re a homeowner sealing up a drafty window, a DIY enthusiast refinishing a bathroom, or a contractor managing tight project deadlines, this blog will provide all the insights you need to ensure your caulking job is top-notch.
What Is Caulk, and Why Does Drying Time Matter?

Before discussing drying times, let’s first understand caulk. Caulk is a flexible material used to seal gaps, cracks, or joints around your house. It prevents air, water, and pests from sneaking in, making it a vital tool for tasks like sealing bathtubs, repairing siding, and trimming baseboards.
But why does drying (and curing) time matter? If you don’t allow the caulk to dry properly:
- It won’t adhere securely, leading to cracks and potential leaks.
- Paint applied over wet caulk can bubble or peel.
- Moisture exposure may compromise its integrity in bathrooms or outdoor spaces.
Drying caulk properly ensures a longer-lasting and more effective seal.
Drying vs. Curing: What’s the Difference?
Before moving forward, it’s important to distinguish between two critical terms that are often used interchangeably but mean very different things in the world of caulking:
Drying Time: This refers to how long it takes for the surface of the caulk to harden and become dry to the touch.
Curing Time: This is the period needed for the caulk to harden and fully achieve its maximum adhesive strength and flexibility.
Some caulks may dry in as little as 30 minutes but require up to 24 hours—or even a week—to cure completely. Jumping the gun here could compromise your project’s longevity.
Factors That Impact Caulk Drying Time
Several factors influence how long it takes for caulk to dry. Consider these variables to set realistic expectations:
Type of Caulk
Different caulks have different drying properties:
- Acrylic Latex Caulk dries in about 30 minutes to 1 hour but requires 24 hours to cure. It’s paintable and works well in low-moisture areas.
- Silicone Caulk takes longer to dry and cure—usually up to 12 to 48 hours. It’s water-resistant, making it ideal for kitchens and bathrooms.
- Polyurethane Caulk: Requires 3–7 days for complete curing. It’s exceptionally durable and great for exterior applications.
- Specialty Caulks (Fireproof, Waterproof): Drying times vary widely; always check the label for specifics.
Environmental Conditions
Temperature and humidity play a massive role:
- Temperature: Caulk dries faster in warmer conditions (above 50°F) than in colder climates.
- Humidity: High humidity can delay drying, while low-humidity environments speed up the process.
Application Thickness
The more caulk you apply, the longer it will take to dry. For optimal results, use a ¼-inch or thinner bead of caulk. Thicker layers take longer to dry and are more challenging to smooth.
Ventilation
Good airflow accelerates caulk drying. If you’re working in an enclosed area like a bathroom, consider using a fan or opening windows to improve ventilation.
Product Formulation
Always check the manufacturer’s label. Some brands feature fast-drying formulas designed to cut drying times in half.
Pro Tip: If you’re pressed for time, look for labels stating “fast-dry” or “express dry.” These are formulated to minimize the wait time.
Step-by-Step Guide to Ensuring Proper Caulking
The success of your caulking job depends not just on waiting for it to dry but also on how you apply it. Here’s a step-by-step breakdown to ensure you get it right:
Step 1: Prep the Area
- Remove old caulk with a utility knife or caulk remover tool.
- Clean the surface using rubbing alcohol (for silicone-based projects) or a mild detergent for acrylic latex caulk.
- Ensure the area is arid before application.
Step 2: Choose the Right Caulk
Determine the best caulk type based on your application. For instance:
- Use waterproof silicone in bathrooms.
- Opt for paintable acrylic latex for window trims.
Step 3: Apply Evenly
Cut the nozzle of the caulk tube at a 45-degree angle. Apply consistent pressure to create a smooth bead, then use a gloved finger, finishing tool, or damp cloth to smooth the caulk.
Step 4: Clean Excess Caulk
Wipe away excess caulk immediately to prevent it from drying in unwanted areas.
Step 5: Allow for Adequate Drying and Curing
Follow the manufacturer’s recommended drying and curing times. Avoid painting, touching, or exposing the caulk to moisture until it’s fully set.
Pro Tip: Use painter’s tape on either side of the gap for a precise finish. Remove the tape immediately after smoothing the caulk.
How to Test if Caulk Is Dry
Is your caulk dry enough for paint or water exposure? Perform this simple test:
- Touch the caulk lightly with your finger. If it feels tacky, it’s not fully dry.
- To check for curing, gently press the caulk. If it bounces back, it’s likely cured and ready for action.
When in doubt, err on caution and give the caulk more time to set.
Frequently Asked Questions (FAQs)
How Long Does it Take for Silicone Caulk to Dry?
Depending on thickness, temperature, and humidity, silicone caulk typically takes 12 to 48 hours to dry.
Can I Speed Up the Drying Process?
Yes! To speed up drying time:
- Use a hair dryer in a low-heat setting.
- Increase room ventilation with a fan.
- Opt for fast-drying caulk formulations.
What Happens if Caulk Gets Wet Before It Cures?
Water exposure can wash away or weaken uncured caulk, compromising its seal. Always ensure the caulk is fully cured in high-moisture applications.
Can I Paint Over Caulk Before It Dries?
Painting over wet caulk can lead to cracking or peeling paint. Wait until the caulk is dry and fully cured before applying paint.
Master Your Next DIY with Confidence
Drying and curing caulk are critical steps that can help ensure the longevity and success of your next project. With the right caulk, preparation, and patience, you’ll achieve lasting professional-quality results.
Are you ready to improve your DIY skills? Browse our blog for helpful tips, and share your favorite caulking hacks in the comments below. Happy sealing!


