Your fifth-wheel trailer is your home on wheels, and like any home, it needs maintenance. One issue many fifth-wheel RV owners encounter is a broken or worn-out cable on their reclining couch. This small but critical component ensures your couch operates smoothly, allowing you to kick back and relax after a long day on the road.
If your reclining mechanism isn’t working as it should, don’t worry—we’ve got you covered. This guide will provide step-by-step instructions for replacing your cable safely and efficiently, saving you a costly service call.
By the end of this guide, you will have all the knowledge you need to tackle this DIY project confidently.
What You’ll Need to Get Started

Before you begin, gather the necessary tools and materials. Having everything on hand will make the process more efficient.
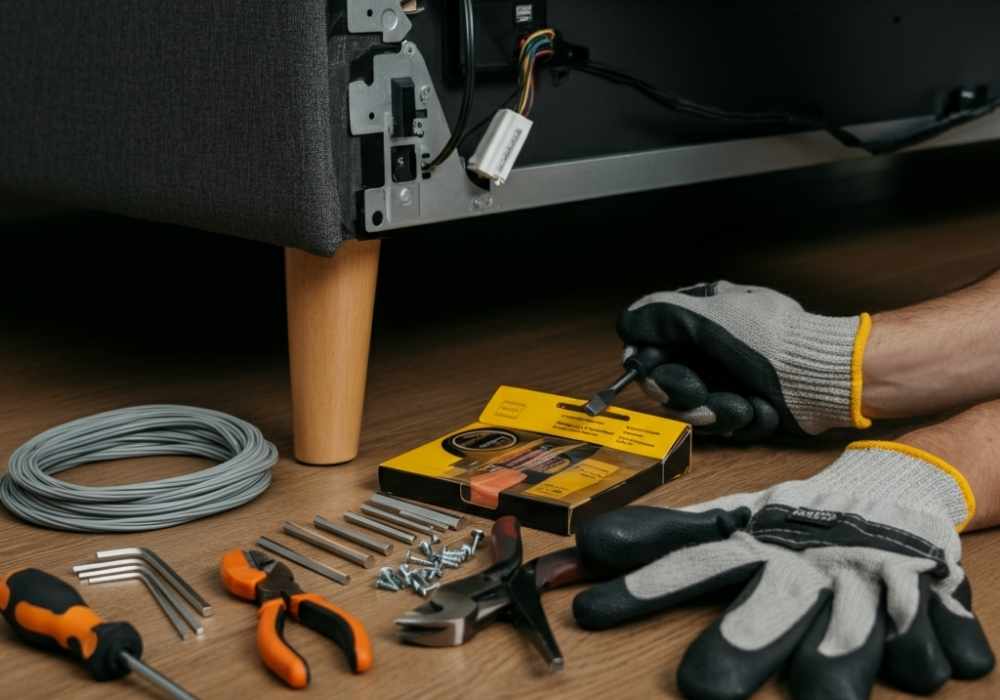
Tools and Materials
- Replacement cable (make sure it’s compatible with the model of your couch)
- Screwdriver set (flathead and Phillips)
- Allen wrench set
- Pliers (needle-nose recommended)
- Cutting tool (if the old cable is jammed)
- Flashlight (to help see under and inside the couch)
- Work gloves (to protect your hands)
Once your tools are ready, clear a space large enough to work on and ensure the area is well-lit. Opening your slides might provide additional room if you’re in your fifth wheel.
Step-by-Step Guide to Replacing the Cable
Step 1: Inspect the Couch to Confirm the Problem
Before jumping into repairs, ensure the cable is indeed the issue. Often, the reclining mechanism can seem faulty due to loose screws or misalignment.
- Flip the couch over to expose the underside.
- Look for signs of wear and tear on the cable, such as fraying or complete breakage.
- Check the reclining handle to ensure it’s securely attached.
If the cable is visibly damaged, it’s time for a replacement.
Step 2: Remove the Old Cable
Carefully remove the damaged cable while taking note of how it’s installed. This will help you properly align the new one.
Here’s how to do it step by step:
- Locate the reclining mechanism underneath the couch. The cable typically runs from the reclining handle to this mechanism.
- Use a screwdriver or Allen wrench to unscrew the handle assembly from the couch.
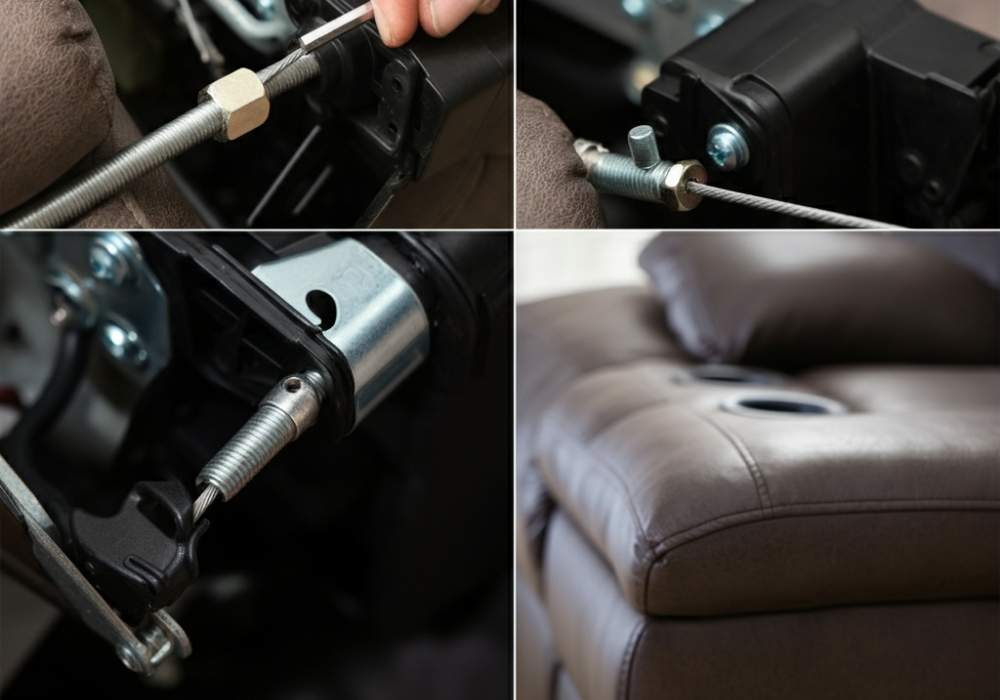
- Disconnect the cable from the handle. You may need pliers to loosen it if it’s stuck.
- Trace the cable down to where it attaches to the reclining mechanism. A small metal hook or bracket often secures it.
- Using your pliers, release the cable from the bracket. If the cable is jammed, carefully cut it free using a tool.
Once the old cable is removed, you can install the new one.
Step 3: Install the New Cable

Installing the new cable is essentially the reverse process of removing the old one. Follow these steps for a seamless replacement.
- Attach the new cable to the reclining mechanism. If it comes with a hook or clip, slide it into place securely.
- Route the cable along the same path as the old one, ensuring no twisting or tangling.
- Connect the other end of the cable to the reclining handle. Tighten the screws or connectors using your screwdriver or Allen wrench.
- Reattach the handle assembly to the couch frame, ensuring it’s snug but not over-tightened.
Step 4: Test the Reclining Mechanism
With the new cable installed, testing the mechanism before putting everything back in place is vital.
- Flip the couch upright and pull the handle to test the functionality.
- Ensure the reclining motion is smooth and the handle doesn’t feel loose.
- If everything is working correctly, congrats! You’ve successfully installed the new cable.
If the couch isn’t reclining properly, double-check the cable alignment and connections for any issues.
Step 5: Secure and Clean Up
Once satisfied with the repair, secure any loose components underneath the couch and tidy up your tools.
- Tighten any screws or bolts that may have loosened during the process.
- Wipe down the couch and surrounding area to remove any dust or debris created during the repair.
Pat yourself on the back—you’re done!
Tips for Success
Buy the Right Cable: Always double-check the compatibility of your replacement cable. You can often find the exact model by looking up your couch’s serial number.
Take Pictures: Before removing the old cable, take photos of how it’s installed. This can serve as a helpful reference later.
Work Slowly: It’s better to take your time than to rush and risk damaging the reclining mechanism or the new cable.
When to Call a Professional
While most fifth-wheel RV owners can handle this DIY repair, there are situations where you may want to seek professional help:
- The reclining mechanism itself is broken or jammed.
- The frame of your couch is damaged and requires welding or additional repairs.
- You lack the tools or space to complete the job safely.
RV service centers can provide expert assistance, which will likely be more costly than a DIY fix.
Keep Your Fifth Wheel Comfortable and Functional
Maintaining your fifth-wheel trailer’s interior doesn’t have to be daunting. Simple repairs, like replacing a couch cable, are a great way to keep your RV functional while saving money.
Remember, preparation, patience, and attention to detail are the keys to any successful DIY project. By following this guide, you’ll have your reclining couch as good as new in no time—ready for your next big adventure.
If this tutorial helped you, share it with your fellow DIY enthusiasts or leave a comment below about your experience. Happy RVing!


