Bathing in a steamy bathroom is one thing, but dealing with the resulting moisture is another. A bathroom fan is essential for reducing humidity, preventing mold, and maintaining air quality. But what if your bathroom doesn’t have one? Whether you’re a homeowner looking to upgrade your space, a DIY enthusiast with a knack for home improvement, or an interior designer aiming to enhance functionality, installing a bathroom fan can be a manageable project.
This guide will help you install a bathroom fan where one doesn’t exist. It includes a list of necessary tools, a detailed step-by-step process, and tips for smooth installation.
Why Install a Bathroom Fan?
Prevent Moisture Damage
Bathrooms with fans often need more moisture, leading to mold growth, peeling paint, and warped wood. A bathroom fan ensures that humidity levels are controlled, thus preserving the integrity of your bathroom fixtures and finishes.
Improve Air Quality
A fan helps to expel odors and pollutants, creating a fresher and healthier indoor environment. This is especially beneficial for homes in areas with poor ventilation or where windows are only sometimes an option.
Planning Your Installation

Choose the Right Fan
Before starting the installation process, select a suitable fan based on the size of your bathroom. Fans are rated by the cubic feet per minute (CFM) of air moved; a larger bathroom will need a higher CFM.
Check Local Building Codes
Ensure your project complies with local building codes, which may specify specific installation requirements.
Tools and Materials You Will Need
- Electric drill with bits
- Drywall saw
- Stud finder
- Flathead and Phillips screwdriver
- Measuring tape
- Wire stripper
- Voltage tester
- Safety goggles and gloves
- Bathroom exhaust fan kit
- Flexible ductwork
- Roof or wall vent kit
- Wire nuts and electrical tape
Step-by-Step Installation

Safety First
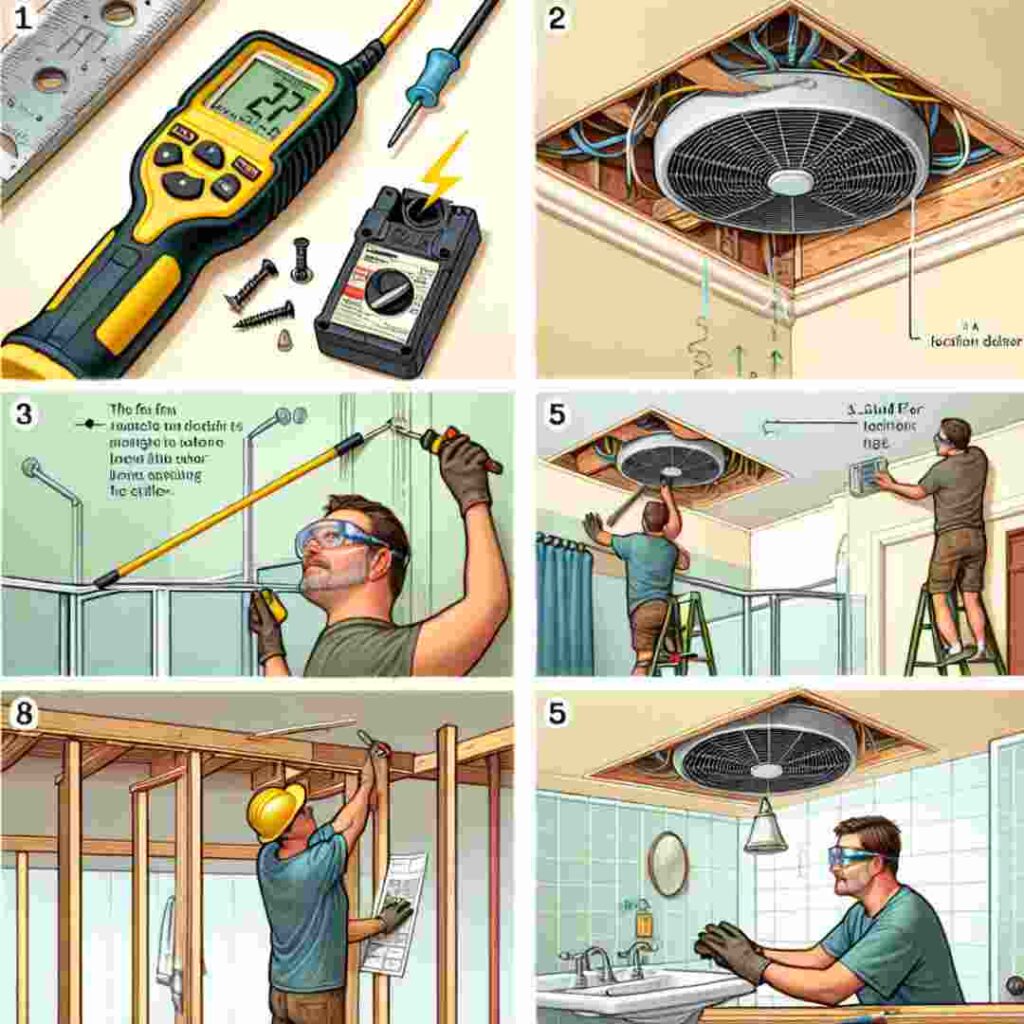
Before beginning any electrical work, turn off the power at the circuit breaker. Use a voltage tester to confirm the electricity is off to avoid accidents.
Select the Vent Location
Use the stud finder to locate and mark two joists in the ceiling. Aim to position the fan between these joists, preferably near the shower or bathtub, to remove steam effectively.
Mark the Hole
Using the fan housing as a template, outline the cutout where your fan will be installed. Then, outline the ceiling, ensuring it’s properly centered between the joists.
Cut the Hole
Wear safety goggles and gloves, and cut along the marked outline with a drywall saw. This will create the central opening for your fan.
Install the Fan Unit
Insert the fan housing into the hole and fix it securely between the joists with the screws provided. Be sure it is appropriately aligned and sits flush against the ceiling.
Run the Ductwork
Connect the fan outlet to the roof or wall vent using flexible ductwork. Ensure the duct is straight with minimal bends for optimal airflow.
Install the Vent Cap
From the outside, install the vent cap on your roof or wall. Secure it tightly to prevent water leakage. This step may require a ladder and additional safety precautions, depending on the location.
Connect the Wiring
Following the fan’s instruction manual, connect the electrical wiring. Use your wire stripper to prepare the wires, attach them using wire nuts, and secure them with electrical tape.
Test Your Installation
Restore power and test the fan to ensure it operates properly. Check for any unusual noises or issues with airflow.
Additional Tips for Success
Seal It Tight: Use caulk or weatherproof sealant around the vent cap to prevent water leakage.
Opt for a Timer: Installing a timer switch can help control operation, ensuring the fan runs long enough to clear steam and odors but not longer than necessary.
Choose a Quiet Model: Modern fans offer quieter operation, measured in sones. Look for fans with lower sone ratings for a more pleasant experience.
Invest in Comfort and Health

Installing a bathroom fan without prior experience can seem daunting, but it’s within reach with the right tools and guidance. By following these steps, you will increase the comfort and usability of your bathroom and the overall health of your living environment.
For more personalized advice or assistance, consider consulting a professional. They can offer insights tailored to your specific bathroom layout and requirements.
Frequently Asked Questions
1. Can I install a bathroom fan in a room with no exterior wall?
Yes, you can still install a bathroom fan in a room without an exterior wall. The fan can be vented through the roof or a ceiling cavity leading to an exterior vent.
2. How do I determine the correct fan size for my bathroom?
To find the right fan size, calculate the bathroom’s volume (length x width x height) and select a fan with a CFM rating that matches or exceeds this volume. Generally, a fan should have at least 1 CFM per square foot of floor space.
3. Is it necessary to clean the bathroom fan regularly?
Yes, regular cleaning is essential to maintaining the fan’s efficiency. Dust and debris can accumulate in the fan unit and ductwork, so it is recommended that they be cleaned every six months.
4. Can I handle the installation or hire a professional?
The installation can be a DIY project if you have the necessary skills and tools. However, hiring a professional to ensure safety and compliance with building codes is wise if you’re uncomfortable with electrical work or structural modifications.
5. What should I do if my fan is too noisy?
If your fan is noisy, check for loose parts or installation issues. Ensure that the fan is securely attached and that the ductwork is straight. If the noise persists, consider upgrading to a newer model with a lower sone rating for quieter operation.
Conclusion
Installing a bathroom fan in a room lacking one can significantly improve your home’s air quality and comfort. By carefully selecting the right fan, adhering to building codes, and following a systematic installation process, you can achieve adequate ventilation that mitigates steam, odors, and moisture-related issues. This guide outlines how even novice DIY enthusiasts can undertake this project with insufficient preparation and the right tools. A well-installed fan enhances immediate comfort and contributes to the long-term health of the bathroom infrastructure and its users. For those uncertain about any step of the installation, consulting a professional can ensure the job is done safely and efficiently. With the successful installation of a bathroom fan, you take an essential step toward creating a healthier and more pleasant living environment.


