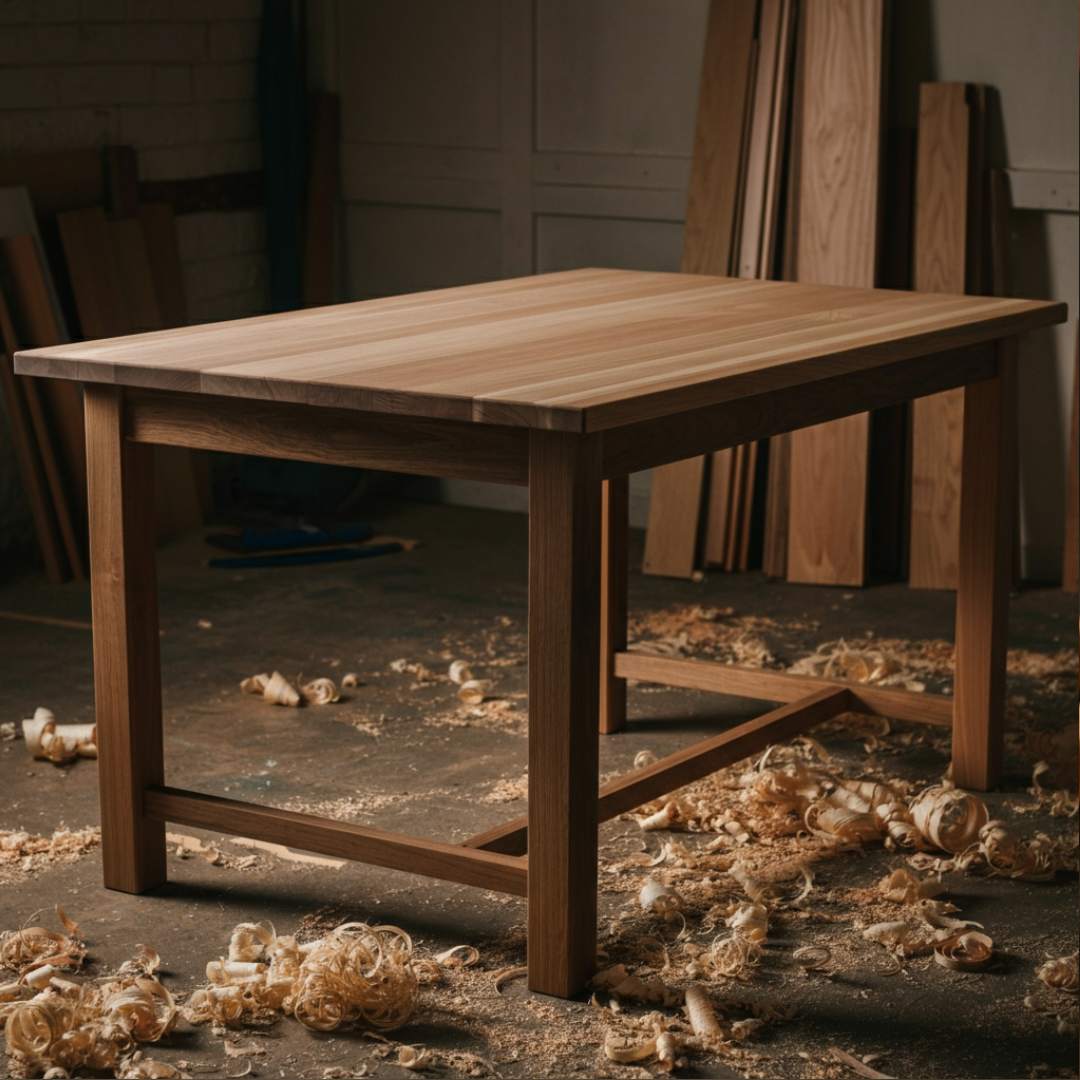
Whether you’re a woodworking hobbyist, a home decorator looking for the perfect centerpiece, or a DIY enthusiast eager for your next project, making your table can be an enriching experience. Not only will you end up with a one-of-a-kind item tailored to your taste and space, but you’ll also get to pour your creativity and craftsmanship into something timeless.
This guide will walk you through the basics of making a table, including choosing materials, designing the perfect piece, and building it step by step. You’ll have the knowledge and confidence to create your functional, beautiful table by the end.
Why Make Your Table?
Economical and Customized
Store-bought tables can be expensive, especially if you’re looking for high-quality craftsmanship. Making your table allows you to cut costs while customizing it to meet your needs—whether that’s a specific size, shape, or finish.
A Meaningful Craft
There’s something deeply satisfying about crafting a functional piece with your own hands. Plus, it’s a great way to add a personal touch to your home.
Skill-Building Experience
This project is an excellent way for woodworking beginners to learn basic techniques like cutting, sanding, assembling, and finishing. If you’re already into DIY, consider it another skill to add to your toolbelt.
Now, let’s get started!
Materials and Tools You’ll Need
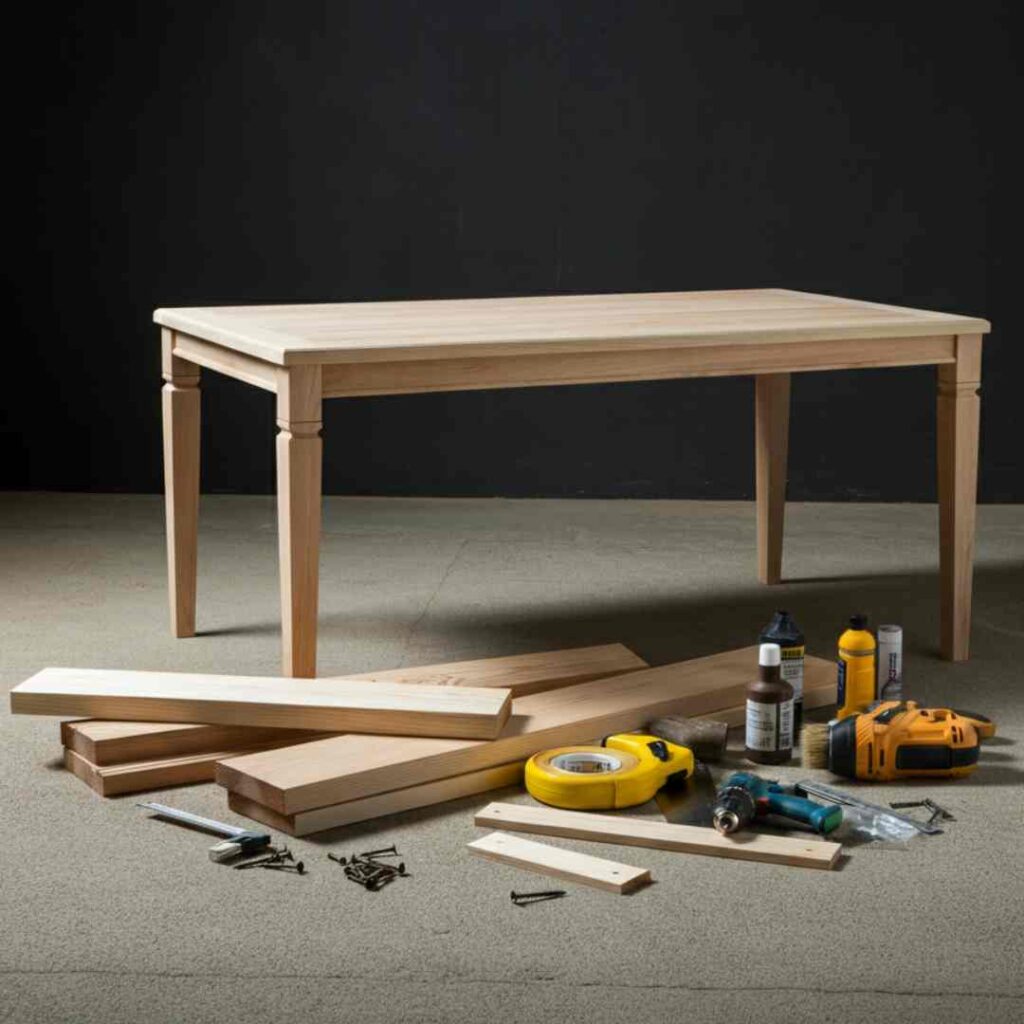
Before you begin, gather all your materials and tools. Here’s what you’ll need to make a bare wooden table:
Materials:
Wood for Tabletop
Options include pine (budget-friendly), oak (durable), or walnut (premium look).
Wood for Legs
Choose pre-cut legs or create your own using 2x4s or wooden dowels.
Fasteners
Screws, nails, or bolts, depending on your design.
Wood Glue
For additional stability.
Finish
Stain, paint, or clear varnish based on your aesthetic preference.
Tools:
- Measuring tape
- Saw (hand saw or table saw)
- Drill and drill bits
- Screwdriver
- Hammer
- Sandpaper (various grits) or an electric sander
- Clamps
- A paintbrush or a cloth for applying finishing touches
Step 1: Plan Your Table Design
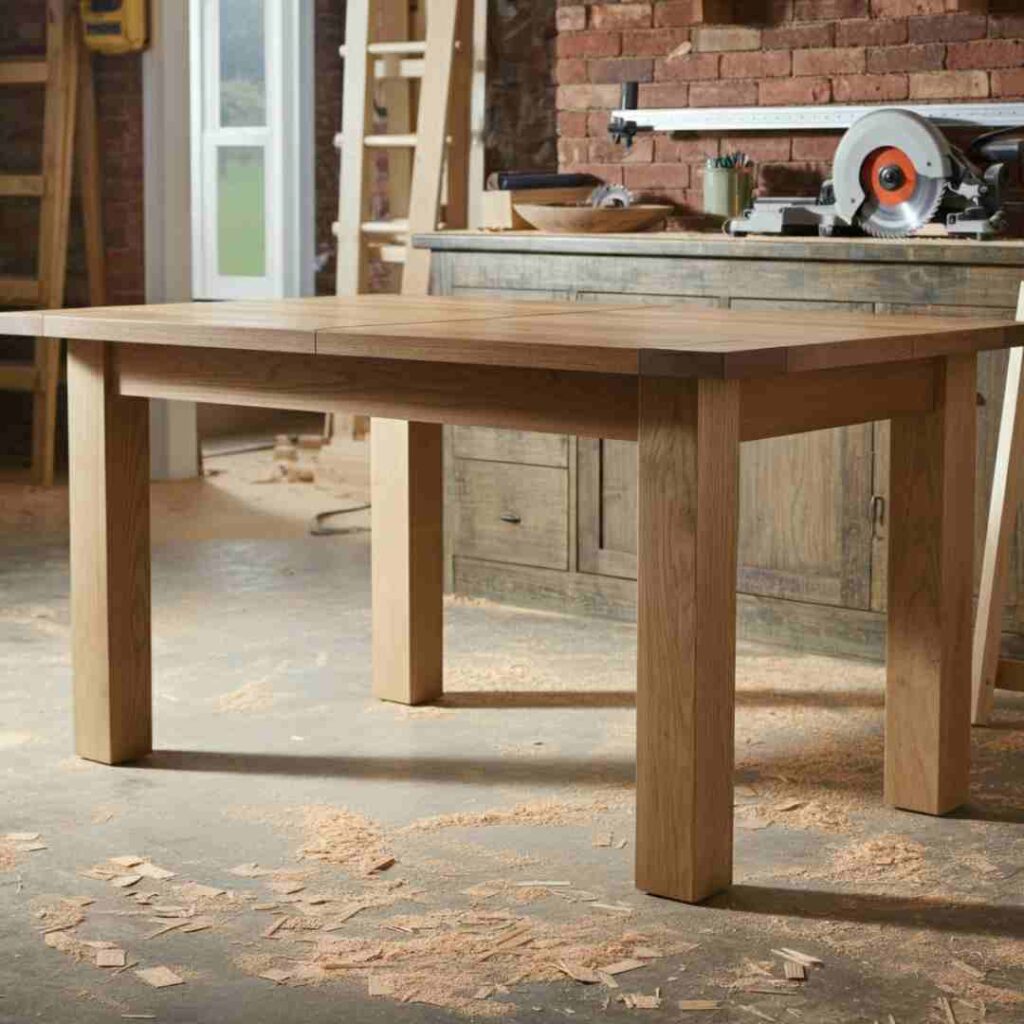
Start by envisioning what kind of table you want to make. Is it a dining table, a coffee table, or a side table? Keep in mind the space it will occupy and ensure the dimensions fit.
Considerations:
Style
Traditional, rustic, modern, or something unique?
Dimensions
Standard sizes are:
- Dining Table: 30″ height × 72″ length × 36″ width (for six people)
- Coffee Table: 18″ height × 48″ length × 24″ width
Shape
Rectangular, square, round, or oval.
Sketch your design on paper or use a simple design tool online to visualize your idea.
Step 2: Cut Your Pieces
Once your design is ready, it’s time to cut the wood to size. Measure and mark all the pieces you’ll need for the tabletop, legs, and supports.
Tips:
Double-Check Measurements: Measure twice and cut once.
Use the Right Saw: A hand saw is great for smaller projects, but a table or circular saw can save time for more significant cuts.
Sand Edges: Once cut, sand all edges to ensure smooth surfaces that are easy to assemble.
Step 3: Assemble the Tabletop
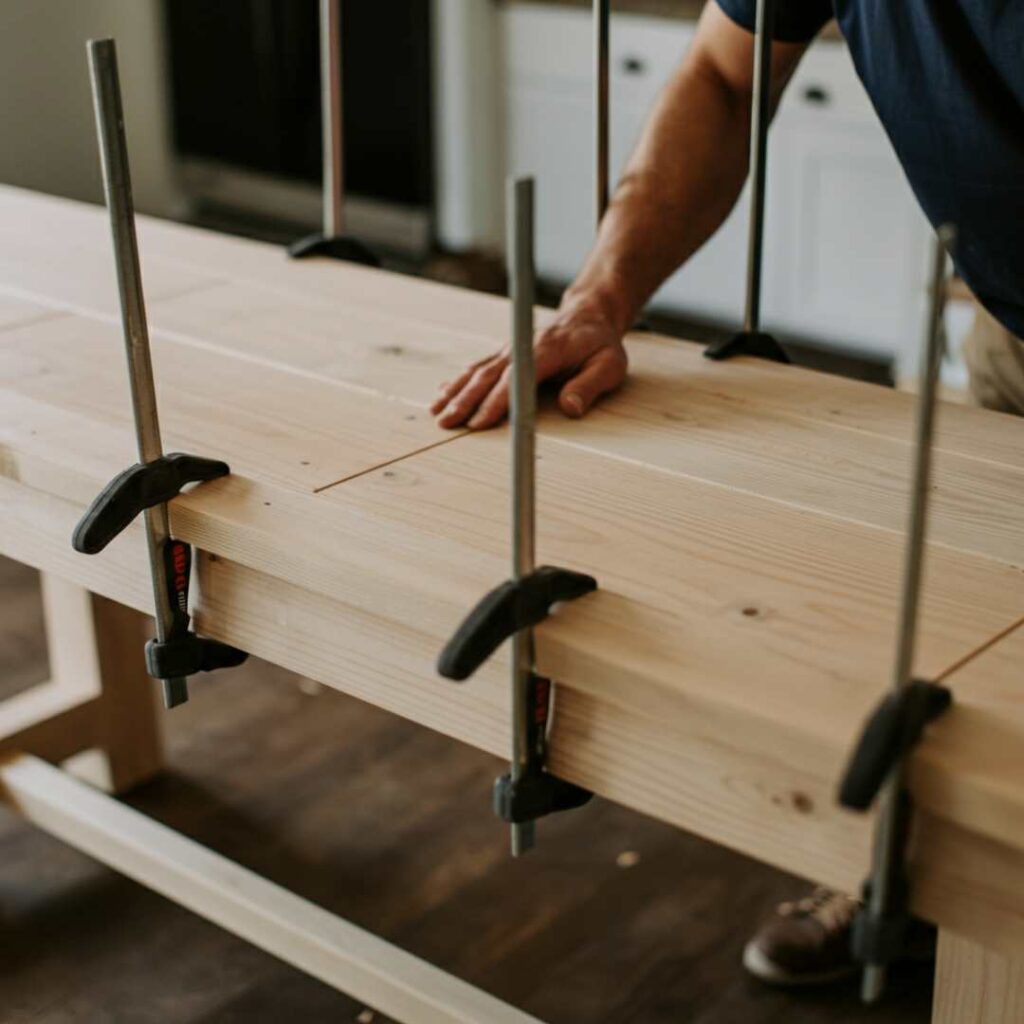
Create the tabletop by aligning the wood pieces edge to edge, using wood glue and clamps to hold them together. Skip this step if you’re working with a single piece of wood.
For joined planks:
- Apply wood glue along each edge.
- Clamp the boards together and allow them to dry for at least 24 hours.
- Reinforce the seams with screws or pocket holes on the underside.
Pro Tip:
Add a crossbeam on the underside of the tabletop for extra stability, especially for larger tables.
Step 4: Build and Attach the Legs
Option 1: Pre-Made Legs
If you’ve purchased pre-made legs, attach them to the underside of the tabletop using screws or brackets.
Option 2: DIY Wooden Legs
Cut wooden planks into equal lengths for the legs. Sand the edges smooth, then connect them to the tabletop using wood glue and screws. Use an apron (a wooden border beneath the tabletop to secure the legs) for added stability.
Important Tip:
Make sure the legs are evenly spaced and aligned to avoid wobbling.
Step 5: Sand and Smooth
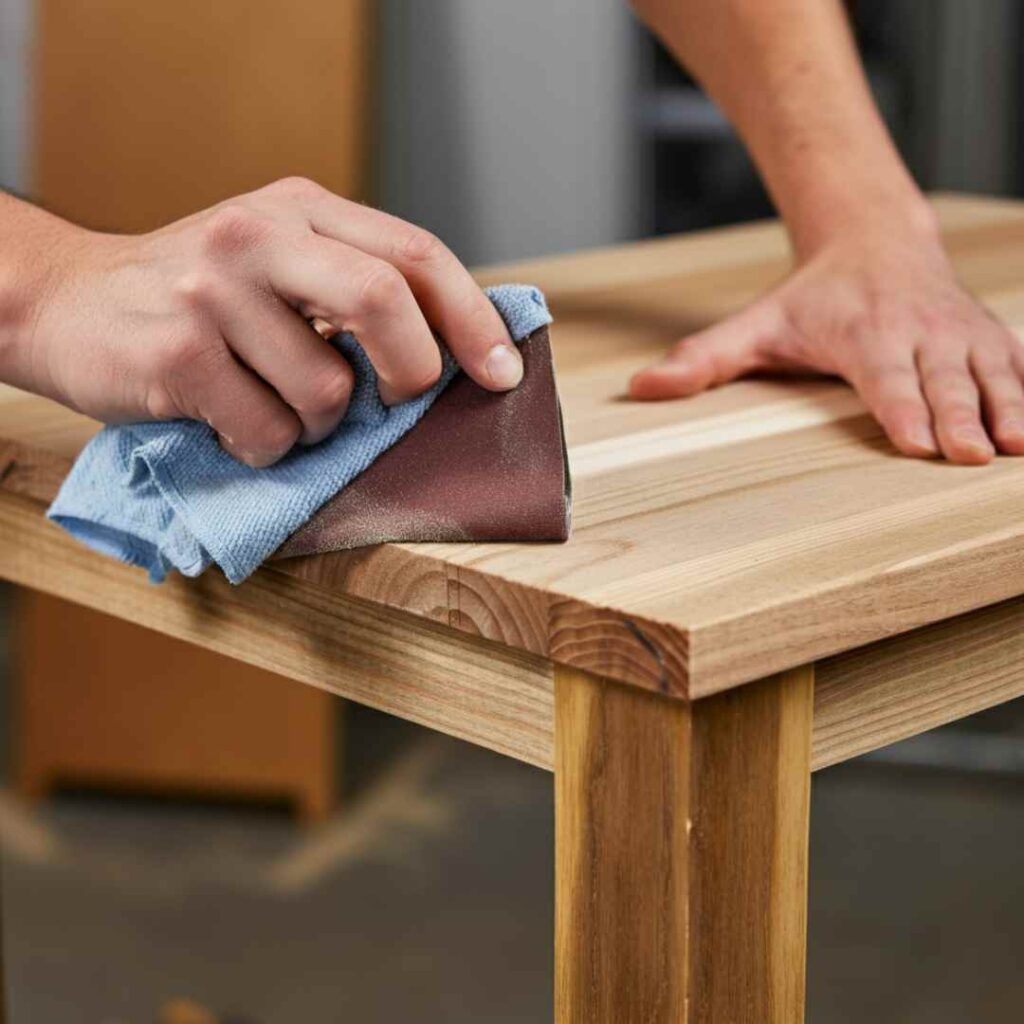
Once the table is assembled, sand the piece to remove rough edges and imperfections. Use varying grits of sandpaper:
- Start with coarser grit (around 80) to remove major rough spots.
- Finish with finer grit (up to 220) for a polished surface.
Make sure to wipe down the wood with a damp cloth afterward to remove dust.
Step 6: Apply the Finish
This is where your table truly comes to life! Depending on your preferences, you can:
Stain for Warmth: Apply wood stain for a rustic or classic finish.
Paint for Personality: Use vibrant or muted paints to make a statement.
Varnish for Protection: Apply clear varnish for a natural look while protecting the wood.
Use a brush or cloth to apply your chosen finish in thin, even layers. Allow it to dry completely before applying additional coats if needed.
Step 7: Admire Your Handiwork

After the finish has dried, your table is ready for use! Whether you place it in your dining room, living room, or patio, this one-of-a-kind piece will spark conversations and bring character to your space.
Troubleshooting Common Issues
Wobbly Table: Double-check that all legs are cut to the same length and securely attached.
Glue Stains: Wipe off excess glue immediately with a damp cloth to avoid permanent marks.
Splintering: Sand the edges thoroughly before assembling.
Why DIY Table Making Is Worth It
Not only will you save money compared to purchasing a ready-made table, but you’ll also have the satisfaction of creating something unique. Plus, you can reuse the skills learned here for future DIY projects like shelves, benches, or decorative items.
Keep Exploring Your Craft
If you’re ready to tackle more DIY furniture projects, check out our collection of free plans and detailed guides. Do you have a question or want to share your finished masterpiece? Join our community of DIY enthusiasts and woodworking hobbyists!
Conclusion
Crafting a wooden table from scratch is not just a rewarding experience; it’s an opportunity to develop practical skills and bring a personal touch to your home. Through this journey, you’ve acquired the know-how to plan, cut, assemble, and finish a piece of furniture tailored to your style and needs. As you admire your finished table, remember that DIY woodworking is a continuous learning experience that opens doors to endless possibilities for creativity and innovation. Keep experimenting refining your techniques, and enjoy the pride that comes with handmade creations. Whether this is your first project or one of many, let it inspire you to continue exploring the versatile world of woodworking.

