


Irises are stunning additions to any garden, providing blooms of vibrant colors that evoke feelings of elegance and tranquility. However, like any plant, they require proper care to thrive year after year. One of the most essential maintenance tasks for irises is trimming. But when should you trim irises, and how do you do it correctly without compromising their health?
This guide will provide everything you need to know, from the best timing for trimming irises to step-by-step instructions on pruning them effectively. Whether you’re a novice gardener or a seasoned plant enthusiast, these insights will help you maintain healthy, flourishing irises.
Why Trimming Irises is Important
Trimming or pruning irises is more than just about keeping them looking tidy. Here’s why it matters:
- Promotes New Growth: Cutting back old, dead foliage gives the plant more energy to produce fresh, healthy growth.
- Prevents Diseases: Dead or decaying leaves can harbor pests and fungal infections. Regular trimming reduces this risk.
- Enhances Aesthetic Appeal: Clean, trimmed plants look tidier and encourage a healthy, vibrant garden.
- Prepares for Dormancy: Pruning before winter helps irises store energy for the next growing season.
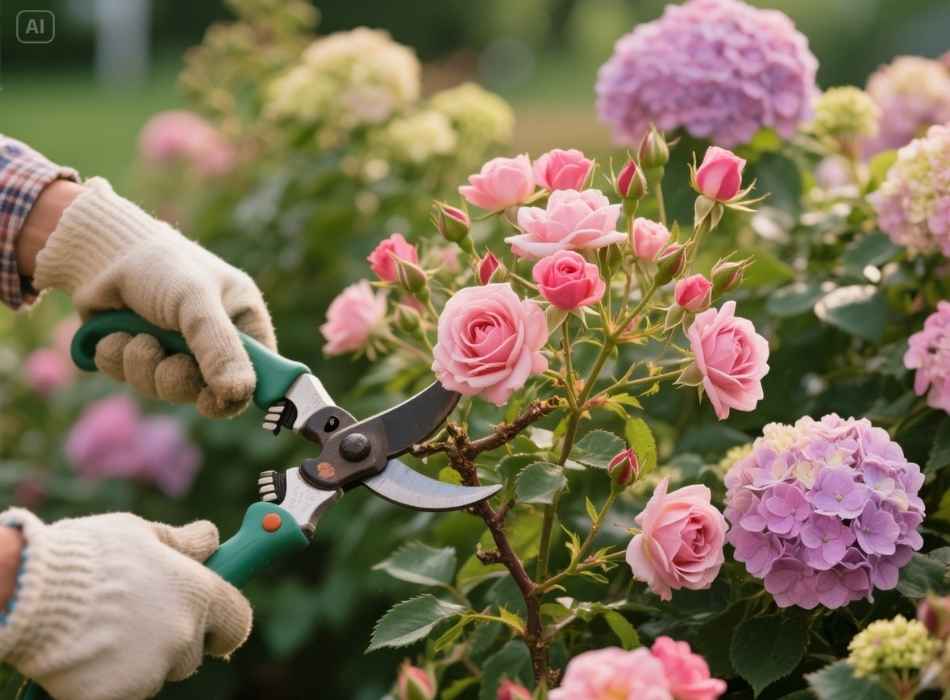
Continuing to prune throughout the growing season can also have several benefits for your plants:
- Stimulates Flowering: Many flowering plants, such as roses and hydrangeas, respond well to being pruned during their blooming period. This encourages them to produce more blooms and keeps them looking tidy.
- Controls Size and Shape: Trimming certain types of plants, like shrubs or trees, can help control their size and shape. This is especially useful for keeping plants from encroaching on other areas of the garden or becoming overgrown.
- Improves Air Circulation: Pruning off crowded or dense branches allows for better air circulation within the plant. This prevents diseases from spreading and also promotes healthier growth.
- Removes Dead or Diseased Branches: Regular pruning allows for the removal of dead or diseased branches, which can harm a plant’s overall health. Removing these branches also prevents potential hazards, such as falling branches, especially in taller trees.
- Encourages Fruiting and Flowering: Pruning at the right time and in the right way can promote fruit production and flowering in certain plants. This is because it stimulates new growth and redirects energy towards producing flowers or fruits.
- Keeps Plants Looking Neat and Tidy: Regular pruning helps maintain plants’ overall appearance by removing overgrown or unsightly branches. It can also prevent the plant from becoming too dense and blocking sunlight from reaching lower branches.
- Improves Air Circulation: Pruning allows for better air circulation within plants, which can help reduce the risk of fungal diseases. By removing crowded or crossing branches, there is more space for air to flow through the plant, preventing damp conditions that can lead to disease.
- Controls Plant Size: Pruning can help control the size and shape of trees and shrubs that have outgrown their designated space. This is especially useful for urban landscapes where space is limited. Regular pruning can also prevent plants from becoming too large and obstructing pathways or structures.
Now that we understand the value of trimming, the question remains: when should you do it?
When Should You Trim Irises?

Timing is crucial when it comes to trimming irises. Improper pruning can hinder growth or reduce blooms in the following year. Here’s an overview of the key stages in an iris’s lifecycle and when to trim:
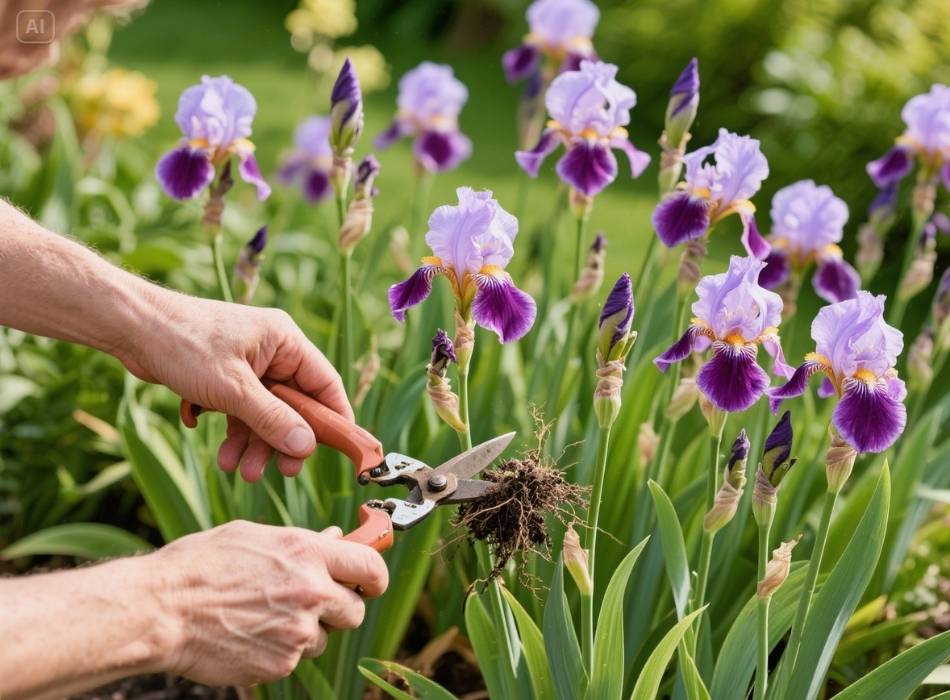
1. After Blooming (Late Spring to Early Summer)
The best time to start trimming irises is after they finish blooming, typically between late spring and early summer. At this stage, deadheading spent blooms (removing the flower stalks) is essential. This prevents the plant from trying to produce seeds, allowing it to conserve energy for root and foliage growth.
- What to trim:
Remove faded flowers and cut back the tall flower stalks down to the base. Avoid cutting the leaves yet, as they are still photosynthesizing and providing energy to the rhizomes.
- Why it matters:
Clearing away the flower stalks keeps the plant looking neat and redirects its energy toward strengthening the root system.
2. During Late Summer or Early Fall
Once summer fades into fall, typically around August to September, it’s time for a more thorough pruning session. The leaves may start to yellow and wither, signaling that the plant is entering dormancy.
- What to trim:
Trim the foliage to about 4–6 inches above the ground. Make precise cuts with clean, sharp shears.
- Why it matters:
Cutting back the leaves at this time prevents rot and pest infestations during the winter months. It also ensures the plant’s fresh start when it begins to regrow in spring.
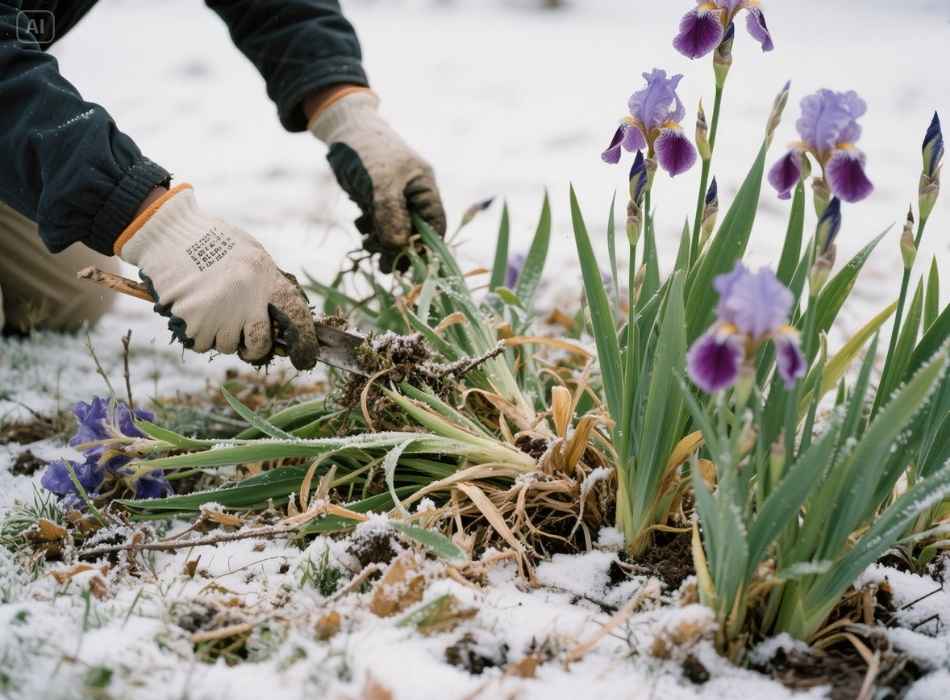
3. Before Winter (Optional)
If you didn’t trim your irises in late summer or early fall, you can still tidy them up before the frost hits. However, avoid waiting too late into the winter, as cold, wet conditions can damage recently trimmed foliage.
- What to trim:
Remove any remaining dead or withered leaves. Be careful not to damage the rhizomes or new shoots.
- Why it matters:
A clean winter garden reduces the likelihood of pests and diseases, giving your irises the best possible conditions for dormancy. Additionally, removing dead or damaged leaves can help prevent any diseases from overwintering and spreading to healthy plants in the spring.
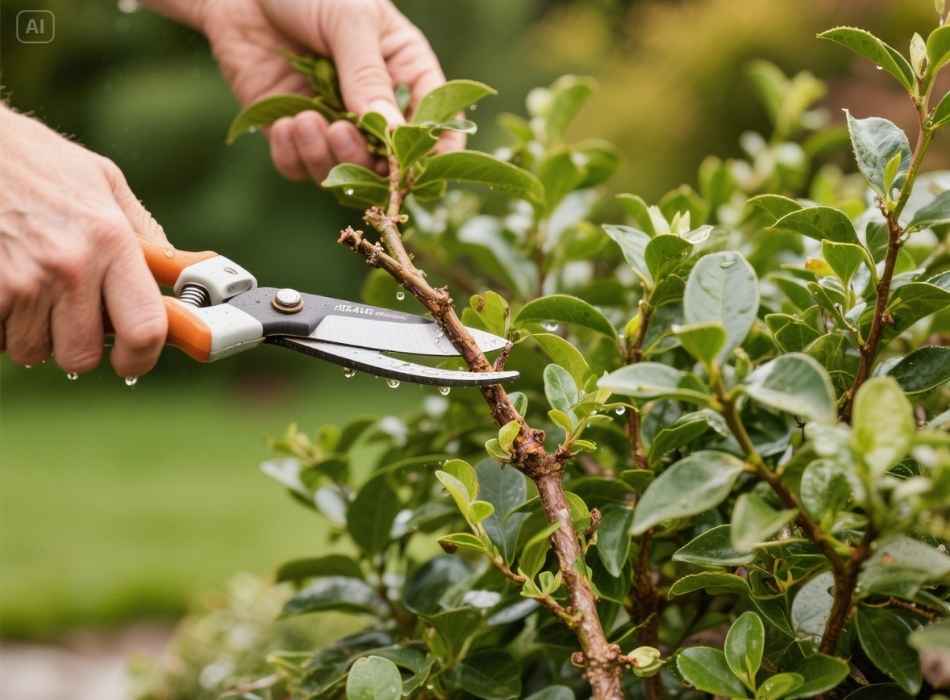
- How to trim:
Use clean, sharp scissors or pruners to cut away any dead or damaged leaves at the base of the plant. If you notice any signs of disease, make sure to disinfect your tools before moving on to another plant.
How to Trim Irises Properly
Now that you know when to trim your irises, here’s a step-by-step guide to ensure you do it the right way:
Tools You’ll Need
- Clean, sharp pruning shears
- Gardening gloves
- A bucket or garden bag to collect clippings
- Rubbing alcohol or bleach for disinfecting tools
Step 1: Inspect the Plant
Before you start trimming, observe the plant. Look for:
- Spent blooms or flower stalks
- Yellowing, browning, or dead leaves
- Signs of pests or rot
Step 2: Deadhead the Spent Flowers
Carefully snip off faded blooms and the tall flower stalks. Cut as close to the base as possible without damaging the foliage. This prevents the plant from wasting energy on seed production.
Step 3: Cut Back Foliage (Seasonally Appropriate)
When the time is right (late summer to early fall), trim the foliage to 4–6 inches tall. Make clean, angled cuts to prevent water from pooling on the cut surface, which could lead to rot.
Step 4: Dispose of Trimmings
Place all cuttings in a bucket or garden bag and dispose of them properly. Never leave decaying plant material near your irises, as it can attract pests or harbor diseases.
Step 5: Disinfect Your Tools
To minimize the spread of pests and diseases between plants, always clean your pruning shears with rubbing alcohol or a 10% bleach solution after trimming. This will kill any bacteria or fungi that may be present on your tools.
Step 6: Mulch
After pruning, add a layer of mulch around the base of your irises to help retain moisture and suppress weed growth. Organic materials such as shredded bark or compost are ideal for this purpose.
Step 7: Fertilize
After pruning, apply a balanced fertilizer specifically formulated for irises to promote healthy growth and flowering. Follow the package instructions for proper application and timing.
Additional Tips for Healthy Iris
1. Dividing Your Irises
Every 3–5 years, consider dividing crowded iris clumps after blooming. This keeps the plants healthy and prevents competition for nutrients.
2. Watering Wisely
Irises are drought-tolerant but thrive with consistent watering. Avoid overwatering, especially after trimming, as it can lead to soggy rhizomes and rot.
3. Fertilizing Correctly
Apply a low-nitrogen fertilizer after blooming to provide essential nutrients without promoting excessive leafy growth.
4. Mulching for Winter Protection
After trimming in late fall, apply a layer of mulch over the rhizomes to protect them from freezing temperatures. Remove the mulch in spring before new growth emerges.
5. Dividing and Propagating
Daylilies can become overcrowded over time, leading to decreased blooming and overall health. To maintain healthy plant growth, divide clumps every three to four years in early spring or late fall. To propagate daylilies, use a sharp knife to carefully divide the clump into smaller sections, making sure each section has several healthy rhizomes attached. Replant the divided sections immediately at the same depth as before with well-amended soil.
Benefits of Growing Daylilies
- Low Maintenance – Daylilies are easy to grow and require minimal care once established.
- Long Blooming Period – With proper care, daylilies can bloom for weeks or even months.
- Low Cost – Daylilies are an affordable option for adding color and interest to your garden.
- Versatility—Daylilies come in a wide range of colors, sizes, and shapes, making them suitable for any garden design.
- Attracts Pollinators – The vibrant blooms of daylilies attract pollinators such as bees and butterflies to your garden.
- Drought Tolerant – Once established, daylilies are pretty drought tolerant and can withstand hot summer temperatures.
- Low Risk of Pests and Diseases—Daylilies are relatively pest—and disease-resistant, making them a low-maintenance addition to your garden.
- Easy to Propagate – Daylilies can be easily propagated by dividing clumps or collecting and planting seeds, making them a cost-effective choice for gardeners.
- Long Blooming Period – Daylilies have a long blooming period, with each flower lasting only one day but producing new blooms continuously throughout the season.
- Edible Flowers—Some varieties of daylilies produce edible flowers, which are commonly used in Asian cuisine for their sweet taste and crunchy texture.
- Medicinal Benefits – In traditional Chinese medicine, daylily plants are believed to have medicinal properties and are used to treat various ailments such as coughs and sore throats.
A Flourishing Garden All Year Long
Proper iris care is all about timing and technique, and trimming plays a vital role in their long-term health and beauty. By deadheading in late spring, trimming foliage in the fall, and making pruning a regular part of your gardening routine, you’ll enjoy vibrant blooms and healthy plants year after year.
Need more gardening tips? Subscribe to our newsletter for expert advice and seasonal reminders to keep your garden in top shape.


