


African violets are one of the most beloved houseplants, adored for their vibrant blooms and compact size. These charming plants are beautiful and surprisingly easy to propagate, making them perfect for gardeners of all skill levels. Whether you want to expand your collection or share the love with friends and family, learning how to propagate African violets is a rewarding experience.
This blog post will walk you through the step-by-step process of propagating African violets through leaf cuttings, division, and seeds. By the end, you’ll have all the tools to grow a flourishing family of these delightful plants!
Why Propagate African Violets
Before we get to the how, let’s talk about the why. Why would you want to propagate African violets in the first place? Here are a few reasons:
Cost-effective growth. Instead of buying new plants, propagation allows you to create several new ones from a single mother plant.
Preserve rare varieties. Propagation ensures you can clone unique or rare plants you adore.
Gifting made easy. Propagated violets make meaningful, personal gifts for plant-loving friends and family.
Pure joy. There’s nothing like watching a new plant sprout and grow under your care.
Now that you know the the benefits, let’s get into the methods.
Three Methods for Propagating African Violets
There are three primary methods to choose from when it comes to propagating African violets. Each approach has its advantages, depending on your preferences and resources.
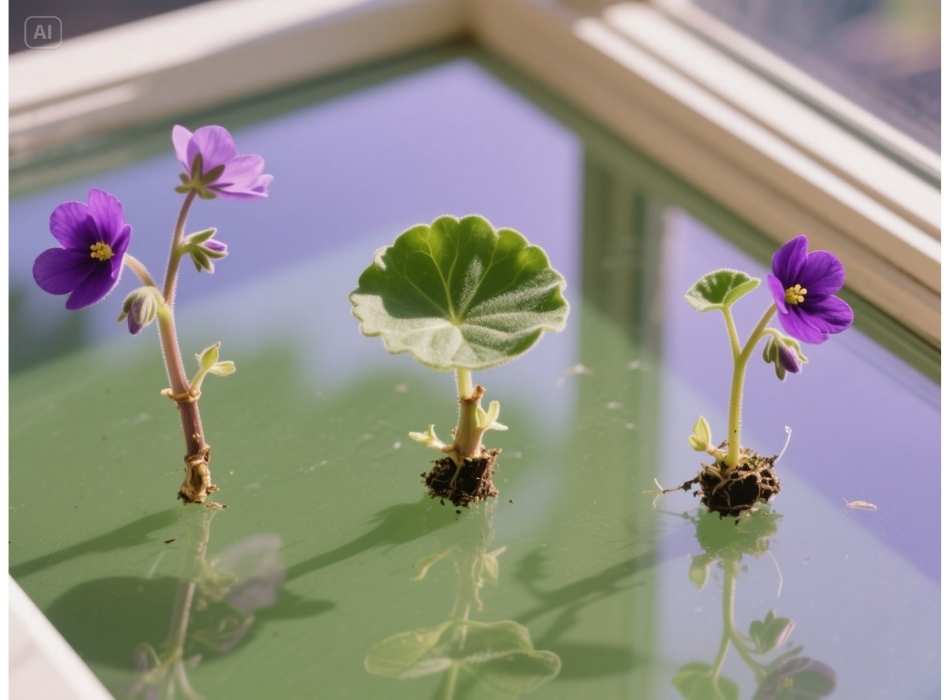
Propagating with Leaf Cuttings
Step 1. Choose the perfeect leaf
Start by selecting a healthy, mature leaf from your African violet. Look for one that’s vibrant in color and free from blemishes. Avoid too old or too young leaves, as they may not root successfully.
Step 2. Trim the stem
Using a clean, sharp knife or scissors, cut the leaf stem at a 45-degree angle, leaving roughly 1-2 inches of stem. This angled cut helps encourage root growth.
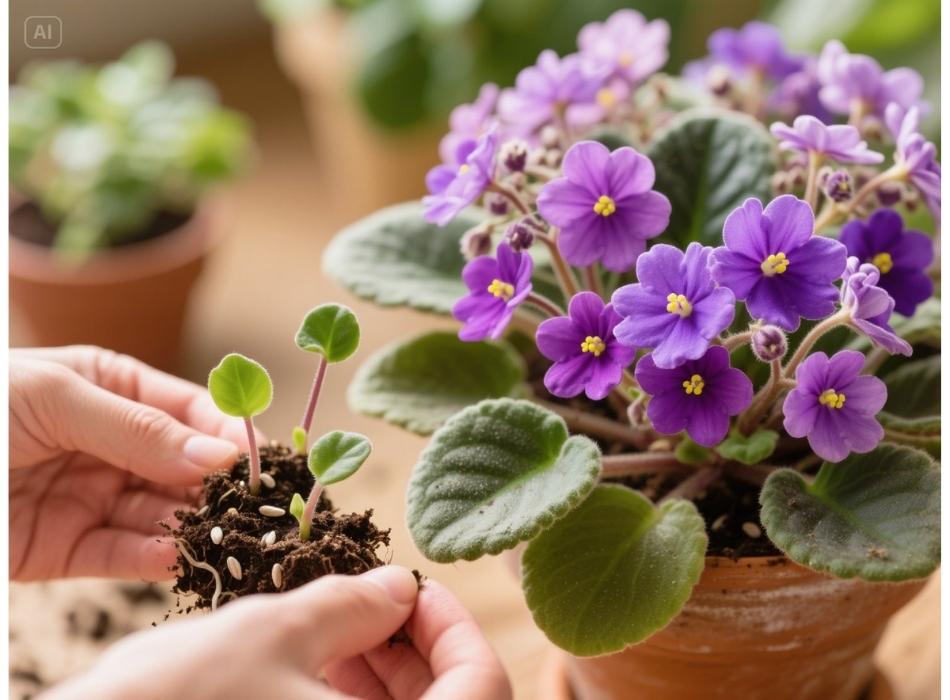
Step 3. Prepare your growing medium
Fill a small container with a well-draining soil mix designed for African violets. Alternatively, perlite or vermiculite can provide ample oxygen and prevent waterlogging.
Step 4. Plant the cutting
Insert the stem into the soil at a slight angle, ensuring the leaf is not in contact with the medium. Gently press the soil around the stem to secure it in place.
Step 5. Maintain moisture and light
Place the container in a spot with bright, indirect sunlight. Keep the soil consistently moist, but avoid overwatering. Using a plastic cover or a propagation dome can help maintain humidity.
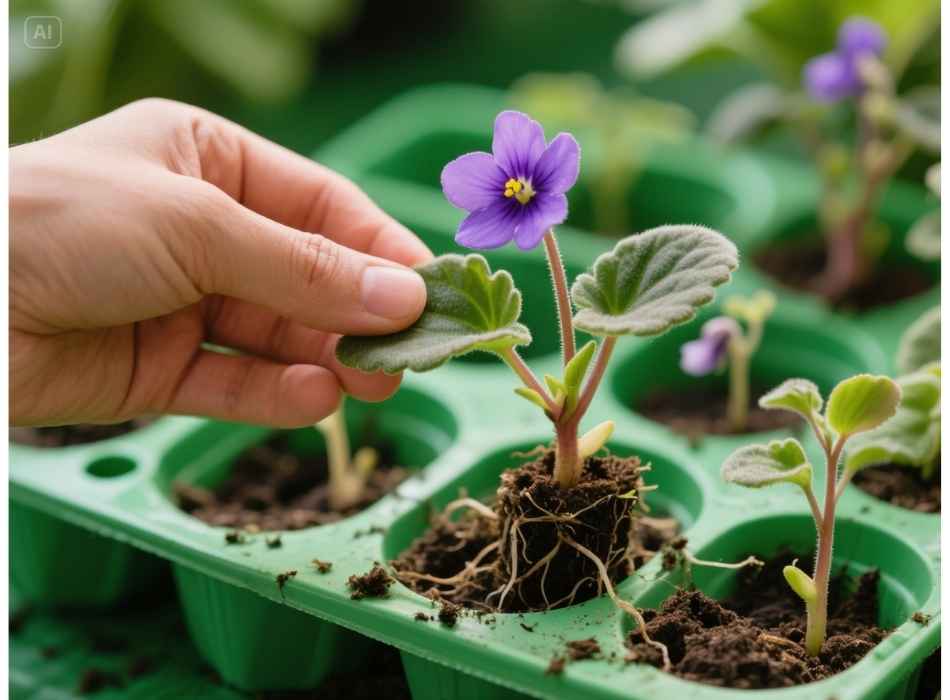
Step 6. Wait for baby plants to appear
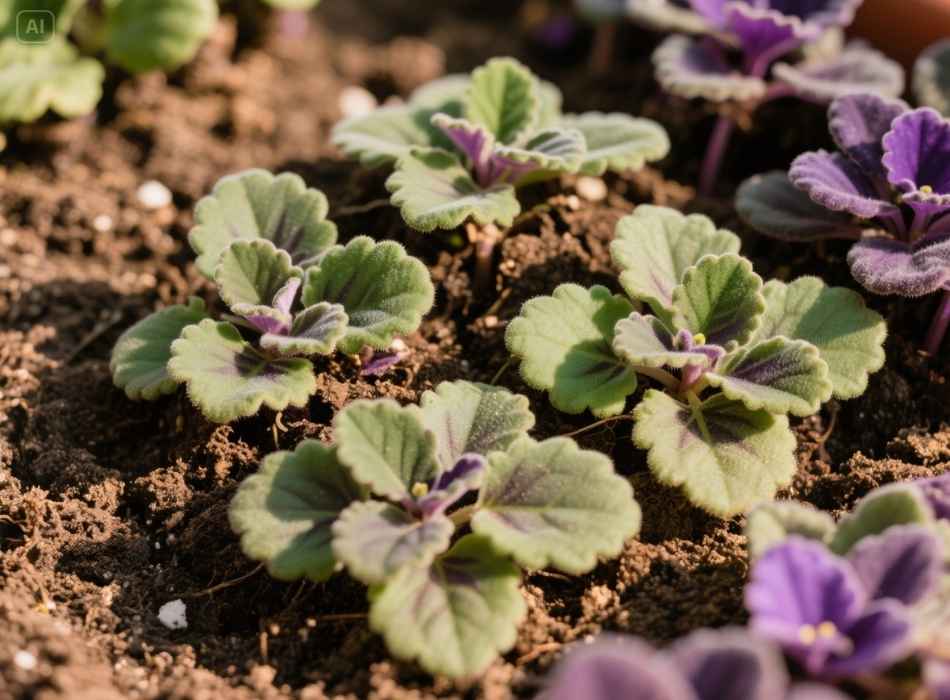
Within 6-12 weeks, you should notice small plantlets sprouting at the base of the leaf. Once the plantlets have a few leaves, they can be separated and potted individually.
Propagating by Division
If your African violet is growing in clumps or has developed multiple crowns, division is an effective way to propagate new plants.
Step 1. Examine the plant
Carefully remove the plant from its pot and inspect the roots and crowns (the central growing points). Identify distinct crowns that can be separated.
Step 2. Divide the crowns
Using a sharp knife, gently separate the crowns, ensuring each has its roots. Be cautious to avoid damaging the root system.
Step 3 Report the divisions
Plant each crown in its pot filled with fresh, moist African violet soil. Lightly press the soil around the roots and water gently.
Step 4. Provide proper care
Place the newly potted divisions in a warm, humid environment with bright, indirect light—water sparingly until new growth appears.
Propagating from Seeds
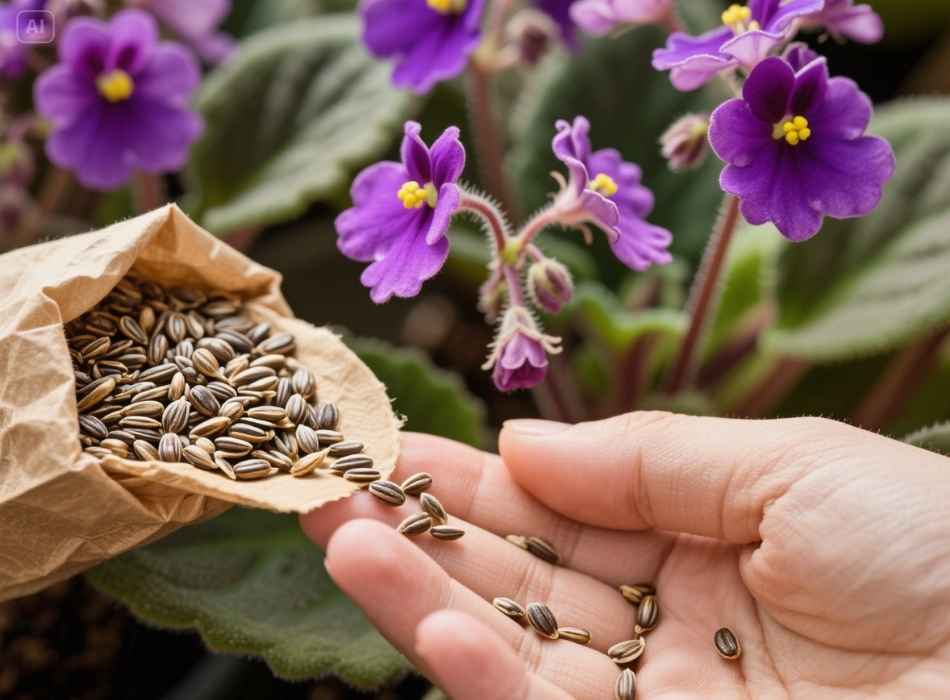
Step 1. Source high-quality seeds
Purchase African violet seeds from a trusted supplier or collect seeds from your plants if they’ve been pollinated.
Step 2. Prepare your seed tray
Fill a shallow tray with a lightweight, well-draining seed-starting mix. Moisten the soil evenly.
Step 3. Sow the seeds
Sprinkle the seeds on the surface of the soil without covering them. African violet seeds require light to germinate.
Step 4. Cover and maintain humidity
Cover the tray with a clear plastic lid or wrap to maintain humidity. Please place it in a bright, warm location (around 70-75°F).
Step 5. Monitor germination
Seedlings should begin to emerge within 2-4 weeks. Once they develop several true leaves, they can be carefully transplanted into individual pots.
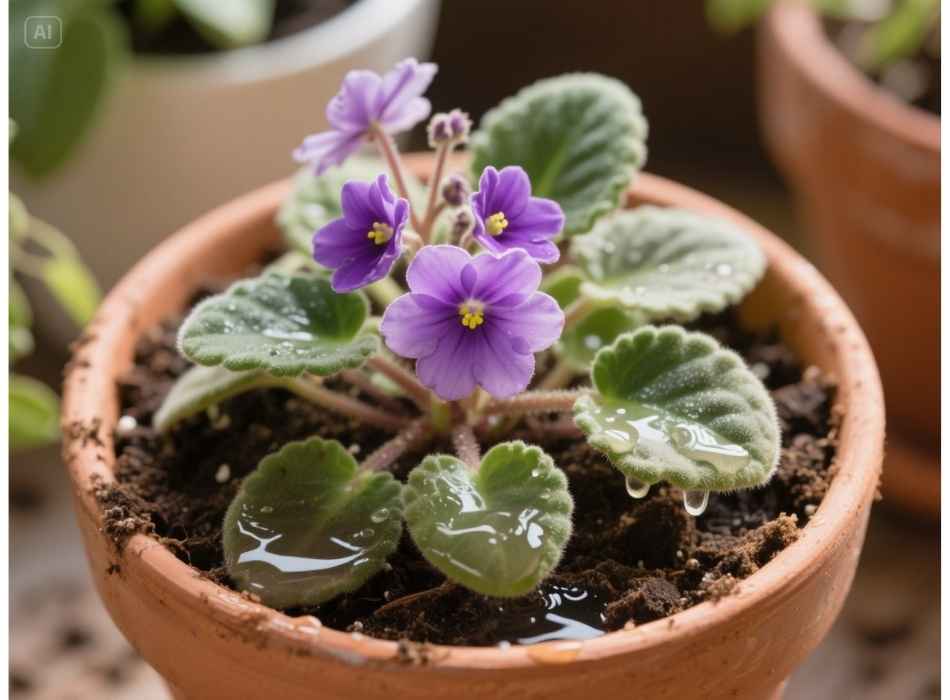
Caring for Your New African Violets
No matter the propagation method, proper care is essential for helping your new plants thrive. Here are some quick tips to keep your African violets happy:
Light. Provide bright, indirect sunlight. If placed indoors, an east- or north-facing window is ideal.
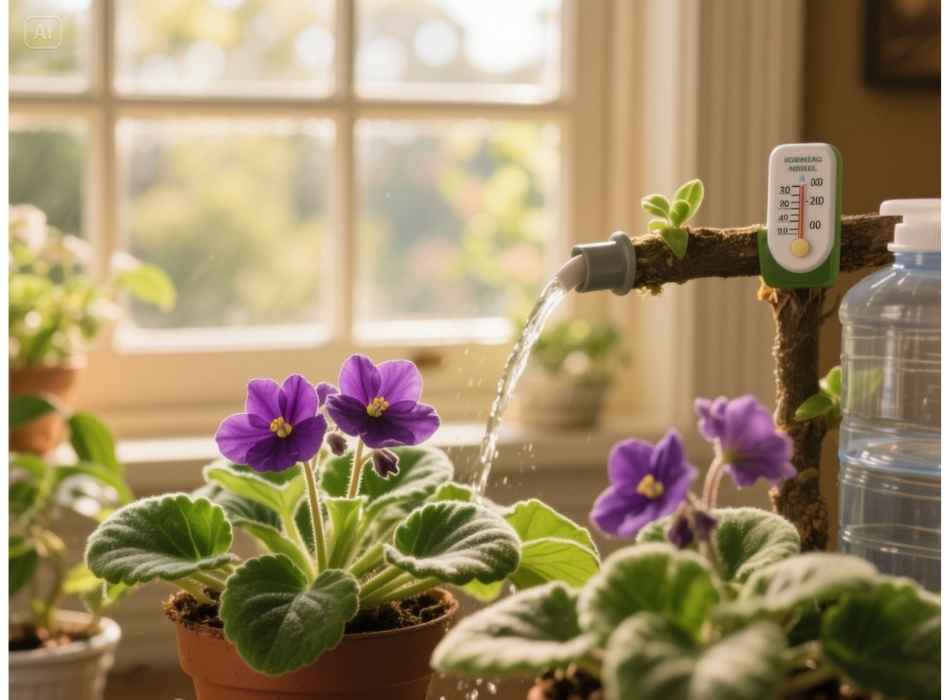
Watering. Water from the bottom to avoid wetting the leaves, which can lead to rot. Use room-temperature water.
Humidity. Keep the humidity around 50% to mimic their natural environment.
Fertilizer. Use a balanced fertilizer designed for African violets every 2-4 weeks during the growing season.
Common Mistakes and How to Avoid Them
Even with proper guidance, some challenges may arise. Here are common pitfalls to watch out for:
Overwatering. This is the number one killer of African violets. Ensure the soil is well-draining and avoid letting the plant sit in standing water.
Wrong temperature range. African violets thrive in temperatures between 65-75°F. Sudden draft or extreme heat can stress the plant.
Direct sunlight. While they love light, direct sunlight can scorch their delicate leaves.
Start Growing Your African Violet Collection
Propagating African violets is an exciting and rewarding way to grow your collection while honing your gardening skills. Whether you’re cutting leaves, dividing crowns, or starting from seeds, these delicate plants are surprisingly forgiving. With patience and proper care, you’ll soon have a thriving garden of African violets to enjoy and share.
Don’t wait to get started! Equip yourself with high-quality tools and soil to make your propagation efforts successful. Remember, a little effort today can lead to a lifetime of blooms.


