


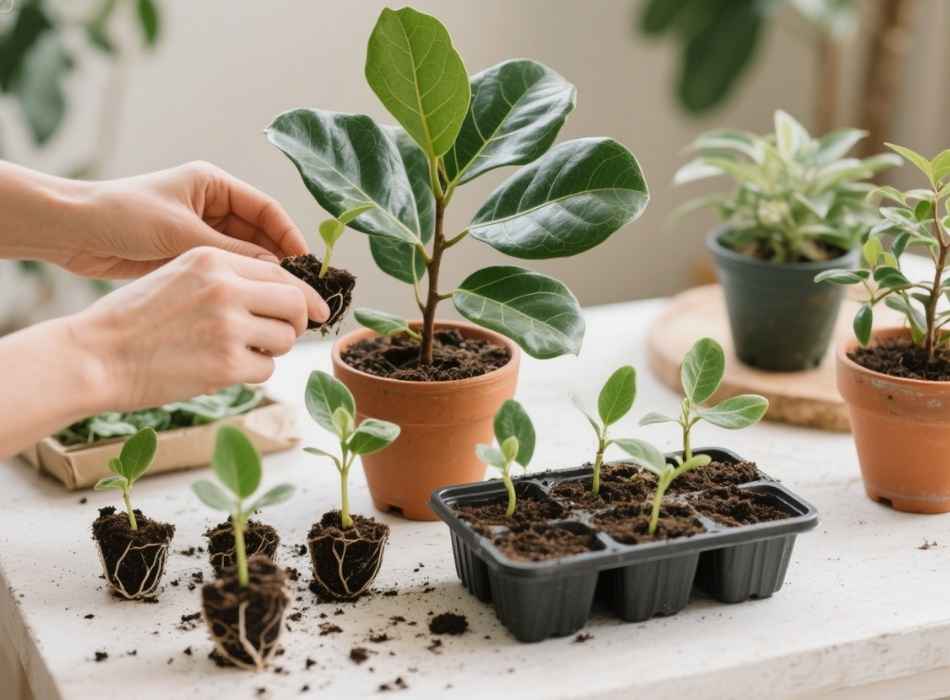
Fiddle leaf figs have become a household favorite, with their large, vibrant leaves adding a touch of nature and elegance to any space. If you already own one (or several), you might be wondering how to propagate these beauties and grow your very own mini jungle. Propagating a fiddle leaf fig can seem intimidating, but with the right steps, even beginners can successfully grow new plants from cuttings.
This guide will walk you through everything you need to know about propagating a fiddle leaf fig, from selecting the right cutting to caring for your new plant.
What is Propagation?
Propagation is the process of creating new plants from parts of an existing one. For fiddle leaf figs, this usually involves cutting a healthy stem or branch and encouraging it to take root in water or soil. Not only is propagating fun, but it’s also an affordable way to multiply your plants or share them with fellow plant enthusiasts.
Tools You’ll Need
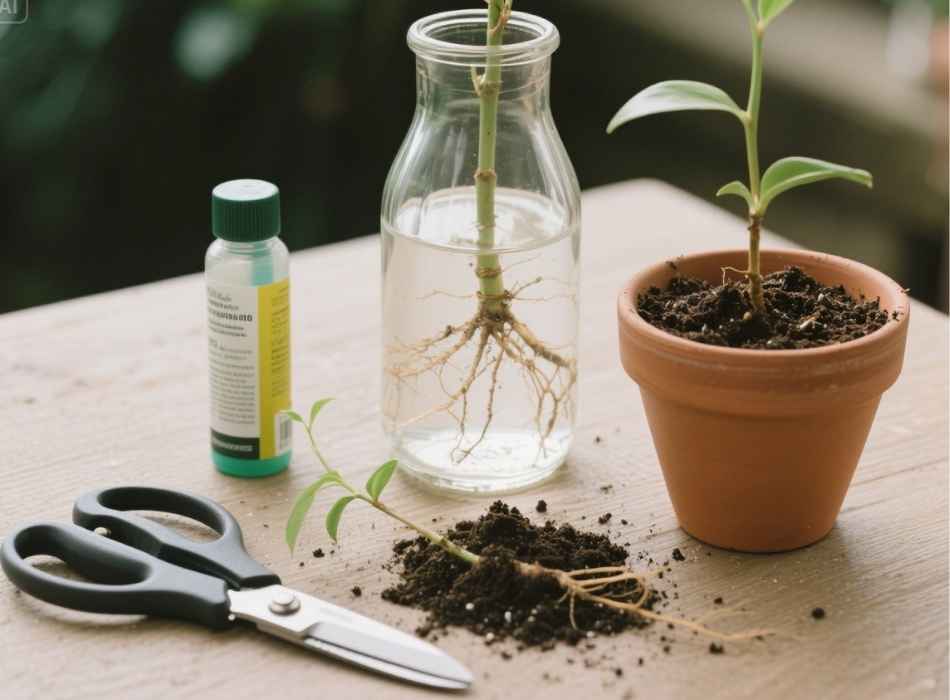
Before you start, gather the following tools and materials:
- A clean pair of sharp pruning scissors or a knife
- A clear glass jar or vase
- Fresh, clean water
- Rooting hormone (optional but helpful for faster root growth)
- Potting soil and a small pot for transplanting
When working with plants, it’s essential to use sterilized tools to avoid spreading diseases to your fiddle leaf fig.
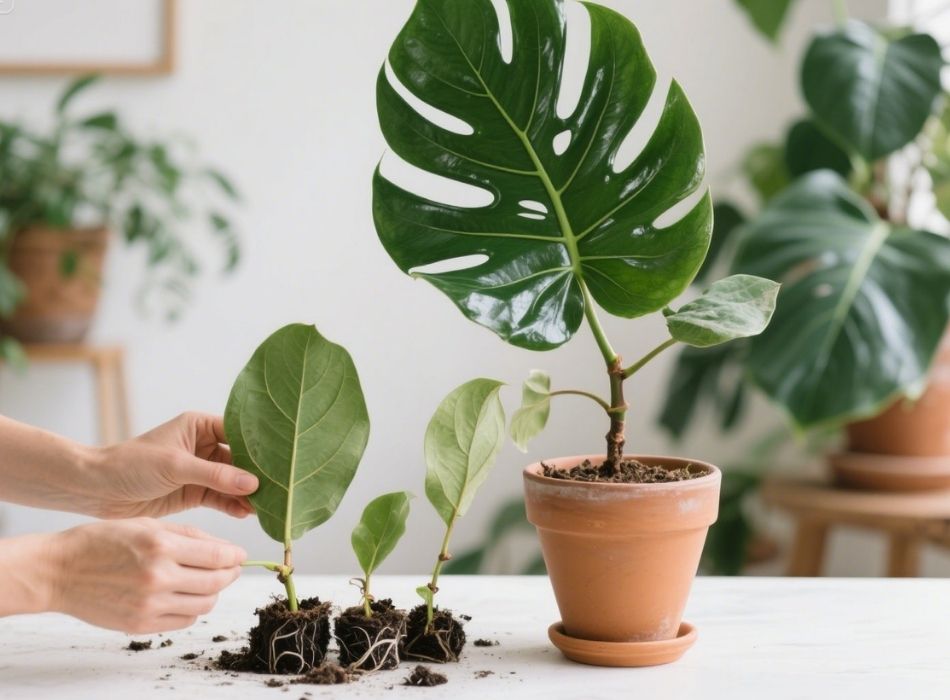
Step 1. Choose a Healthy, Vibrant Cutting
The first step in propagation is selecting the right cutting. Look for a stem that is healthy, has at least two or three leaves, and measures around 6–12 inches long.
When cutting, find a spot just below a node (the thick, bumpy area where leaves grow out from the stem). Nodes are where new roots will grow, making them critical for successful propagation. Use your sterilized scissors or knife to make a clean cut at a 45-degree angle.
Extra Tip
If your cutting has large leaves, trim them back by cutting off half of each leaf. This reduces water loss and gives the plant more energy to focus on rooting.
Step 2. Rooting Your Cutting in Water
Water propagation is one of the simplest and most visually rewarding methods for fiddle leaf fig propagation.
Instructions:
- Fill a clear jar or vase with fresh water.
- Place the cutting into the water, ensuring that the node is submerged but no leaves are touching the water (to prevent rotting).
- Set the jar in a bright spot with indirect sunlight. Avoid harsh, direct sun.
- Change the water every week to keep it fresh and free of bacteria.
After two to six weeks, you should start to see roots forming. Patience is key, as roots may take some time to develop fully! Wait until the roots are at least 2–3 inches long before moving on to the next step.
Step 3. Planting Your Cutting in Soil
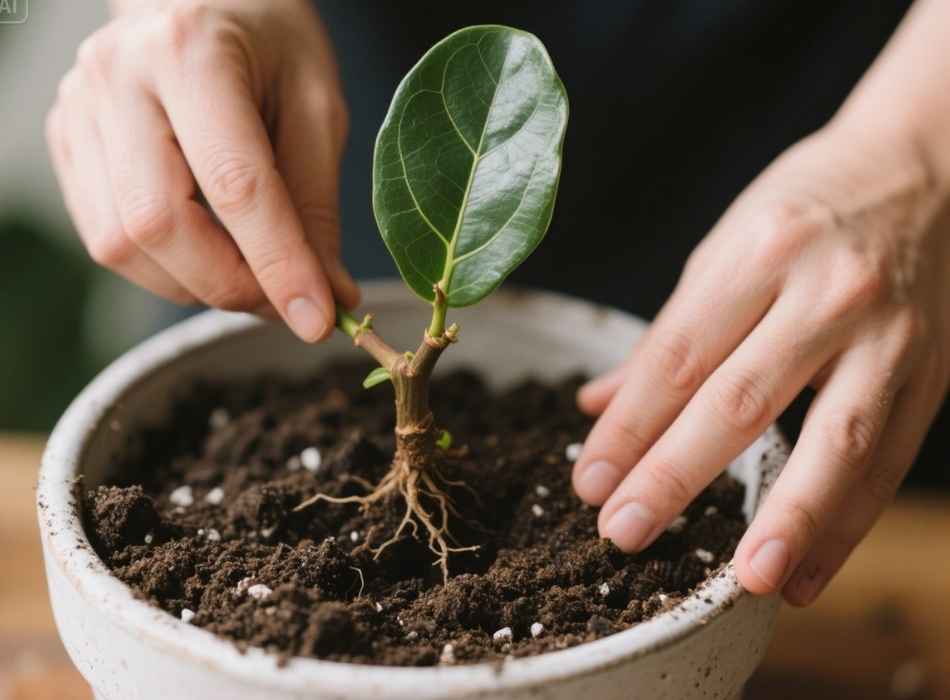
Once your cutting has established strong roots, it’s time to transfer it to soil. Use high-quality, well-draining potting soil to mimic the conditions fiddle leaf figs thrive in.
Instructions:
- Fill a small pot with potting soil, leaving enough space at the top for the cutting.
- Carefully place the cutting in the soil, ensuring the roots are fully covered.
- Firmly press down the soil to provide stability for your new plant.
- Water lightly and place the pot in a bright area with indirect light.
Avoid overwatering during this stage, as the plant is still adjusting to its new environment.
Extra Tip
Consider using a plastic bag to create a mini greenhouse effect. Place the bag loosely over the cutting and pot to retain humidity, encouraging faster growth.
Step 4. Care Tips for Your New Fiddle Leaf Fig
To help your propagated fiddle leaf fig thrive, you’ll need to maintain proper care and conditions. Keep these tips in mind:
- Light: Set your new plant in a location with bright, indirect light. South-facing windows are ideal, but avoid direct sun exposure, which can scorch the leaves.
- Watering: Allow the top two inches of soil to dry out before watering. Overwatering is a common mistake when caring for fiddle leaf figs.
- Humidity: Fiddle leaf figs love humidity! Consider misting your plant or placing a humidifier nearby.
If your plant is thriving, you may start to see new leaves within a few months.
Common Troubleshooting Tips
Propagating fiddle leaf figs can come with challenges. Here are a few common issues and how to address them:
Problem 1. The Cutting Isn’t Rooting
If roots are not forming within 6 weeks, try dipping the cuttings in rooting hormone before placing them in water or soil. Ensure you are keeping the jar clean and replenishing the water weekly.
Problem 2. Leaves Are Wilting or Drying Out
Wilting leaves can indicate too much sun exposure or insufficient humidity. Move your cutting to a spot with less sunlight and increase humidity levels.
Problem 3. The Stem is Rotting
If the cutting’s stem turns black or mushy, rot has set in. Discard the affected cutting, but ensure your next attempt uses clean tools and fresh water.
Why Propagate Your Fiddle Leaf Fig?
Apart from enjoying the satisfaction of growing a plant from scratch, propagation has several benefits:
- Cost-Effectiveness: Why buy multiple plants when you can grow new ones for free?
- Creative Gifting: Propagated plants make thoughtful, meaningful gifts for friends and family.
- Sustainability: By propagating, you reduce the environmental footprint associated with buying store-bought plants.
Plus, there’s something magical about seeing roots form and knowing you created a whole new plant. It’s truly rewarding!
Grow Your Indoor Jungle
Propagation might take patience and practice, but the results are worth it. With this guide, you can grow an endless supply of fiddle leaf figs to decorate your home or share with others.
Looking for more plant care tips? Browse our guides for detailed instructions on creating the indoor garden of your dreams. Happy propagating!


