


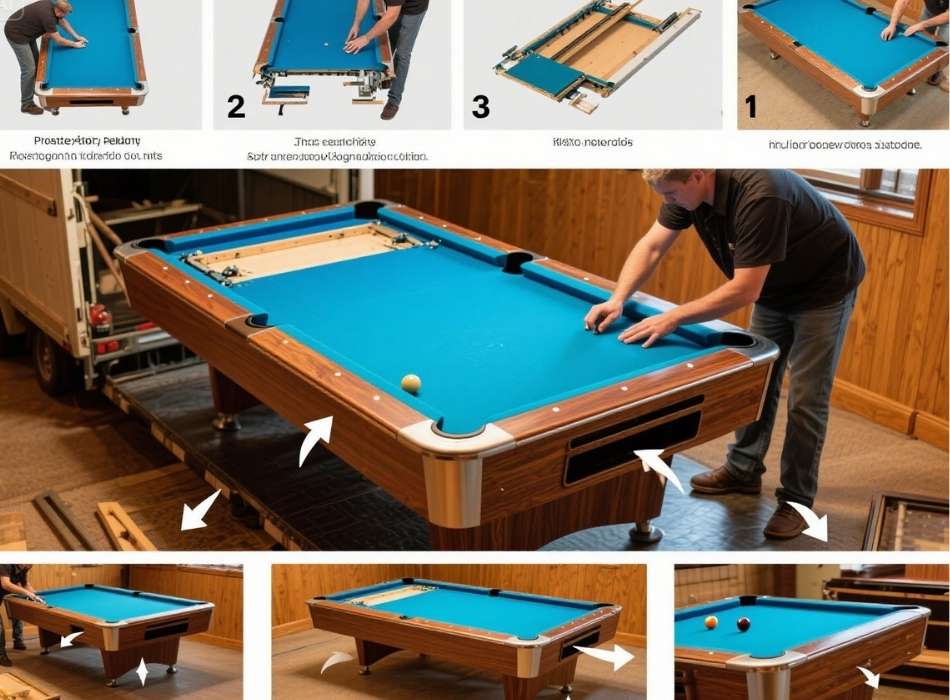
Moving a pool table ranks among the most challenging furniture relocation tasks you’ll ever face. These behemoths can weigh anywhere from 700 to 1,000 pounds, and their intricate construction makes them incredibly delicate despite their imposing size. One wrong move can damage the slate, tear the felt, or bend the frame—repairs that often cost more than hiring professionals.
Whether you’re relocating to a new home or simply rearranging your game room, understanding the proper techniques for moving a pool table can save you thousands of dollars in damage and ensure your table continues to provide years of entertainment. This comprehensive guide walks you through every step of the process, from gathering the right tools to reassembling your table with precision.
Before we dive into the specifics, it’s essential to understand what you’re dealing with. Pool tables consist of several key components: a heavy wooden frame, slate playing surface (usually in three pieces), felt covering, pockets, and rails. Each element requires careful handling and specific techniques for safe removal and reinstallation.
Assess Whether You Should Move It Yourself
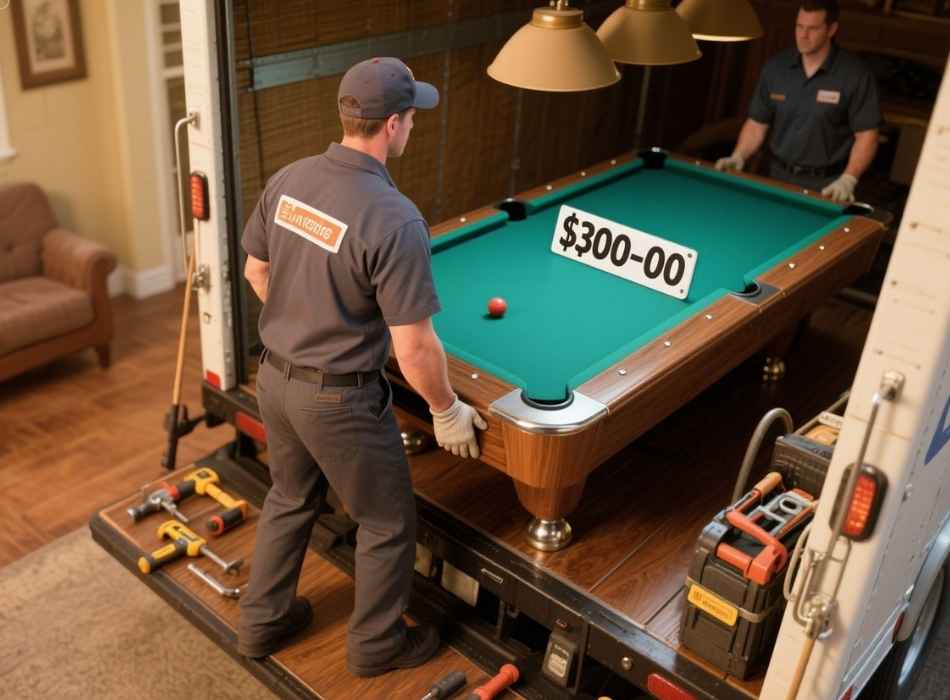
Pool table relocation isn’t a typical DIY project. Professional movers charge $300-$800 for this service, but that cost often proves worthwhile when you consider the risks involved.
You should seriously consider professional help if your table features a one-piece slate, which can weigh up to 800 pounds on its own. Three-piece slate tables are more manageable for DIY moves, but they still require significant planning and physical effort.
The complexity of your move also matters. Stairs, narrow doorways, or long distances between locations significantly increase the difficulty. Measure all doorways, hallways, and staircases along your planned route before committing to a self-move.
Consider your available help as well. You’ll need at least four strong adults for a successful move, and ideally six people to handle the process safely and efficiently.
Essential Tools and Materials
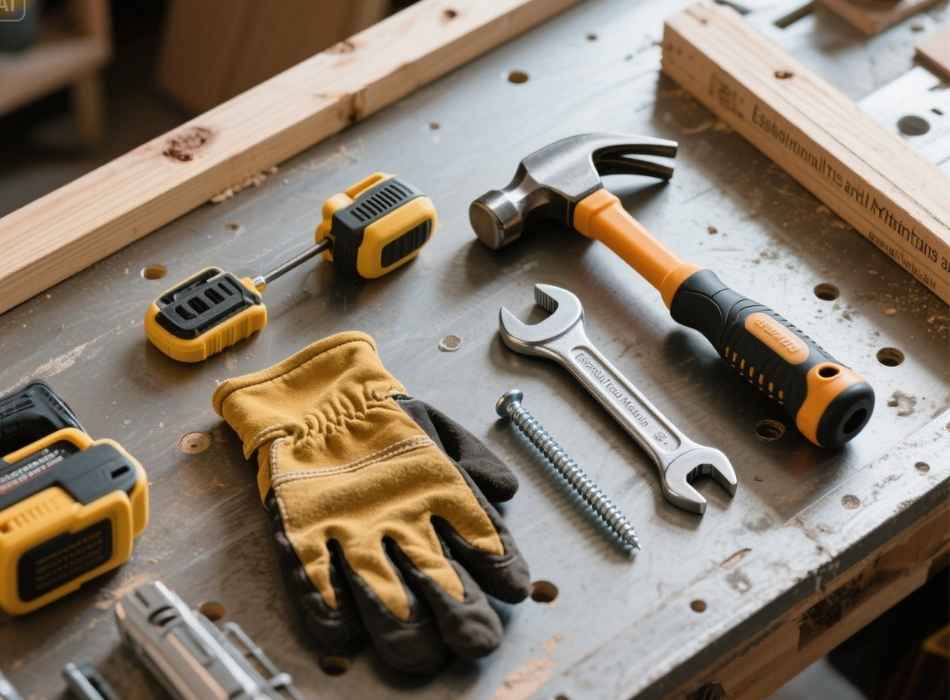
Proper equipment makes the difference between success and disaster. Gather these items before starting:
Basic Tools:
- Socket wrench set
- Screwdrivers (Phillips and flathead)
- Staple remover or pliers
- Moving blankets
- Plastic wrap or large bags
- Marking tape and permanent markers
- Camera or smartphone for reference photos
Moving Equipment:
- Furniture dollies (at least two)
- Moving straps
- Work gloves
- Knee pads (optional but recommended)
Reassembly Supplies:
- Beeswax or paraffin wax
- Level (2-foot and 4-foot)
- Staple gun with appropriate staples
- Screws and bolts (in case originals get lost)
Don’t skimp on quality moving blankets. The slate pieces need substantial padding to prevent chips and cracks during transport.
Preparing the Pool Table
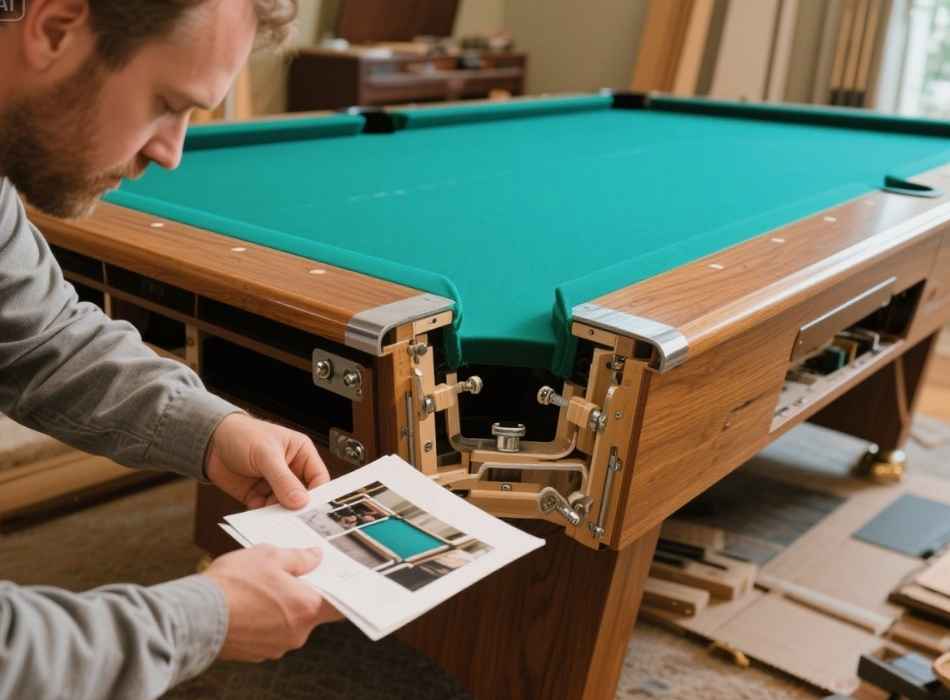
Documentation proves crucial for successful reassembly. Take detailed photos of your table from multiple angles before you begin the disassembly process. Capture close-ups of pocket attachments, rail connections, and the positioning of felt.
Remove all accessories from the table and surrounding area. Store cues, balls, triangles, and other equipment in a separate box to prevent loss during the move.
Clear the entire path from the table’s current location to the moving vehicle. Remove any obstacles, protect walls with moving blankets, and ensure adequate lighting throughout the route.
Measure the table dimensions and compare them to doorway widths. Most pool tables require complete disassembly to fit through standard residential doorways.
Disassembling Your Pool Table
Removing the Pockets
Start with the pockets, as they’re the most vulnerable components during disassembly. Drop-in pockets simply lift out, while sewn-in pockets require careful removal of staples from underneath the table.
For sewn-in pockets, work slowly with your staple remover. Pull each staple straight out to avoid tearing the pocket material. Place removed staples in a container—you’ll need them for reassembly.
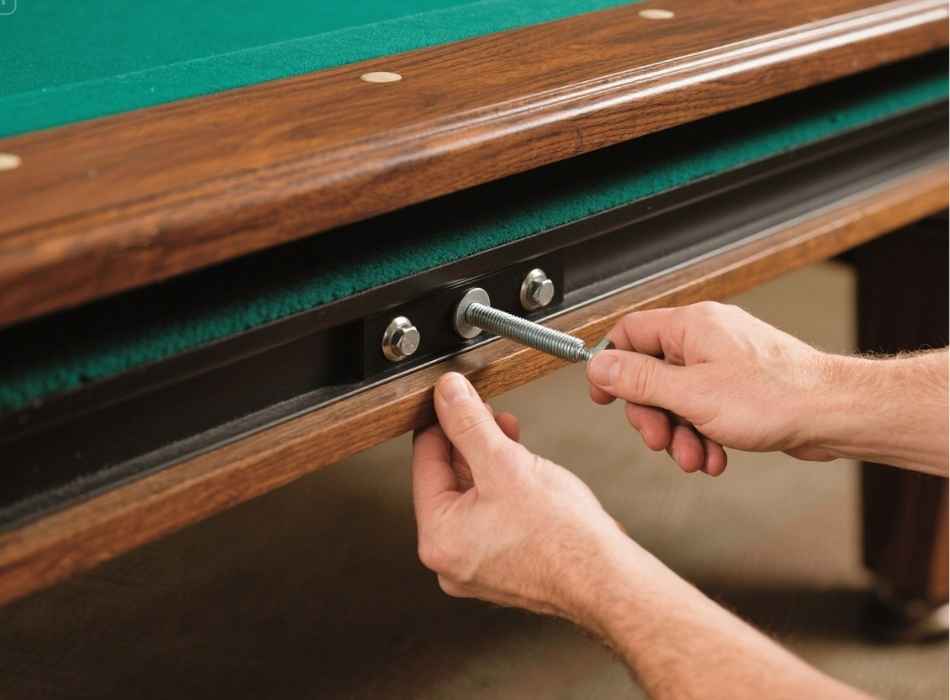
Taking Off the Rails
Rails typically attach with three bolts each, located underneath the table. Support each rail as you remove the final bolt to prevent sudden drops that could damage the wood or felt.
Number each rail with masking tape as you remove it. Rails aren’t always interchangeable, and proper positioning affects play quality. Wrap each rail in moving blankets and secure with plastic wrap.
Removing the Felt
This step requires extreme care, as quality pool table felt costs between $200 and $500 to replace. If the felt is stapled, remove staples systematically from one end to the other. Work slowly and keep the felt taut to prevent tears from forming.
For glued felt, you might be able to peel it off carefully, but replacement is often necessary regardless of your technique. Professional installers typically recommend new felt after any move.
Handling the Slate
Slate removal represents the most critical phase of the disassembly process. Three-piece slate tables have individual pieces weighing 150-250 pounds each. One-piece slate requires professional equipment and shouldn’t be attempted by DIYers.
Remove the screws attaching the slate to the frame, typically located every 12-18 inches around the perimeter. Clean any wax or putty from screw holes and slate seams—you’ll need to reapply these materials during reassembly.
Each slate piece requires a minimum of two people for safe handling and transportation. Lift with your legs, not your back, and move slowly. Wrap each piece individually in thick moving blankets, ensuring complete coverage of corners and edges.
Moving and Transportation
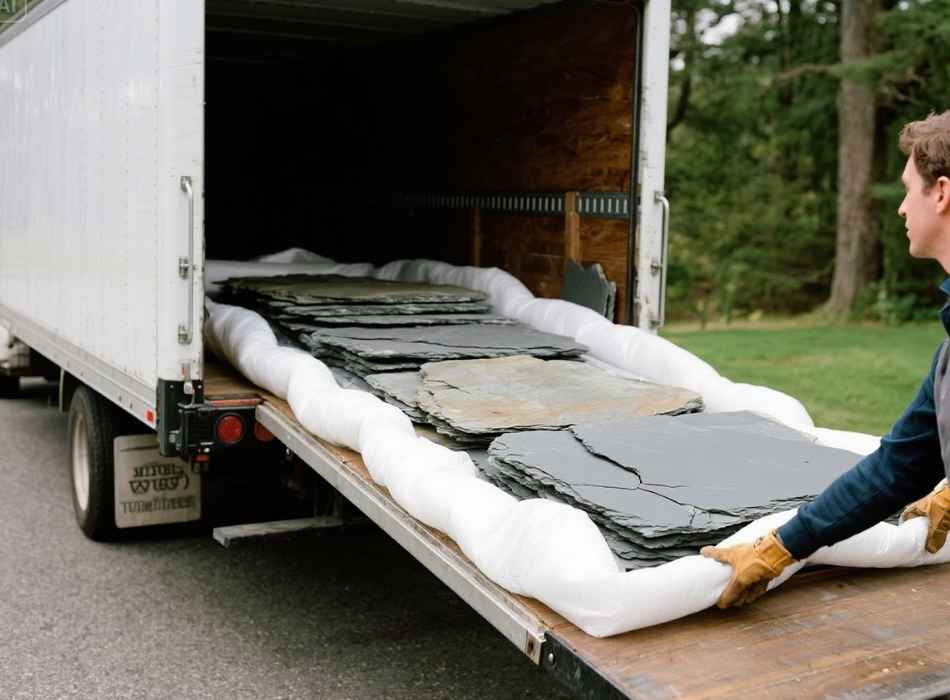
Load slate pieces into your moving vehicle first, laying them flat with thick padding underneath. Never transport slate on edge—this position creates stress points that can cause cracking.
Secure all pieces with moving straps to prevent shifting during transport. Even minor movement can cause significant damage to slate or wooden components.
The frame typically disassembles further into legs and support beams. Remove legs by unscrewing them from the main frame. Wrap all wooden pieces in blankets and load them after the slate is loaded.
Store transport rails in a separate area where they won’t be bumped or compressed by heavier items. These components feature precision-engineered cushions that impact ball bounce and play quality.
Reassembling Your Pool Table
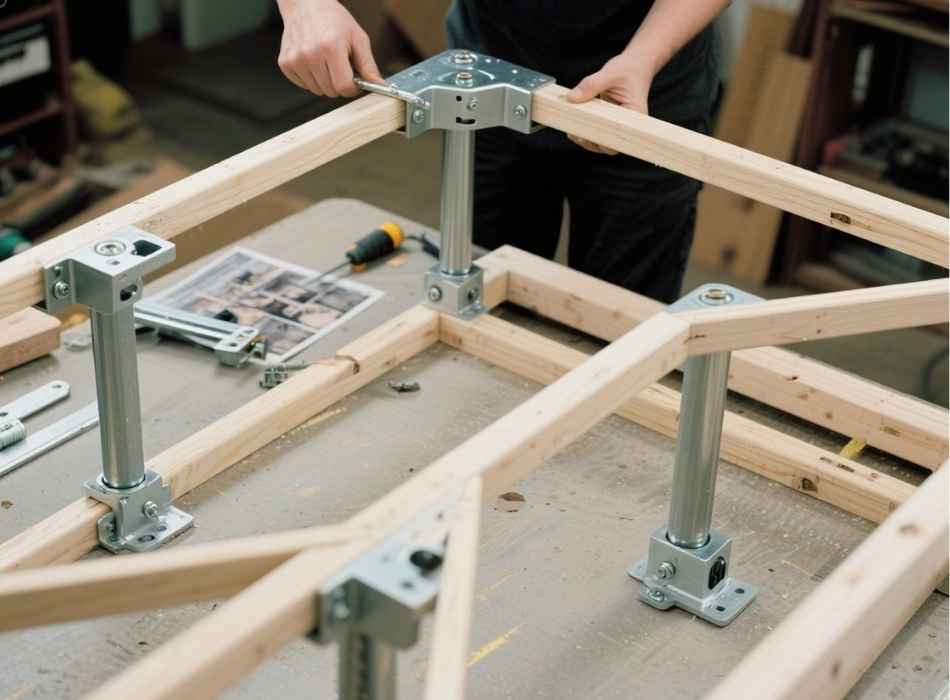
Setting Up the Frame
Reassembly reverses the disassembly process, but it requires additional precision to ensure proper operation. Start by reassembling the main frame in its new location. Use your reference photos to ensure correct orientation and leg attachment.
Level the frame using adjustable leg levellers. This step is crucial—an unlevel table affects ball roll, making accurate play impossible. Check the level in multiple directions and adjust until it is perfectly horizontal.
Installing the Slate
Position slate pieces carefully on the frame, aligning them according to your reference photos. A three-piece slate requires precise alignment where the pieces meet. Gaps between slate pieces should be minimal and consistent.
Secure the slate to the frame using the original screws, but don’t fully tighten until all pieces are positioned correctly. Once aligned, tighten screws gradually in a crisscross pattern to ensure even pressure distribution.
Fill any gaps between slate pieces with beeswax or specialised slate seam compound. Smooth the compound flush with the slate surface using a putty knife or a straight edge. This creates the seamless playing surface essential for proper ball roll.
Applying New Felt
While you might reuse old felt in good condition, new felt provides the best playing experience after a move. Start installation from one end, stretching the felt evenly across the slate surface.
Pull the felt taut but not overly tight—excessive tension can cause premature wear or affect ball speed. Secure felt with staples every 4-6 inches around the perimeter, maintaining consistent tension throughout the process.
Trim excess felt carefully with a sharp utility knife, leaving just enough material to tuck under the rails when they’re reinstalled.
Reinstalling Rails and Pockets
Attach rails in their original positions, referring to your numbered labels and reference photos. Tighten rail bolts gradually to avoid warping the wooden frame or creating uneven cushion height.
Install pockets last, ensuring they hang properly and align with table openings. For sewn-in pockets, use new staples in slightly different positions than the original holes to ensure secure attachment.
Final Levelling and Testing
After completing the reassembly, perform a final levelling check using a longer level. Check multiple points across the playing surface and adjust leg levellers as needed.
Test the installation by rolling balls across the table surface. Balls should travel in straight lines without veering to one side. Any deviation indicates levelling issues that require correction.
Check pocket alignment by shooting balls into each pocket from various angles. Properly installed pockets should accept balls cleanly without rebounds or interference.
Take Your Time for Success
Moving a pool table demands patience, preparation, and respect for the equipment involved. Rushing any step can result in damage that costs far more than professional moving services.
If you encounter unexpected challenges during disassembly or notice damage to any components, don’t hesitate to consult with professional pool table technicians. Many offer consultation services or can complete the reassembly portion of your move.
Remember that even successfully moved tables often benefit from professional setup and adjustment. A small investment in professional levelling and felt installation can ensure optimal playing conditions for years to come.


