


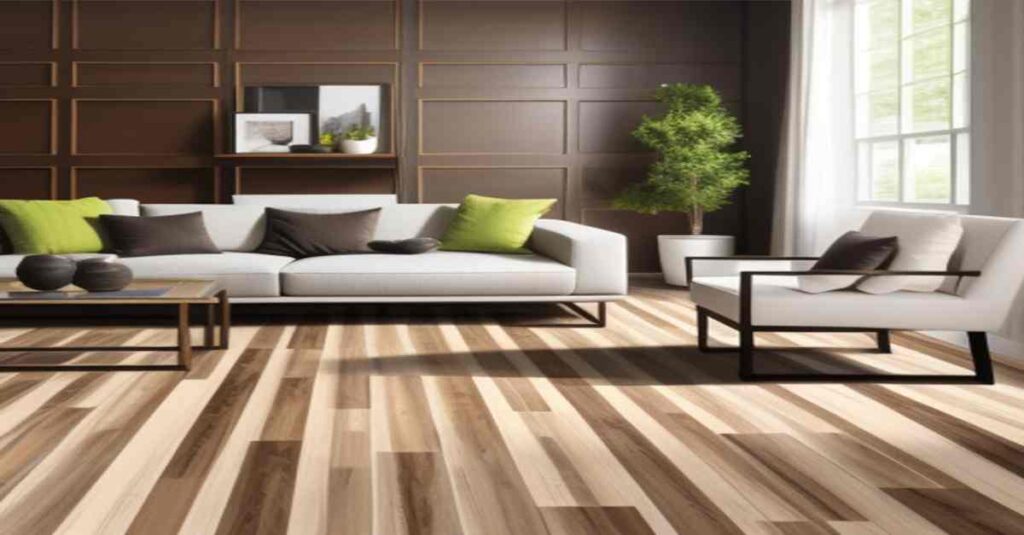
Installing new flooring can dramatically change the look and feel of your home. With Home Decorators Collection (HDC) luxury vinyl plank flooring, you can achieve a stunning transformation with a product that combines elegance, durability, and affordability. This guide will walk you through installing HDC luxury vinyl planks in your 600-square-foot open-concept living room and kitchen.
Why Choose Home Decorators Collection Flooring?
Benefits of HDC Flooring
- Durability: HDC luxury vinyl planks are designed to withstand heavy foot traffic and are ideal for high-use areas like living rooms and kitchens.
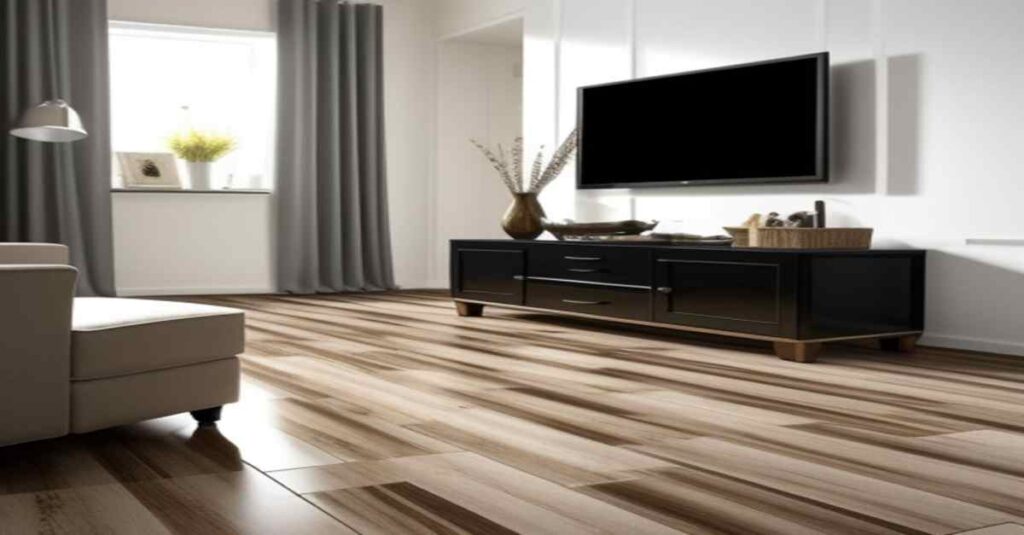
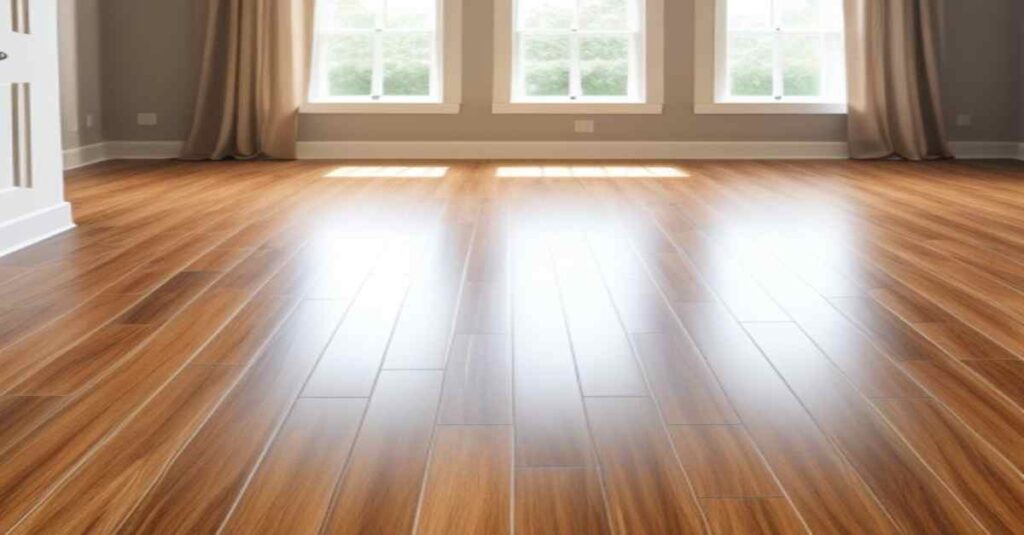
- Aesthetic Appeal: With a wide variety of styles and colors, you can find the perfect match for your interior design.
- Water Resistance: Perfect for areas prone to spills, HDC planks offer excellent moisture resistance.
- Easy Maintenance: Simple to clean and maintain, these floors are designed for busy lifestyles.
Preparation for Installation
Before you begin, preparing your space and gathering all necessary tools and materials is crucial.
Tools and Materials Needed
- Luxury Vinyl Plank flooring (HDC)
- Underlayment suitable for concrete subfloors
- Tape measure and chalk line for accurate cuts and layout
- Utility knife or flooring cutter for precise cutting
- Rubber mallet and tapping block to protect planks during installation
- Spacers for maintaining expansion gaps
- Level for subfloor evenness
- Adhesive (if required)
- Cleaner and adhesive remover for subfloor preparation
- Safety equipment (gloves, knee pads)
Step-by-Step Installation Guide
1. Prepare the Subfloor
- Ensure the concrete subfloor is clean, dry, and level. Use a level to check for uneven areas and fill them with a concrete leveler. Remove debris and adhesive remnants.
2. Acclimate the Flooring
- Allow the luxury vinyl planks to acclimate to the room’s temperature and humidity for at least 48 hours.
3. Measure and Plan
- Measure the room to determine the layout and calculate the number of planks needed. Plan for a staggered pattern to avoid seams lining up, and use spacers to maintain expansion gaps around the perimeter.
4. Install the Underlayment
- Lay the underlayment according to the manufacturer’s guidelines, ensuring it is adequately secured and trimmed to fit within the expansion gaps.
5. Start Laying the Planks
- Begin in a corner, laying the first row of planks with the tongue side facing the wall. Use the manufacturer’s recommended method for locking the planks together.
6. Cut Planks as Needed
- Measure and cut the last plank in each row to fit using a utility knife or flooring cutter. Ensure the cut end is against the wall.
7. Maintain Staggered Joints
- Stagger the joints of the planks at least 6 inches between rows to avoid alignment of adjacent planks.
8. Use a Rubber Mallet
- Use a rubber mallet and tapping block to ensure the planks are tightly locked together, taking care not to damage them.
9. Fit Around Obstacles
- For areas around door frames, vents, or obstacles, measure and cut the planks to fit, maintaining a 1/4-inch expansion gap.
10. Final Row and Trim
- Measure and cut the last row of planks to fit, leaving a 1/4-inch expansion gap. Use a pull bar to secure the final row in place.
11. Clean and Inspect
- Clean the floor and inspect for any gaps or damage. Make any necessary adjustments or replacements.
12. Install Transition Strips
- If transitioning to another type of flooring, install transition strips according to the manufacturer’s instructions.
Common Mistakes to Avoid
- Skipping Acclimatization: Ensure planks acclimate to the room to prevent future warping.
- Ignoring Subfloor Prep: Clean and level the subfloor thoroughly before installation.
- Forgetting Expansion Gaps: Maintain proper expansion gaps for natural expansion and contraction.
Maintenance Tips for Longevity
- Regularly sweep and mop to keep your floors looking pristine.
- Use furniture pads to prevent scratches and dents.
- Quickly clean spills to avoid staining.
Customer Reviews and Experiences
Customers have praised Home Decorators Collection flooring for its ease of installation and beautiful finish. Many users also appreciate its durability and water resistance, making it a favorite choice for families and pet owners.
FAQs
Q1: How long does luxury vinyl plank flooring typically last?
A1: With proper care and maintenance, HDC luxury vinyl plank flooring can last 15 to 25 years, making it a durable and long-lasting option.
Q2: Can I install HDC flooring over existing floors?
A2: Yes, HDC luxury vinyl planks can often be installed over existing floors if the surface is clean, dry, and level. However, it’s essential to check manufacturer guidelines before proceeding.
Q3: Is HDC flooring suitable for basements?
A3: Yes, HDC luxury vinyl planks are suitable for basements, thanks to their water resistance. However, ensure that the basement is free of excessive moisture before installation.
Q4: What should I do if I notice a damaged plank after installation?
A4: If you find a damaged plank post-installation, it can typically be replaced. Carefully remove the damaged plank and install a new one, ensuring the locking mechanisms align correctly.
Q5: How do I clean and maintain my HDC flooring?
A5: Regular sweeping or vacuuming, along with occasional mopping using a manufacturer-recommended cleaner, will help maintain the appearance of your floors. Avoid harsh chemicals that could damage the finish.
Conclusion
Transform your living space with sleek and durable luxury vinyl planks from the Home Decorators Collection. Whether you’re updating your living room, kitchen, or both, our flooring offers a stunning, practical solution. Ready to get started on your flooring project? With our comprehensive installation guide, you’re just a few steps away from achieving the home of your dreams. Happy decorating!


