


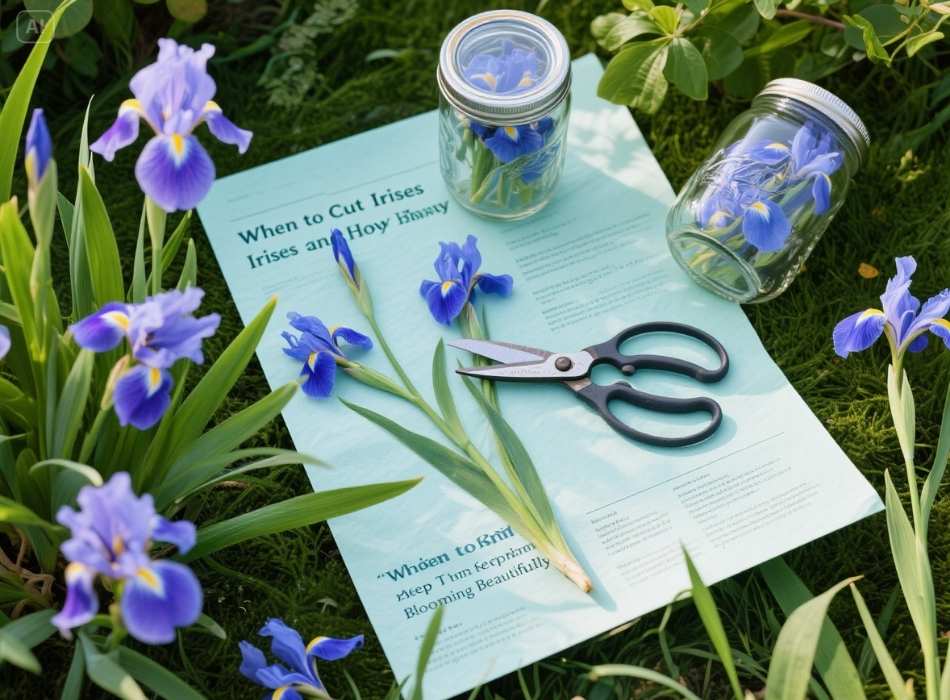
Irises are among the world’s most enchanting flowers. Their delicate, fan-shaped petals and striking range of colors captivate gardeners and flower lovers alike. Knowing when and how to cut irises is essential for maintaining their beauty and health, whether for a stunning bouquet or maintaining your garden’s aesthetic.
This guide will walk you through the perfect timing to cut irises, care tips to extend their time in vases, and practices to ensure healthy blooms year after year in your garden. With these tips, you’ll enjoy vibrant irises season after season.
Understanding the Life Cycle of Irises
To know the best time to cut irises, it’s crucial to understand their growth cycle. Irises are perennials, which means they bloom each year, grace your garden with their beauty during growing seasons, and then go dormant in the colder months.
- Bloom time: Irises generally bloom in late spring to early summer, though exact timing will depend on your region and the specific iris variety.
- Dormancy: After the blooming period, the foliage continues to photosynthesize, gathering strength for the following year’s growth before turning yellow and withering in fall.
- Regrowth: With proper care, new shoots emerge the following growing season.
- Propagation: Irises can propagate through division, which involves separating and replanting the rhizomes. This is typically done every 3-4 years to maintain healthy growth.
- Pests and diseases: While irises are generally low-maintenance plants, they can be susceptible to pests such as iris borers and diseases such as bacterial soft rot. It is important to watch for any signs of infestation or disease and take appropriate measures to prevent or treat them.
- Uses: Besides being grown for their aesthetic appeal in gardens, irises also have practical uses. The roots of certain varieties, such as the German iris, have medicinal properties.
Knowing these phases will help guide your decisions on when and how to cut irises for arrangements or garden maintenance without harming the plant.
When to Cut Irises for Bouquets
Cutting irises for indoor arrangements is a great way to enjoy their beauty indoors, but timing is critical to avoid prematurely ending their bloom or harming the plant.
Best Stage to Cut Irises
- Cut in the bud stage: Cut irises when the buds are closed but show signs of color for the freshest results. This ensures they’ll open thoroughly once placed in water and last longer.
- Early morning cutting: Cut flowers in the early morning when temperatures are cooler. This helps preserve their natural moisture and keeps the blooms fresh for longer. Avoid cutting them during the hottest part of the day.
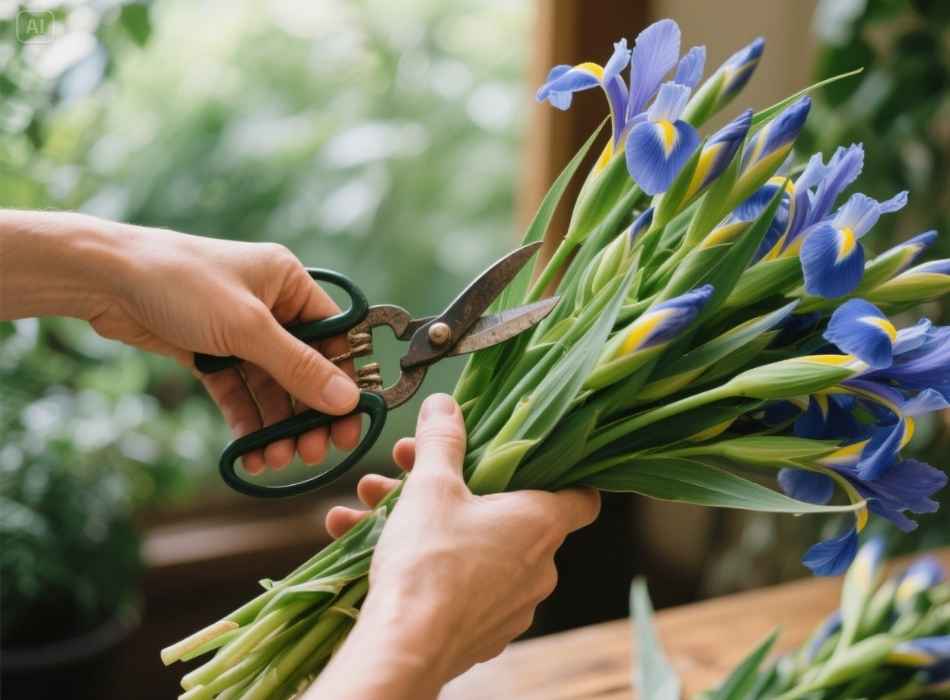
- Use sharp, clean tools: Use sharp scissors or pruning shears to make a clean cut on the stem. This helps prevent damage and disease to the plant.
- Cut at an angle: Cut at a 45-degree angle when cutting irises. This allows for better water absorption and prolongs the life of your cut flowers.
- Remove lower leaves: Once you’ve cut your irises, remove any lower leaves submerged in water. This prevents bacteria from forming and keeps your water clear.
- Place in cool water immediately: Place your freshly cut irises in a vase of cool water immediately after cutting. This will help prevent wilting and prolong the life of your flowers.
- Change water daily: To keep your irises fresh, change the water in their vase daily. This will also help prevent bacteria from forming and keep your flowers vibrant.
- Avoid direct sunlight: When displaying cut irises, avoid placing them in direct sunlight as this can cause them to wilt more quickly. Instead, please put them in a cool, shaded area for optimal flower longevity.
- Remove wilted flowers: Remove any wilting or dead flowers from the bouquet as your irises age. This will free up energy to keep the remaining flowers fresh and vibrant.
Tools and Techniques for Cutting
- Use a pair of sharp, clean pruning shears to make a clean cut that minimizes damage to the plant.
- Cut the stem at a 45-degree angle, about 1-2 inches above the base of the stem. The angled cut allows the flower to absorb water more efficiently when placed in a vase.
Caring for Cut Irises
- Place the cut flowers in a clean vase filled with cool water immediately after cutting.
- Trim the stems slightly every few days to keep them fresh, and change the water regularly to prevent bacterial growth.
Proper cutting and care will ensure your irises remain radiant in your home for up to a week.
When to Cut Irises in the Garden
Timing garden cuts correctly is just as crucial for the health of your iris plants as cutting flowers for bouquets. Whether you’re deadheading spent blooms or clearing dying foliage, these tips will help.
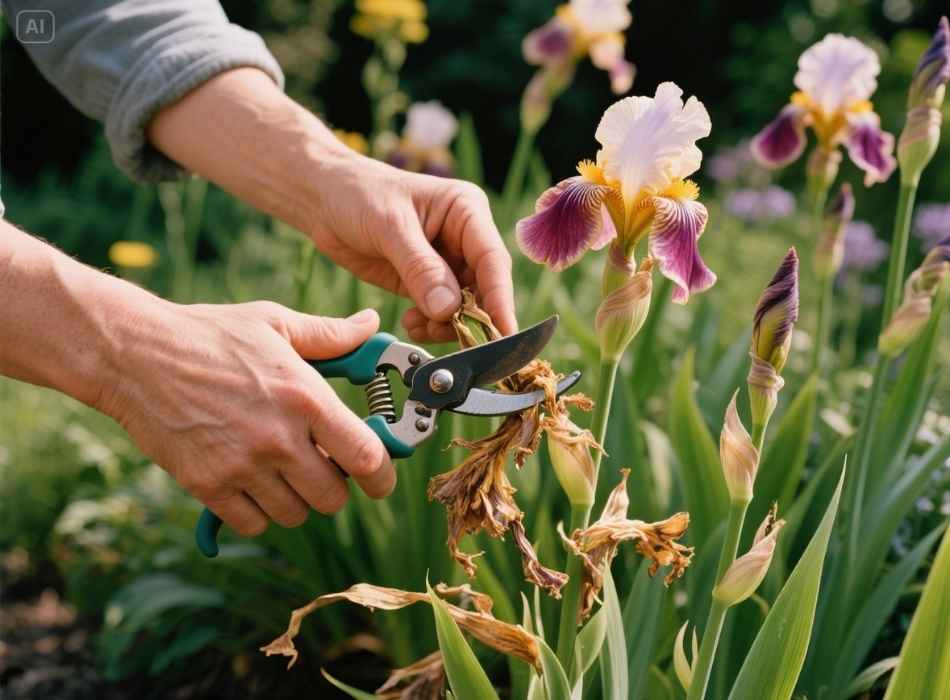
Deadheading Irises After Bloom
- What is deadheading? Deadheading involves removing spent flowers to improve the plant’s appearance and direct its energy into the roots rather than seed production.
- When to deadhead: Deadhead irises as soon as each flower fades. This prevents the plant from diverting energy into seed formation and encourages more substantial growth for the next season.
- How to deadhead: Snip the flower stalk at the base, near where it meets the leaves. Be careful not to remove any healthy foliage. Using clean, sharp scissors or pruners is essential to avoid damaging the plant.
- Benefits of deadheading: Deadheading improves the plant’s aesthetic appearance and promotes healthier growth. Removing spent flowers encourages the plant to direct its energy into developing stronger roots and foliage.
- Other benefits: Deadheading can also help prevent disease and pests. Removing spent flowers reduces the risk of fungal diseases that can develop on decaying petals. Additionally, specific pests may be attracted to dying flowers, so removing them can decrease the likelihood of infestation.
Cutting Back Irises in Fall
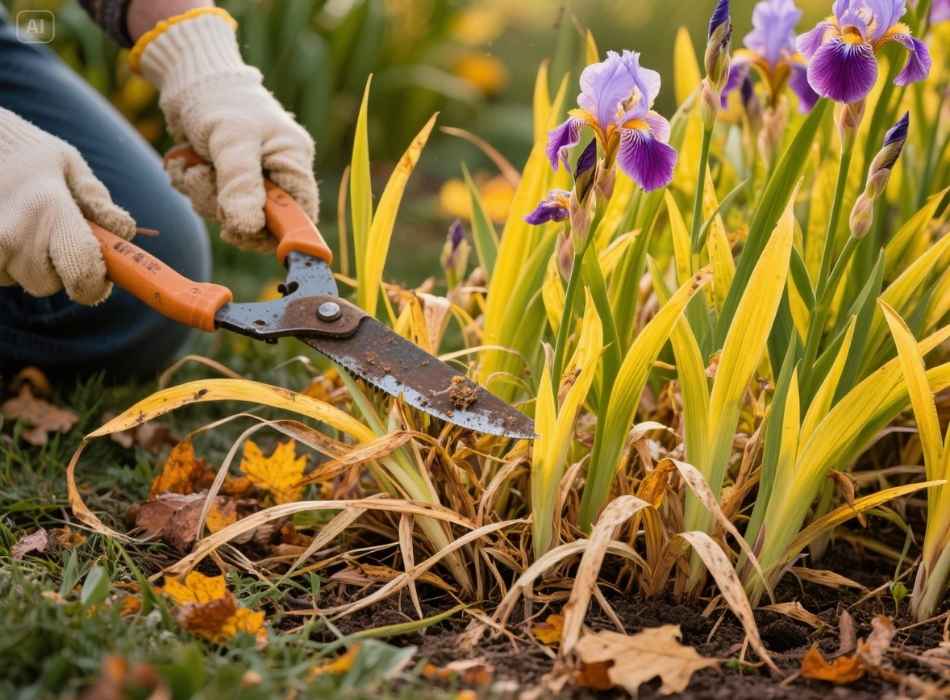
- After the blooming season, the foliage of irises will turn yellow as it begins to die back. This is a natural process that signals the plant is entering dormancy.
- When to cut back foliage: Wait until the leaves turn completely yellow or brown, typically in late fall (around October or November, depending on your climate). Cutting green leaves too soon can deprive the plant of energy needed for next year’s blooms.
- How to cut back foliage: Use sharp shears to cut the leaves down to about 6 inches above the ground. Removing dead foliage helps prevent pests and diseases from overwintering in your garden. Be sure to dispose of the foliage in a compost pile or yard waste bin.
- Mulching: After cutting back foliage, add a layer of mulch around the plant to protect its roots from freezing temperatures and retain moisture during winter months.
- Winter watering: Even with little to no precipitation, it’s important to continue watering your plants during winter. Water once every 2-3 weeks, making sure the soil stays moist but not waterlogged. This is especially important for newly planted perennials, as their root systems are not yet established.
- Pruning:Pruning: Winter is also a good time to prune shrubs and trees in your garden. Make sure to remove any damaged or dead branches and any crossing or rubbing branches. This will help promote healthy growth in the spring and prevent disease and pest infestations.
- Mulching: Adding a layer of mulch around your plants can help protect their root systems during winter. It acts as an insulator, retaining heat and moisture in the soil. Use natural mulch, like wood chips or shredded leaves, as synthetic ones may harm plant growth.
- Protecting delicate plants: If you have delicate plants that are not cold-hardy, you can create protective barriers around them using burlap or blankets. This will help shield them from harsh winds and freezing temperatures.
Dividing Irises for Renewal
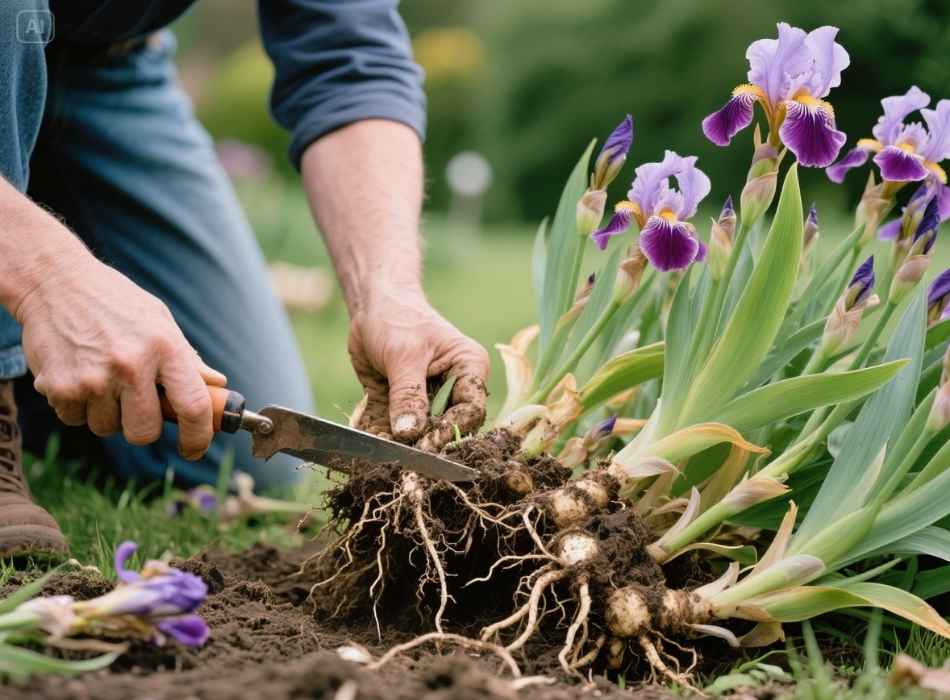
Over time, iris clumps can become overcrowded, leading to reduced blooming. This is particularly common with rhizome-based varieties like bearded irises.
- When to divide irises: The best time to divide irises is 4-6 weeks after they finish blooming, typically in late summer or early fall.
- How to divide:
- Dig up the iris clump carefully to avoid damaging the rhizomes.
- Select healthy, firm rhizomes with visible roots and discard any soft or diseased ones.
- Cut the foliage of each new rhizome to about 6 inches before replanting. This will allow the plant to focus its energy on establishing new roots.
- 4. Trim the roots of each rhizome to about 3-4 inches in length, removing any damaged or dead ones.
- 5. Replant the rhizomes with their tops facing upwards and their roots spread out in a shallow hole.
- 6. Water thoroughly after replanting to settle the soil around the roots.
- Dividing irises is beneficial for maintaining plant health and vigor and allows you to propagate new plants from a single parent iris. Once separated, each rhizome can be planted separately, creating more flowers and adding variety to your garden.
Dividing ensures your irises stay healthy, and your garden remains vibrant with flowers year after year.
Common Mistakes to Avoid When Cutting Irises
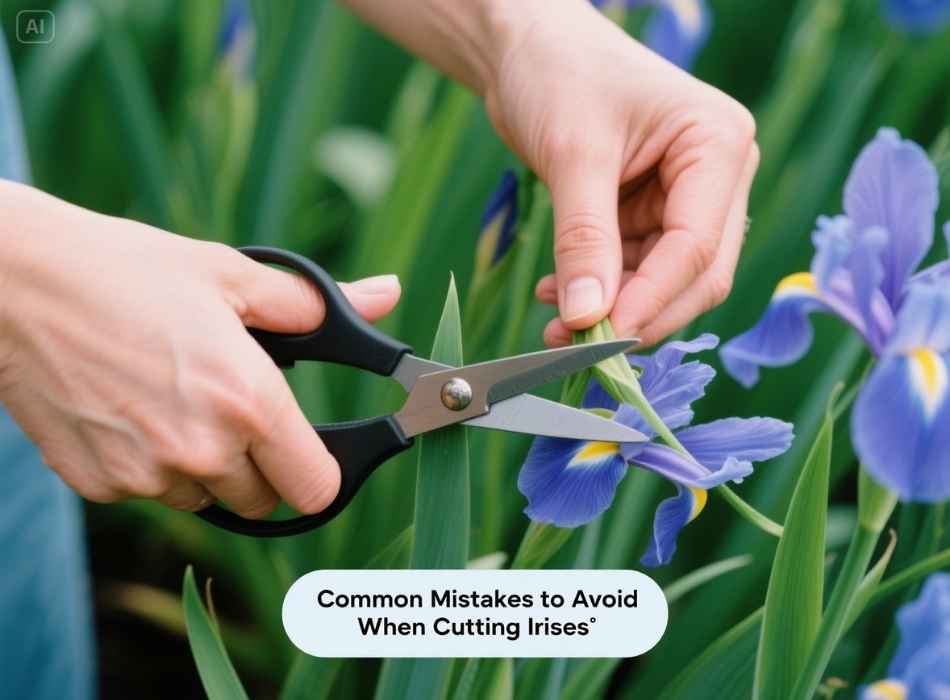
To keep your irises thriving, be mindful of these common pitfalls:
- Cutting foliage too early: Removing green leaves before they naturally wither can weaken the plant.
- Using dull tools: Jagged cuts can make stems and rhizomes susceptible to disease.
- Overcutting: Whether harvesting flowers or cutting back garden growth, too much can stress the plant and reduce next year’s blooms.
- Ignoring pest-prone foliage: Diseased or pest-infested leaves should be removed immediately to prevent spreading.
- Not pruning at the right time: Different plants require different pruning schedules, so research and follow the appropriate timing for each species.
- Pruning too aggressively: While some plants benefit from annual or biennial heavy pruning, others can be damaged if pruned too severely. Be cautious and only remove what is necessary.
- Failing to clean tools between cuts: To prevent disease spread, tools should be sanitized with rubbing alcohol or a bleach solution between cuts.
- Leaving stubs when cutting branches: Stubs are prone to rot and can invite pests into the plant. Make sure to cut branches cleanly at their junction with another stem or branch.
Tips for Year-Round Iris Care
Healthy irises require care beyond just cutting at the right moments. Integrate these practices into your annual gardening routine:
- Mulch: Apply a layer of mulch during winter to protect rhizomes from extreme cold and frost.
- Fertilize: To strengthen your plants, provide a balanced fertilizer in early spring and after blooming.
- Monitor for pests: Look for issues like iris borers or fungal diseases. Address these early with organic or chemical treatments tailored for irises.
- Divide and replant: Divide your plants every three to five years, when they become overcrowded. Replant the healthy rhizomes with at least one fan of leaves and discard any diseased or damaged sections.
- Water deeply: During dry spells, water deeply once a week rather than frequently shallow waterings, which can weaken root systems.
Other Tips for Growing Irises
Here are some additional tips for growing irises that can help you maintain a healthy and beautiful garden:
- Choose the right location: Irises prefer full sun but can also tolerate partial shade. Plant them in well-draining soil and avoid areas with standing water.
- Mulch around the plants: Adding a layer of mulch can help retain moisture in the soil and prevent weeds from growing.
- Fertilize sparingly: Irises are not heavy feeders, so avoid over-fertilizing. Use a balanced fertilizer once or twice a year, following package instructions.
- Divide and transplant every 3 to 4 years: To keep your irises healthy and blooming each year, you must divide and transplant them every 3 to 4 years. This will prevent overcrowding and allow for better airflow and sunlight.
- Watch out for pests and diseases: Look for common pests like aphids, thrips, and iris borers. These can be controlled with insecticidal soap or systemic insecticides. Also, look for signs of diseases such as bacterial soft rot, leaf spot, and crown rot.
- Cut back after blooming: Once the irises are done blooming for the season, cut back the flower stalks to encourage new growth and prevent diseases from spreading.
- Mulch in winter: Before the first frost, add a layer of mulch around your iris plants to protect them during winter. This will also help retain moisture and prevent weeds from growing.
By nurturing your irises throughout all seasons, you’ll set the stage for breathtaking blooms every year.
Celebrate Gardening Success with Stunning Irises
Mastering the art of cutting and caring for irises ensures a garden filled with life and color and bouquets that brighten your home. Whether you’re an avid gardener or new to growing irises, following these guidelines will reward you with healthy plants and gorgeous flowers for years.
Enjoyed learning about irises? Check out our other articles on flower care and seasonal gardening tips. Share your favorite iris photos or tricks in the comments below—we’d love to hear from fellow gardening enthusiasts!


