


When constructing or renovating homes, one of the most underestimated yet critical aspects to consider is the water pipe structure, especially for multi-story buildings. For second-floor plumbing, the setup isn’t just about ensuring water flows where it’s needed; it requires careful planning to manage pressure, avoid leaks, and ensure efficiency across the household. Whether you’re a homeowner, contractor, or simply curious, this guide will walk you through the essentials of water pipe structures on the second floor.
What Makes Second-Floor Water Plumbing Unique?
Plumbing on the second floor is more complex than ground-floor setups due to gravity, water pressure requirements, and structural considerations. Incorrect installation can lead to poor water flow, noisy pipes, or even higher utility bills. Here’s what makes second-floor plumbing stand out:
- Water pressure challenges: Water needs to be pumped upward to reach the second floor. Without proper planning, you may experience low water pressure in faucets, showers, or appliances.
- Drainage and gravity: Wastewater must flow downward, requiring precise angles and well-placed venting systems to avoid clogs or slow drainage.
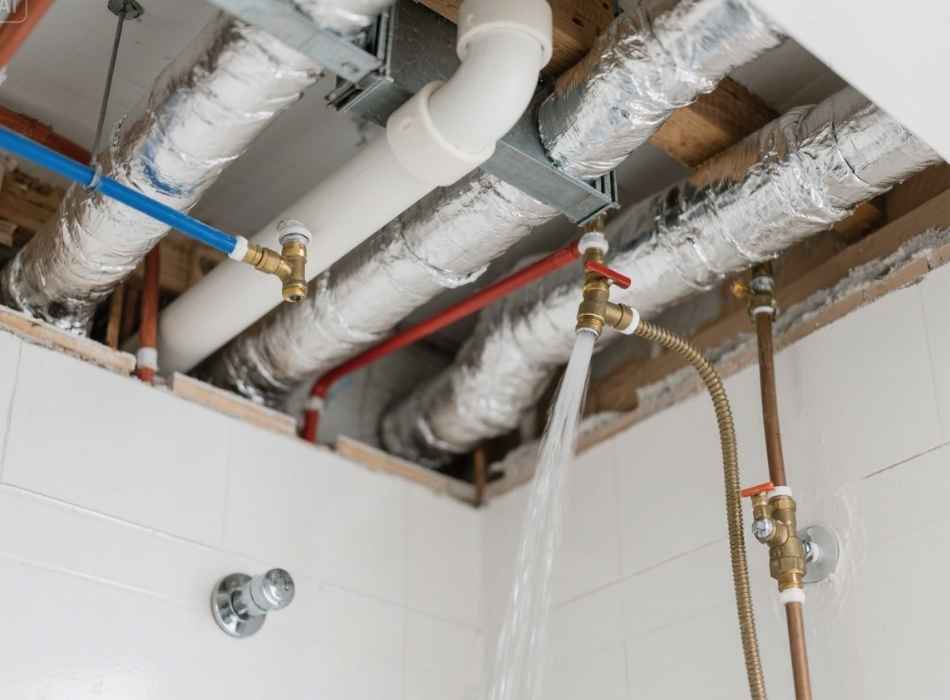
- Support structures: Second-floor pipes must be securely supported to prevent sagging or potential structural damage to ceilings below.
Understanding these challenges is crucial for designing an effective system that works seamlessly for years.
Important Considerations for Second-Floor Water Pipes
Before we discuss the specific setup process, here are some important aspects to keep in mind when designing or installing second-floor water pipe structures.
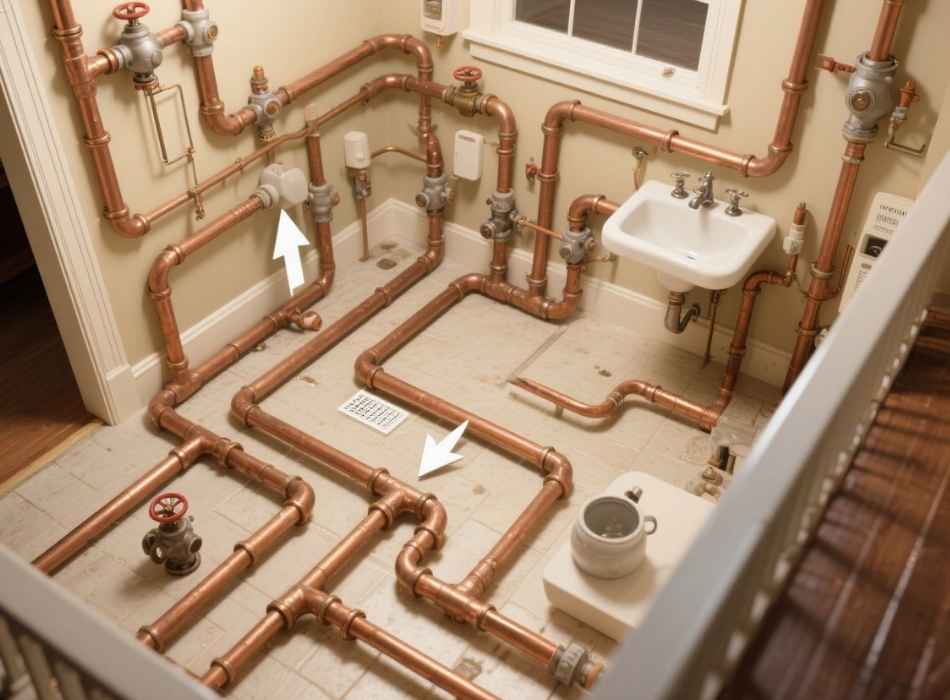
1. Pipe Material Choices
The material you choose for your water pipes significantly impacts durability and performance. Common materials include:
- Copper: A popular choice due to its longevity and resistance to corrosion. Copper pipes can withstand high pressure, making them ideal for homes with second floors.
- PEX (Cross-linked polyethylene) is flexible, cost-effective, and resistant to freezing and bursting, making it a favourite for modern homes.
- PVC (Polyvinyl chloride): Suitable for drainage systems, but less ideal for high-pressure water supply lines.
- CPVC (Chlorinated polyvinyl chloride): Offers better resistance to heat than PVC, making it a budget-friendly option for supply lines.
Each material has its pros and cons, so it’s important to assess your home’s needs and consult professionals before deciding.
2. Water Pressure Regulation
To ensure water efficiently reaches the second floor, maintaining proper water pressure is essential. Key solutions include:
- Installing a pressure booster pump to ensure water reaches all fixtures comfortably.
- Use pipes of appropriate diameter. Typically, a larger diameter means better pressure at vertical heights.
- Positioning a water tank higher than the second floor, where possible. Gravity naturally helps with water flow and alleviates pressure concerns.

3. Optimal Pipe Layout
A well-thought-out layout minimizes water wastage, energy costs, and maintenance headaches. Consider the following tips:
- Plan for shorter pipe lengths between fixtures to reduce resistance and improve flow.
- Group water fixtures like bathrooms, kitchens, and laundry rooms close together to reduce complexity.
- Use a manifold system for easier control, allowing you to shut off water to specific parts of the house without affecting the rest.
4. Drainage and Venting
Gravity drives efficient drainage for wastewater, but proper venting is the unsung hero in this system. Without venting, sewer gases can back up, or drains can clog. Here’s what to keep in mind:
- Install vertical vent pipes that connect to the main vent stack, ensuring constant airflow.
- Maintain a drainage slope of at least 1/4 inch per foot for horizontal drainpipes for optimal wastewater flow.
- Add traps (curved sections of pipe) under each fixture to prevent gases from seeping up through the drains.
Steps for Installing Second-Floor Water Pipe Structures
Step 1. Assess Building Plans
Before installing pipes, ensure you review the building’s architectural plans. Determine the location of water sources, fixtures, and drainage points to design an optimal system.
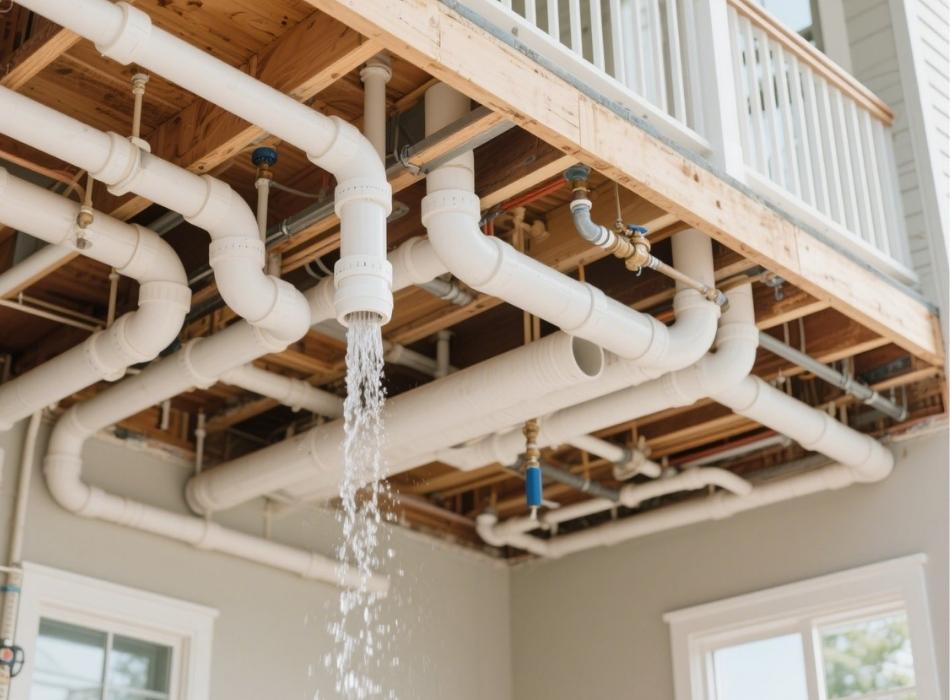
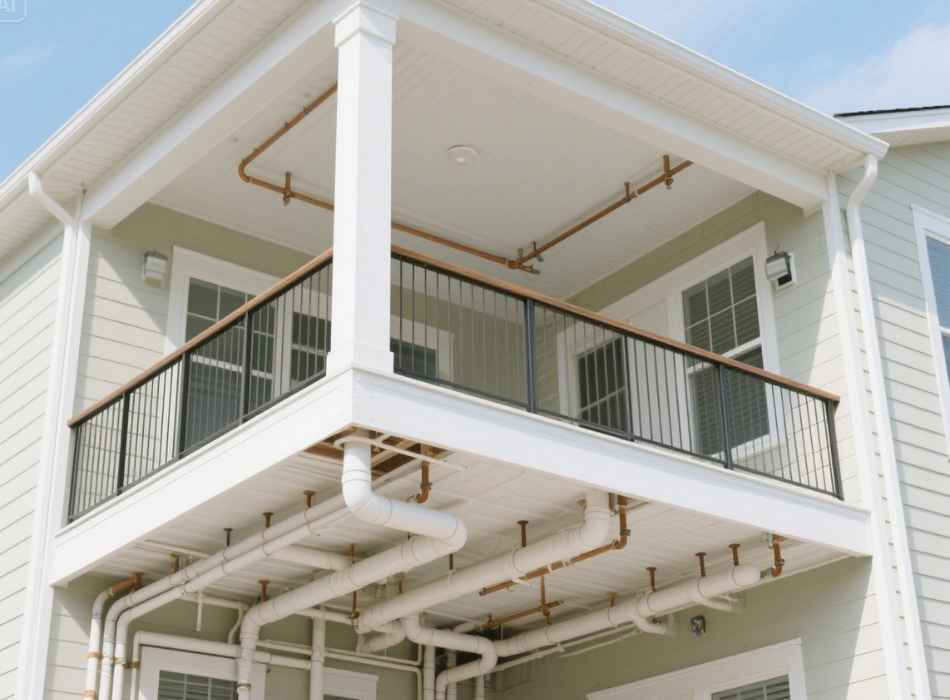
Step 2. Run Vertical Pipes First
Vertical pipes, often called risers, carry water to the second floor. Start by running these pipes through pre-drilled holes in the framing of walls or structural support beams.
- Use insulation sleeves around pipes to prevent noise from water flow.
- Secure pipes with brackets or clamps to reduce vibration and sagging.
Step 3. Install Horizontal Pipes
Horizontal supply and drainage pipes must be installed carefully to prevent unnecessary bends or junctions.
- Avoid sharp 90-degree angles. Instead, use gradual bends to maintain water pressure and smooth drainage flow.
- Ensure all joints are well-sealed using Teflon tape or pipe joint compounds to prevent leaks.
Step 4. Connect Fixtures
Once the pipework is in place, it’s time to connect water fixtures. Common second-floor fixtures include showers, sinks, and toilets.
- Use shut-off valves at each fixture so maintenance tasks can be performed without disrupting the rest of the system.
- Test all connections for leaks before closing up walls or floors.
Step 5. Install Vent Pipes
Venting lines must be connected to every drainage pipe and extend upwards, eventually exiting the home through the roof. This critical step ensures smooth drainage and prevents sewer gas buildup.
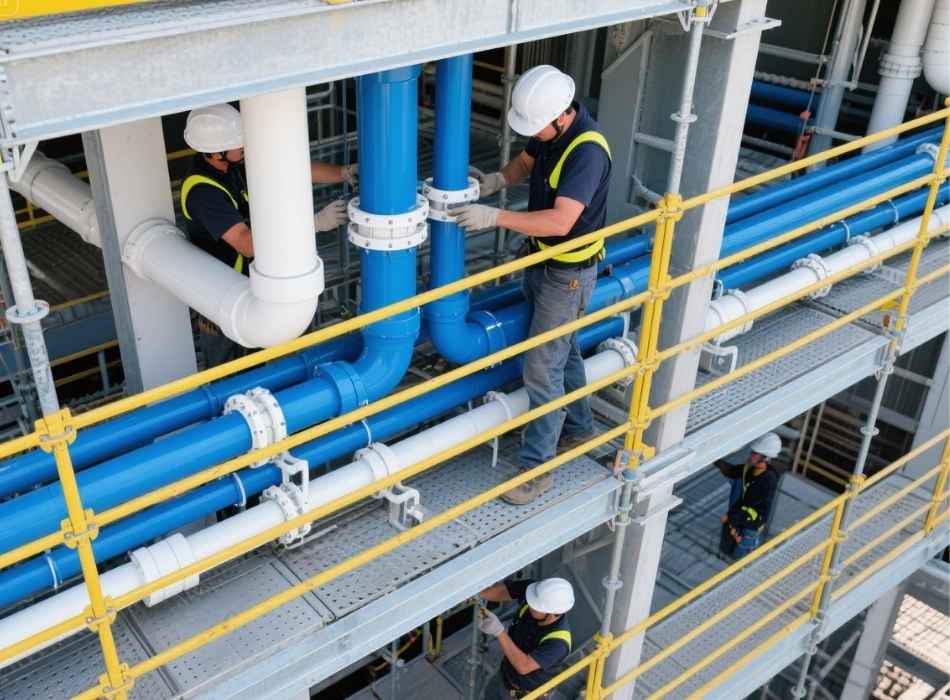
Step 6. Test the System
Once everything is installed, conduct a pressure test for water supply pipes and a flow test on drainage lines. This will ensure functionality, identify any weak spots, and prevent future issues.
Common Mistakes to Avoid
Even the best designs can fall short if small oversights are made. Here are some common mistakes to avoid:
- Ignoring water pressure consistency: Unbalanced pressure between hot and cold supply lines can lead to frustrating experiences during showers or dishwashing.
- Skipping insulation: Pipes on upper floors are more prone to temperature changes, which can lead to freezing or heat loss if left uninsulated.
- Overlooking ease of access: Make sure there’s enough space to access pipes for future maintenance or repairs.
Final Thoughts
Second-floor water pipe structures may feel daunting to plan, but they are essential for a fully functional home. With the right materials, careful layout planning, and adherence to installation best practices, you can ensure a seamless and efficient plumbing system.
Partnering with experienced professionals can simplify this process and provide the confidence of knowing the job is done right. If you’re planning your second-floor plumbing system or need expert advice, don’t hesitate to consult with a licensed plumber to avoid costly errors.


