Introduction
Ceiling fans are a fantastic way to enhance your home’s comfort while improving energy efficiency. Whether you want to reduce heating and cooling costs or add a touch of style, replacing your old ceiling light with a fan is a rewarding DIY project. This guide will walk you through the process step-by-step.
| Image | Product | Features | Price |
Our Pick1  | Ceiling Breeze Conversion Kit | The Ceiling Breeze Conversion Kit allows you to transform your existing ceiling fan into a powerful air circulation system, ensuring a consistent and pleasant airflow throughout your space, making hot days more bearable. |
Tools and Materials Needed
Before you begin, gather the following tools and materials:
- Tools
- Step ladder or platform
- Screwdriver set (Phillips and flathead)
- Wire cutters and wire strippers
- Electrical tester
- Adjustable wrench or pliers
- Stud finder
- Power drill with wood screws
- Materials
- Screws for mounting the fan bracket
- Wire nuts
Safety Precautions
- Turn off the power at the circuit breaker and use an electrical tester to ensure the wires are not live.
- Use a sturdy step ladder or platform and have assistance if needed.
- Wear safety goggles to protect your eyes.
- Avoid circuit overload and ensure the fan is suitable for the location.
Step 1: Remove the Existing Ceiling Light Fixture
- Turn Off Power: Shut off the power at the circuit breaker that controls the light fixture.
- Remove the Fixture: Use a ladder to reach the ceiling, unscrew the light fixture, and disconnect the wires.
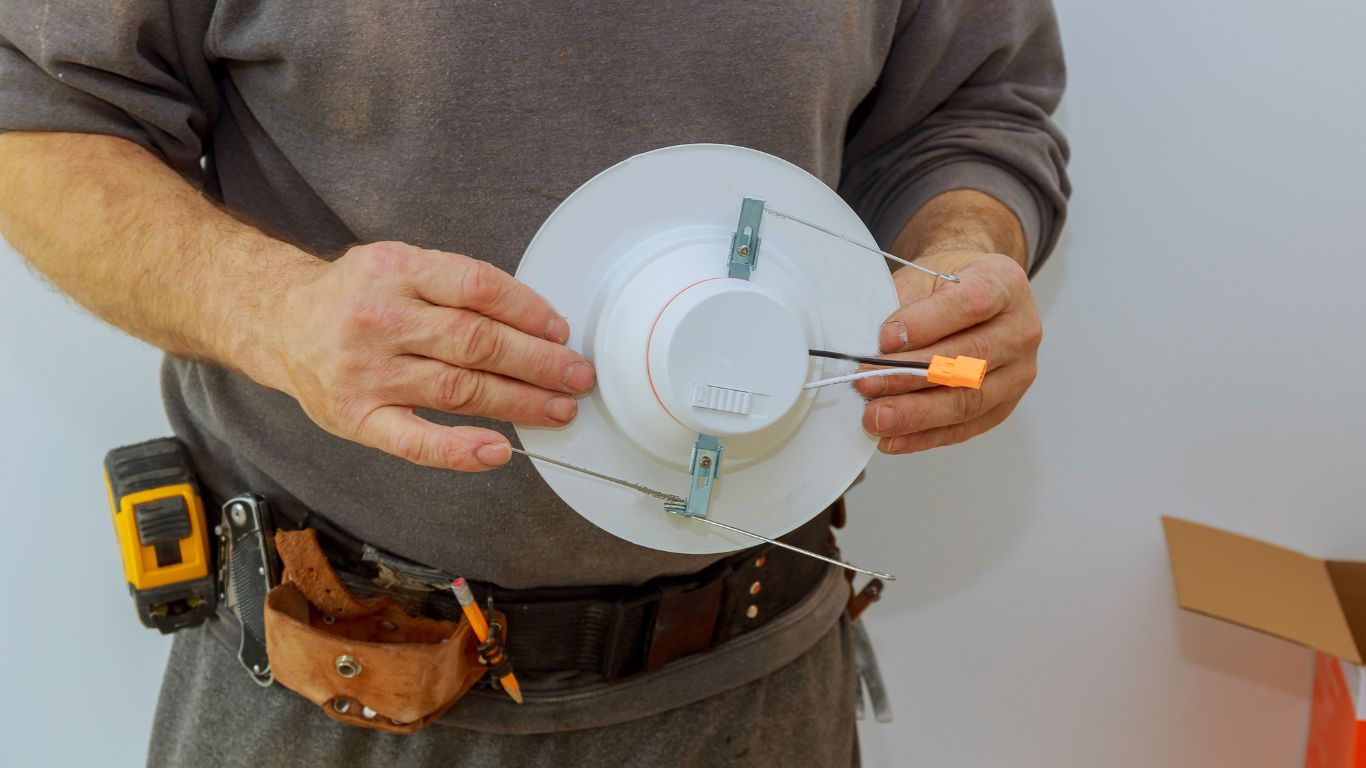
- Assess Support: If the new fan’s bracket is heavier, install a fan-rated junction box.
Step 2: Prepare the Ceiling for the New Fan
- Find Joists: Use a stud finder to locate ceiling joists for secure mounting.
- Install Fan-Rated Junction Box: Ensure it can support the weight of the fan.
Step 3: Install the Ceiling Fan Mounting Bracket
- Secure the Bracket: Attach the mounting bracket to the junction box using screws.
- Ensure Stability: Double-check that the bracket is securely mounted and flush with the ceiling.
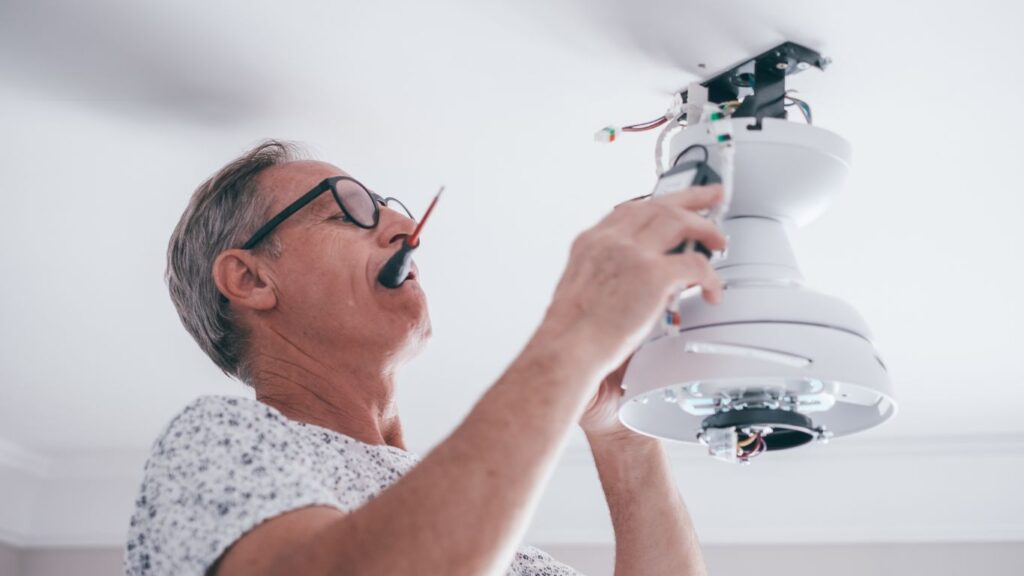
Step 4: Connect Electrical Wires
- Identify Wires: Look for green or bare copper (ground), white (neutral), and black or red (power) wires.
- Connect Wires: Match the fan wires to ceiling wires and secure them with wire nuts.
Step 5: Attach the Ceiling Fan Blades and Light
- Attach Blades: Follow the manufacturer’s instructions to attach the blades securely.
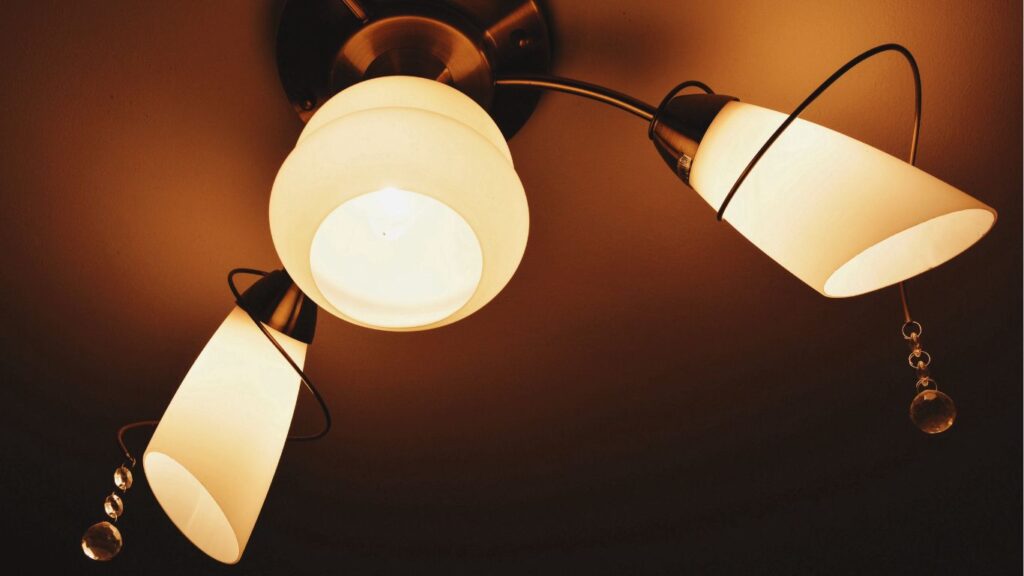
- Install Light Kit (if applicable): Connect the light kit according to the instructions provided.
Step 6: Test Your New Ceiling Fan
- Restore Power: Turn the power back on at the circuit breaker.
- Test Functionality: Check that the fan and light operate correctly and fix any necessary issues.
FAQs
- Can I install a ceiling fan without hiring an electrician?
Yes, if you feel comfortable and have some experience with electrical work, you can install a ceiling fan as a DIY project. However, if you are unsure, it’s always best to consult with or hire a professional electrician for safety.
- What type of ceiling fan should I choose for a small room?
For small rooms, look for ceiling fans that are 36 inches or smaller in diameter. These smaller fans will provide adequate airflow without overwhelming the space.
- Is it necessary to use a fan-rated junction box?
Yes, a fan-rated junction box is crucial when installing a ceiling fan. It is designed to support the fan’s weight and movement, ensuring safety and stability.
- How do I clean and maintain my ceiling fan?
To clean your ceiling fan, turn it off and wipe the blades with a damp cloth to remove dust and debris. Regularly check the screws and connections to ensure they are tight and secure.
- Can I use a dimmer switch with my ceiling fan?
A dimmer switch with a ceiling fan is possible, but it must be compatible with the fan’s motor. If your fan has a light kit, ensure that the dimmer is rated for use with fans to prevent flickering or damage.
Conclusion
Following these steps, you’ve successfully replaced your old ceiling light with a modern fan. Not only does it add aesthetic appeal, but it also improves air circulation and energy efficiency in your home. Enjoy the comfort and style brought by your new ceiling fan! Consult a professional electrician for assistance if you encounter any challenges or feel unsure.