")
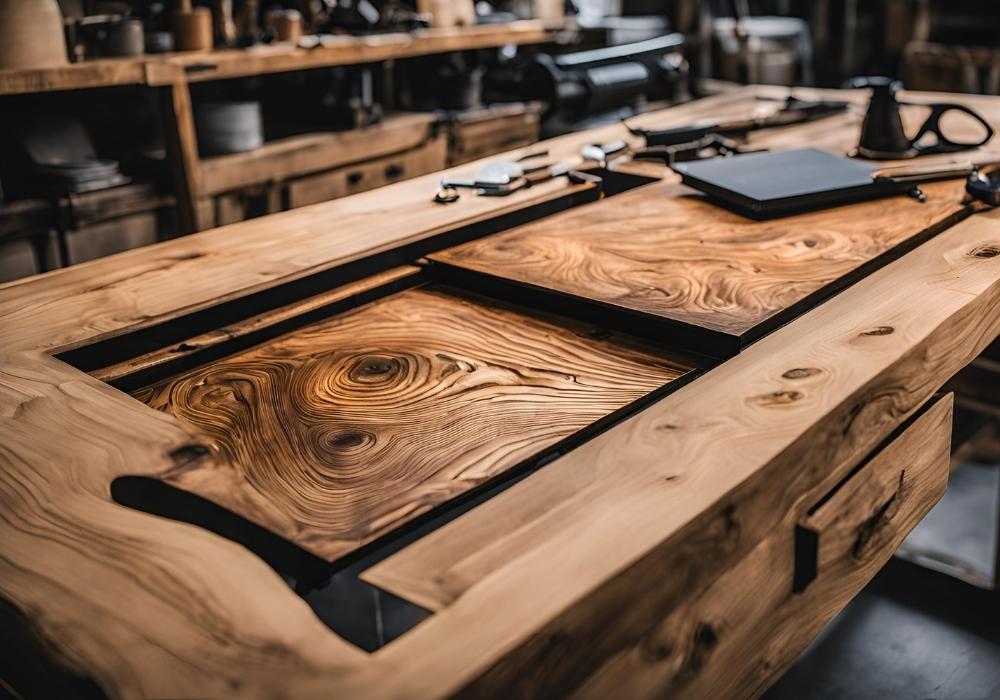
Shou Sugi Ban, the ancient Japanese technique of preserving wood through charring, has become a favorite among DIY enthusiasts, woodworkers, and interior designers. Its stunning aesthetics—defined by deep, rich tones and a unique textured grain—lend themselves perfectly to furniture projects, especially desks. But once you’ve crafted your Shou Sugi Ban masterpiece, the next vital step is sealing it properly to ensure durability and long-lasting beauty.
While most guides focus on sealing the top and sides of the desk, it’s equally important to seal the bottom. This often-overlooked step protects the wood from moisture, keeps it dimensionally stable, and helps prevent warping over time. Here’s your complete guide to sealing the bottom of a Shou Sugi Ban desk, ensuring it’s as rugged as it is refined.
Why Seal the Bottom of a Shou Sugi Ban Desk?

A desk endures many environmental changes, from humidity fluctuations to accidental spills. While the visible top and sides are often sealed to shield against these factors, the unsealed bottom may absorb moisture or experience uneven drying, leading to warping or cracking. Sealing the bottom:
Balances the Desk’s Protection: Wood naturally absorbs and releases humidity. Sealing all surfaces ensures uniformity and reduces the risk of warping.
Improves Durability: Adding an extra protective layer increases the lifespan of the desk, especially in high-moisture environments.
Provides Complete Coverage: Shou Sugi Ban’s beauty extends to hidden areas, so sealing the bottom helps preserve a uniform finish.
Tools and Materials You’ll Need
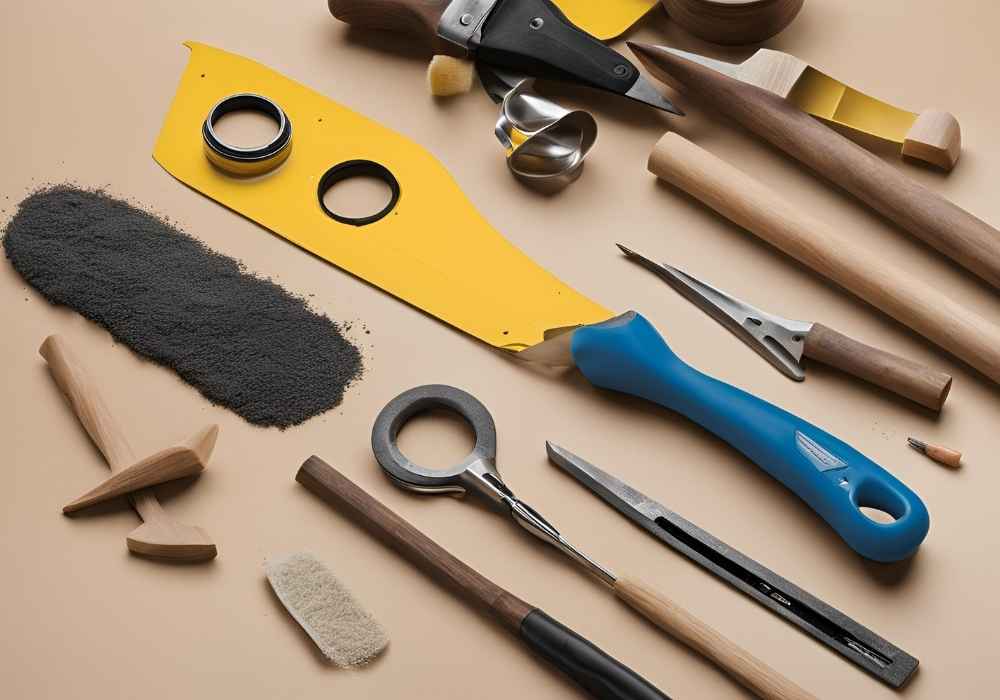
Before you begin sealing, gather the necessary tools and products. With the right materials, this task is straightforward.
Tools:
- Sanding block or orbital sander (with 120- and 220-grit sandpaper)
- Clean, lint-free cloth or tack cloth
- Paintbrush or foam applicator
Materials:
- Tung oil, linseed oil, or a transparent wood sealer
- Wood-specific stain (if desired for further color depth)
- Polyurethane or spar varnish (for added durability)
- Painters’ pyramids or elevated work stands (to keep the desk off the ground while sealing)
- Respirator mask (recommended for fume-heavy finishes)
Guide to Sealing the Bottom of Your Desk

Step 1: Prepare the Surface
Preparation is critical to achieve a smooth and long-lasting finish. Begin by flipping the desk to expose the bottom surface.
Clean the Wood: Use a clean, lint-free, or tack cloth to remove dirt or residue. Dust or debris can affect how evenly the finish adheres.
Sand the Surface: Use 120-grit sandpaper first, followed by 220-grit sandpaper for a smoother finish. This step ensures the sealer penetrates the wood effectively and removes any inconsistencies. Always sand with the grain of the wood to avoid scratching.
Remove Dust: Wipe down the surface with a tack cloth after sanding to remove any remaining particles.
Step 2: Select the Right Finish
You’ll need to pick a suitable sealant type based on your desk’s intended use and exposure to elements.
Tung Oil or Linseed Oil: These natural oils penetrate deep into the wood, enhancing the charred finish and providing a subtle sheen. It is ideal for desks placed indoors with minimal wear and tear.
Polyurethane Sealant: Available in matte, satin, or glossy finishes, polyurethane provides a hard, durable coating perfect for high-use desks.
Spar Varnish: Formulated for outdoor or humid environments, spar varnish offers superior water resistance. Consider this if your desk will be exposed to high moisture levels or fluctuating humidity.
Step 3: Apply the Sealant
Now, it’s time to seal the bottom of your desk. Work in a well-ventilated area or outdoors to avoid inhaling fumes.
Stir the Sealant: Mix the Sealant thoroughly, but avoid shaking, as this can create air bubbles in your finish.
Apply a Thin Layer: Using a brush or foam applicator, evenly coat the entire surface of the bottom. Apply in long, even strokes, following the direction of the grain.
Allow for Absorption: If using oil, soak it for 15–30 minutes in the wood before wiping off the excess with a lint-free cloth.
Dry Completely: Allow the first coat to dry completely. This could take anywhere from 6 hours for oils to 24 hours for polyurethane or varnish. Always refer to the manufacturer’s instructions.
Step 4: Sand Between Coats
For a smoother, professional finish, lightly sand the surface between coats using 220- or 320-grit sandpaper. Wipe away the dust with a cloth before applying the next coat.
Step 5: Add Additional Coats
Apply at least two to three coats of your Sealant for comprehensive protection. Ensure each coat is fully dry and lightly sanded before applying the next one. This gradual layering process results in a more durable and polished surface.
Step 6: Cure the Finish
After the final coat, allow the desk to cure for 48–72 hours before moving or flipping it back into position. This ensures the finish hardens properly for long-term durability.
Tips for Maintaining Your Sealed Shou Sugi Ban Desk
Clean Gently: Use a damp cloth to clean the sealed surface. Avoid harsh chemicals, as they can degrade the finish.
Reapply Sealant Periodically: The finish may wear over time, especially in high-use areas. Reapply a fresh sealant coat every few years to maintain protection.
Use Coasters or Mats: For hot beverages or sharp objects, coasters and desk mats prevent spills and scratches.
Monitor Humidity Levels: Keep your desk in an environment with stable humidity to avoid undue stress on the wood, even with the bottom adequately sealed.
The Beauty of a Well-Sealed Shou Sugi Ban Desk
Sealing the bottom of your Shou Sugi Ban desk may seem like a small detail, but preserving its beauty and functionality is essential over time. Whether you’re a skilled woodworker or a DIY enthusiast trying this technique for the first time, following these steps ensures your desk remains stunning and resilient for years.
With proper care, this ancient Japanese technique combined with modern sealing practices brings timeless elegance to any space.