")
Bathroom renovations often require innovative solutions, especially when adapting old fixtures to fit new designs. One common challenge is combining a low commode (also known as a squat pan) with a high commode (the conventional sitting toilet). Whether you’re a professional plumber, a home renovator, or a DIY enthusiast, this practical guide will walk you through the correct method of welding these fixtures for a seamless and functional result.
Why Combine a Low Commode with a High Commode?
There are various reasons why you need to weld these two fixtures together in a bathroom setup.
Catering to accessibility needs: Some people prefer a squat-style toilet due to cultural habits or health benefits, while others may require a sitting toilet for comfort or accessibility. Combining both options ensures everyone’s needs are met.
Space efficiency: Bathrooms often have limited space. Welding these fixtures together can save valuable room without compromising functionality.
Renovation solutions: Sometimes, old and new materials meet during renovations, making adaptations necessary to preserve the layout while upgrading fixtures.
No matter the reason, getting this task done correctly requires a methodical approach.
Tools and Materials You’ll Need
Before you start, ensure you have all the necessary tools and materials. Having everything ready beforehand saves time and avoids interruptions.
Tools
Welding machine (MIG or TIG welding is recommended for bathrooms)
Welding helmet and gloves
Angle grinder with a cutting head
Measuring tape
Marker or chalk
Sandpaper or wire brush
Materials
Stainless steel welding rods (or appropriate materials, depending on the pipe and fixture material)
Joint connectors (if needed)
Sealant (water-resistant and compatible with your materials)
Metal prep spray (for cleaning and priming surfaces to weld smoothly)
Step-by-Step Guide to Welding a Low Commode with a High Commode
Follow these steps to ensure a secure and durable weld for your bathroom setup.

Step 1: Assess and Measure the Layout
Start by carefully inspecting the bathroom area. Measure the distance between the low commode and the high commode’s installation points. Check whether the positions align or if adjustments are needed to accommodate the welding process.
Tip: Use the measuring tape to ensure the dimensions are accurate. Small misalignments can affect the final result.
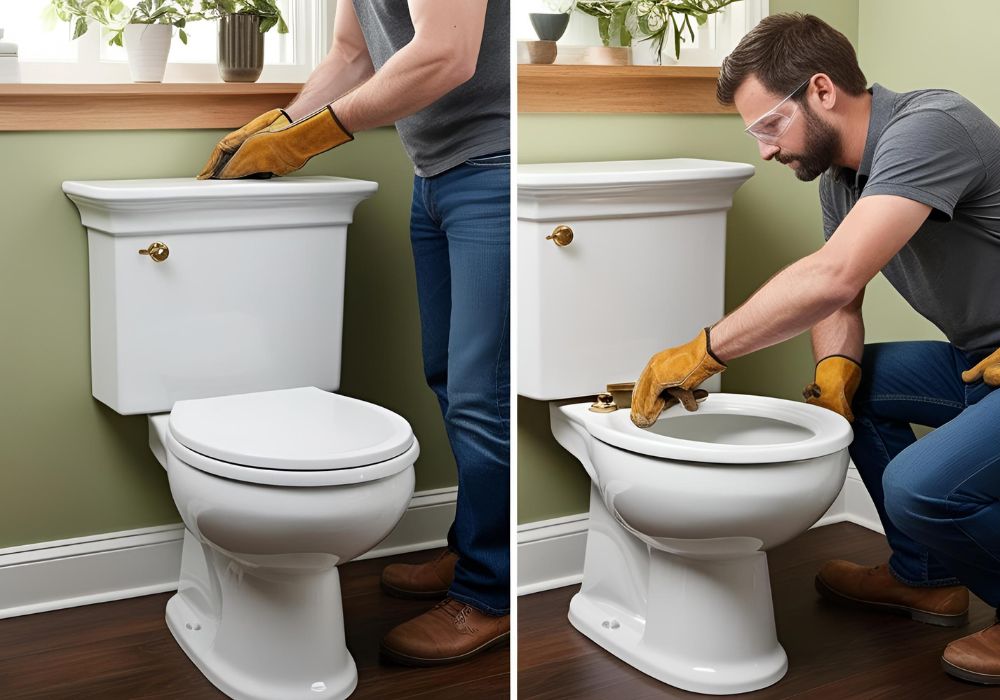
Step 2: Prepare the Fixtures and Surfaces
Thorough preparation is crucial for a successful weld.
Clean the areas on both fixtures that you plan to weld. Use sandpaper or a wire brush to remove dirt, rust, and debris.
Apply a metal prep spray to prime the surfaces for welding. This ensures a strong bond during the process.
Mark the areas to be cut or joined using a marker or chalk. Clear markings ensure precision during welding.
Step 3: Determine the Pipe Connection
In most cases, connecting the low commode to the high commode will require custom pipe connections.
Cut the pipe to the desired length using the angle grinder. Ensure the edges are smooth and free of burrs.
Use joint connectors to make alignment easier. This helps to minimize gaps and reduces the strain on the welded portions.
Pro Tip: Ensure your pipe connectors are made of the same material as your commodes for consistency and durability.
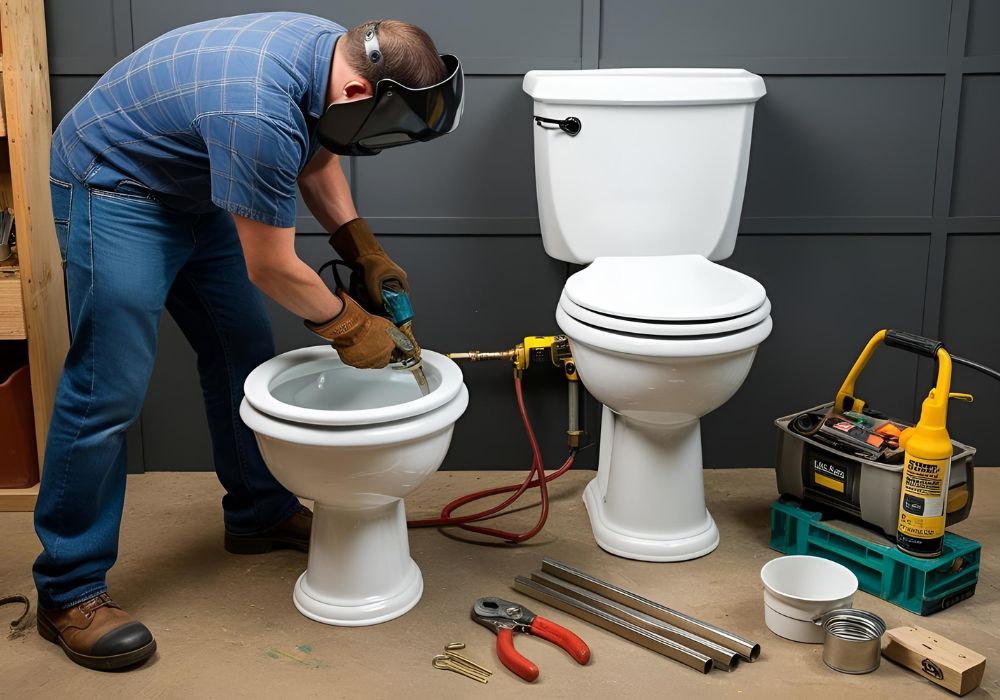
Step 4: Begin the Welding Process
Now it’s time to weld! For bathroom fixtures, using a TIG (tungsten inert gas) or MIG (metal inert gas) welder is typically the best option, as these methods ensure precision and neat welds.
Start by creating tack welds (small temporary welds) to hold the commodes and pipe in place. This ensures everything is aligned before you proceed to full welding.
Gradually weld along the joint area, maintaining a consistent bead size to avoid weak points. Make sure to move the welder steadily for a uniform bond.
Allow the weld to cool slightly before moving to the next section.
Important: Always wear protective gear while welding to prevent burns and eye injuries.
Step 5: Smooth and Seal
Once the welding is complete, smooth the welds using your angle grinder. Sand down rough edges or protrusions for a polished finish.
To ensure the weld is watertight and resistant to potential leaks, apply a high-quality, water-resistant sealant along the welded joints. Allow this to cure according to manufacturer instructions before proceeding further.
Step 6: Test the Setup
Before finalizing the installation, test the setup to ensure it’s functional and free of leaks.
Pour water through the fixtures and check for seepage at the weld joints.
Confirm that both commodes (low and high) align perfectly and that the flow system works as intended.
Common Mistakes to Avoid
Even seasoned professionals can make errors when welding commodes. Here are common oversights to steer clear of:
Skipping surface preparation: Dirt, rust, or oil will weaken the weld and reduce durability.
Rushing the weld: Applying too much heat too quickly can warp the materials and compromise the fit.
Ignoring alignment: Misaligned pieces make for a faulty setup that often needs redoing.
Using incompatible materials: Always match welding rods and joints with the material of your commodes (e.g., stainless steel, PVC).
A Durable Solution for Bathroom Renovations
Combining a low commode with a high commode requires precision, preparation, and attention to detail. Done correctly, it offers a durable and space-saving solution for bathrooms, accommodating diverse needs.
If you’re new to welding, consider consulting a professional on your first attempt to avoid costly mistakes. However, with some practice and the right tools, even DIY enthusiasts can achieve professional-level results.
Final Thought
When tackling bathroom renovations, it’s essential to prioritize both functionality and comfort. Merging innovative ideas with practical designs can result in a bathroom space that caters to diverse needs while maintaining a tasteful aesthetic. Taking the time to plan and execute carefully ensures a long-lasting and satisfying result