")
Upgrading your home with an epoxy-coated wood plank floor can transform any space into a sleek, modern masterpiece. But before you grab your gloves and start working, preparation is key. One of the most important steps? Make sure you have the right materials and tools to get the job done smoothly.
This guide is designed to help DIY homeowners, woodworking enthusiasts, and interior designers create a complete shopping list for laying epoxy on a wood plank floor. By the end, you’ll know exactly what you need, why you need it, and where to focus your efforts for professional-grade results.
Whether you’re taking on your first epoxy project or refining your skills, we’ve got you covered. Here’s everything to check off your list before you break a sweat.
What You’ll Need to Get Started
Laying epoxy on wood requires both preparation and precision. It’s not just about pouring epoxy onto a floor and hoping for the best. Here’s a breakdown of the essential items you’ll need, categorized for convenience.
Step 1: Preparation Supplies
1. Measuring Tape
You’ll need to measure your floor space accurately to determine the amount of epoxy you need. Remember, epoxy coverage is typically measured in square feet per gallon, so ensure precise calculations to avoid under-purchasing or wasting materials.
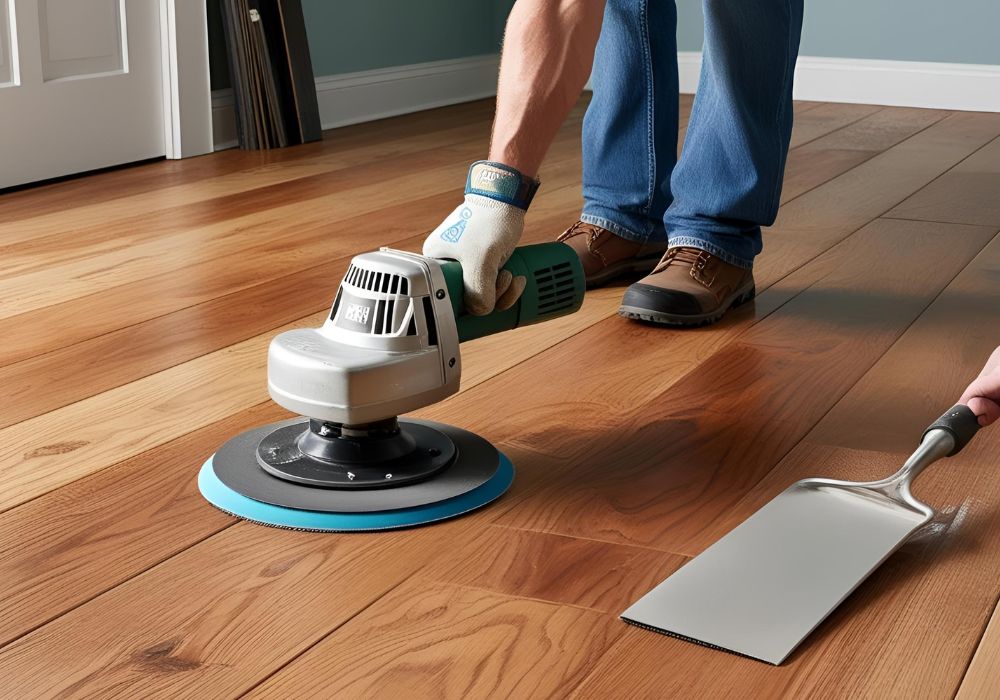
2. Sander (or Sandpaper)
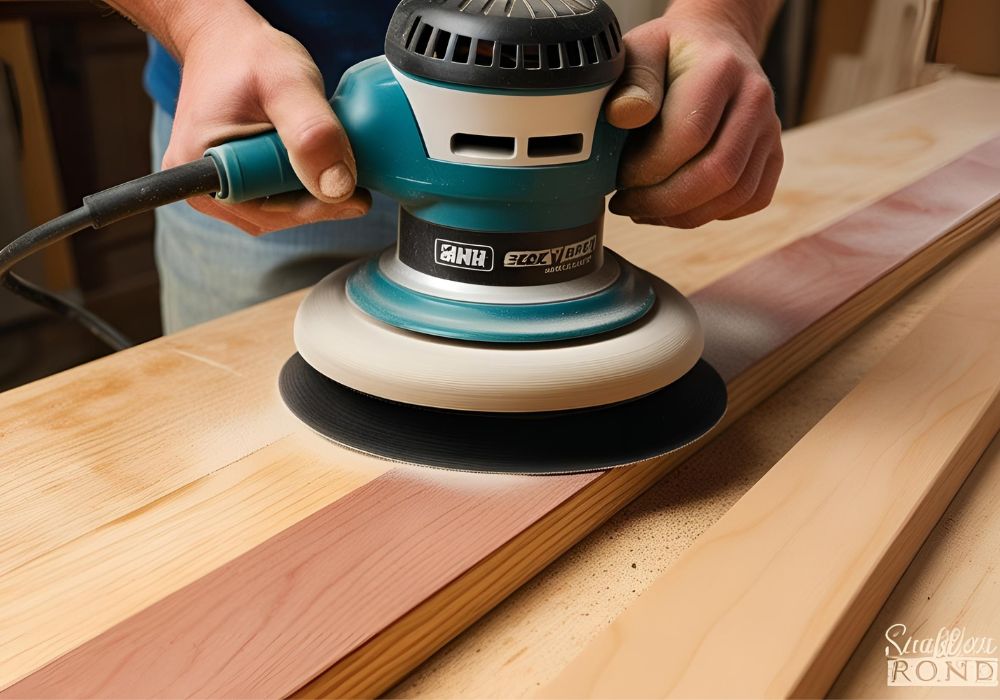
To ensure the epoxy adheres properly, the surface of the wood planks must be smooth and even. A power sander is most efficient for larger areas, but fine-grit sandpaper (around 120 to 180 grit) will do the trick for touch-ups or smaller projects.
3. Vacuum Cleaner or Dust Blower
After sanding, you’ll need to remove all dust and debris. A high-powered vacuum cleaner or dust blower ensures the surface is clean and ready for the epoxy to bond seamlessly.
4. Painter’s Tape
Protect the edges of your walls, baseboards, or any adjacent surfaces with painter’s Tape to create clean lines and prevent accidental epoxy drips.
5. Drop Cloths or Plastic Sheeting
Cover nearby surfaces and furniture to shield them from spills. Epoxy is notoriously difficult to remove once it hardens, so prevention is key.
Step 2: Epoxy and Application Tools
6. Epoxy Resin and Hardener
The star of the show! Make sure to purchase a high-quality, two-part epoxy resin specifically designed for wood applications. Look for products with UV resistance to minimize yellowing over time, especially if the space has natural light exposure.
Quantity Tip: Calculate how much to buy based on the epoxy coverage specified on the product. A general rule of thumb is that 1-gallon covers about 12-16 square feet with a thick pour.
7. Pigments or Dyes (Optional)
If you want to customize the color or create artistic effects, purchase pigments or dyes compatible with your epoxy resin. Metallic pigments or vibrant colors can add a unique flair to your project.
8. Mixing Buckets and Measuring Cups
Mixing epoxy requires a precise ratio of resin to hardener (check the manufacturer’s instructions, typically 1:1 or 2:1). Use clean, disposable mixing buckets and graduated measuring cups for accuracy.
9. Wooden Stir Sticks or Mixing Drill Attachment
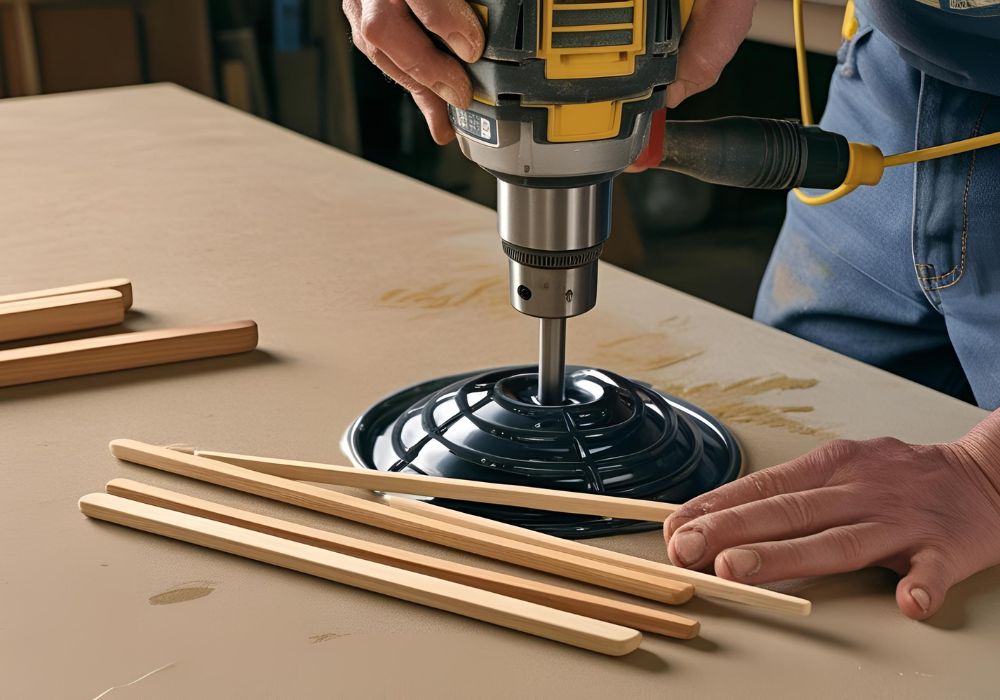
Epoxy must be mixed thoroughly to ensure proper curing. For small batches, wooden stir sticks will suffice. For larger quantities, a mixing drill attachment saves time and effort.
10. Epoxy Spreader or Notched Squeegee
Spread the epoxy evenly over your wood planks using a notched squeegee designed for epoxy application. This tool helps control the thickness and ensures an even coat.
11. Foam Rollers or Brushes
To achieve a smooth finish, foam rollers or brushes are ideal for any detailed work or for spreading thin topcoats.
12. Heat Gun or Torch
After pouring epoxy, use a heat gun or torch to remove air bubbles trapped in the mixture. This step is critical for achieving a flawless glass-like finish on your floor.
Step 3: Safety Gear
13. Gloves
Epoxy can irritate the skin, so always wear disposable nitrile gloves (not latex, which can degrade) to protect your hands.
14. Respirator Mask
Epoxy fumes can be strong, especially during mixing and application. A respirator mask with organic vapor cartridges ensures you can work safely without inhaling harmful chemicals.
15. Safety Glasses
Protect your eyes from accidental splashes or drips by wearing safety glasses or goggles.
16. Coveralls or Old Clothing
Epoxy is nearly impossible to remove from fabric, so wear coveralls or clothes you don’t mind getting messy.
Step 4: Finishing Supplies
17. Wet Sandpaper (Optional for Polishing)
Once the epoxy cures, remove imperfections or enhance the shine using wet sandpaper (starting around 400 grit and going up to 1000+ grit).
18. Polishing Compound (Optional for High-Gloss Finish)
For an ultra-smooth, reflective finish, apply a polishing compound after wet sanding. This can give your floor a professional showroom look.
19. Floor Cleaner
Once the epoxy has fully cured, clean the surface with a specialized epoxy floor cleaner or a gentle, non-abrasive solution to remove residue.
Tips for Success
Plan for Curing Time: Epoxy typically requires 24-72 hours to cure fully, depending on the product. Make sure the area is undisturbed during this time.
Work in a Well-Ventilated Area: Proper airflow minimizes the buildup of fumes and promotes even curing.
Practice with a Small Test Run: Especially if you’re new to epoxy, practice pouring and spreading on a smaller surface to get the hang of the process.
Overcoming Common Challenges
Even with the right tools, challenges can arise. Here’s how to deal with some common issues:
Air Bubbles: Use your torch or heat gun immediately after applying epoxy to eliminate bubbles.
Uneven Surface: If the epoxy pools or cures unevenly, sand down raised sections after curing and apply a thin topcoat to smooth it out.
Sticky Epoxy: Incorrect mixing ratios usually cause sticky or soft epoxy. Always follow manufacturer guidelines closely.
Your Epoxy Adventure Awaits
With the right tools and preparation, laying epoxy on your wood plank floor can be a rewarding DIY project that transforms your space. From achieving a high-gloss finish to customizing colors, the possibilities are endless with epoxy flooring.
Before you get started, take a moment to review your shopping list and double-check you have everything ready. If you’re unsure, consult your local hardware store or an online supplier specializing in epoxy products.
Happy flooring, and may your wood plank floor shine like never before!