")
Pegboards are a go-to organizational solution for workshops, garages, craft rooms, and even kitchens. Their versatility makes them a favourite tool for keeping everything from hammers to paintbrushes within arm’s reach. But when it comes to setting up your perfect pegboard system, the size of the Hardware you choose can make or break the functionality.
You might be surprised to learn there are only two standard sizes for pegboard hardware. This post will clarify what those sizes are, explain how to choose the right one and give tips for setting up a seamless storage system.
Introduction to Pegboard Hardware
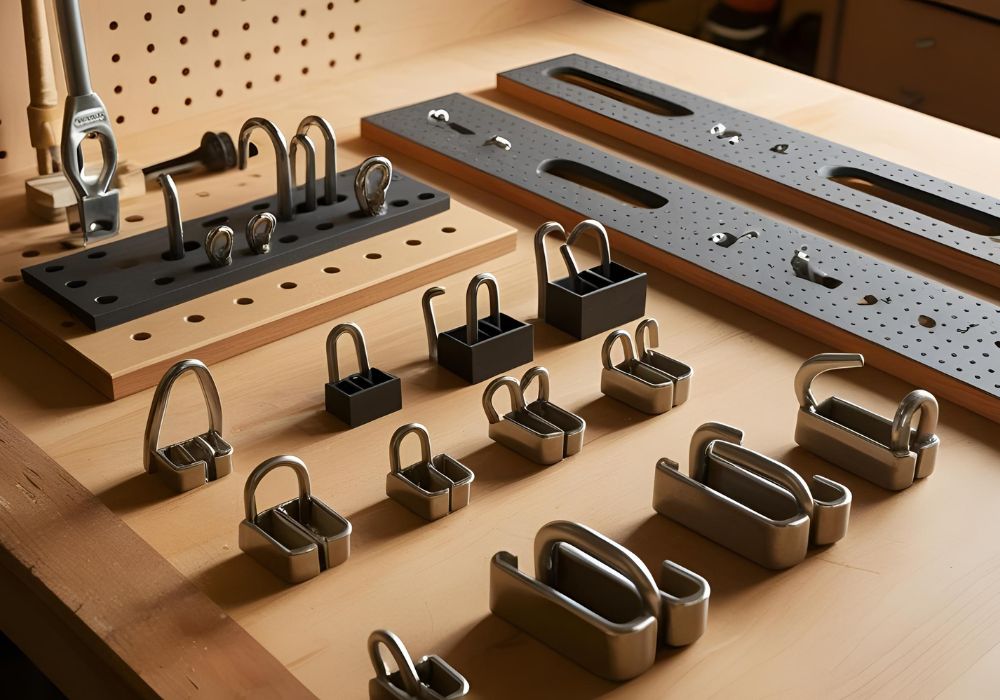
When we talk about pegboard hardware, we’re focusing on two key elements:
- Pegboard holes (the perforations on the board itself)
- Attachments and hooks (used to hang tools and supplies)
These two components are standardized to fit one another in only two main dimensions. Understanding the size of the holes in your pegboard is the first step to selecting compatible hooks, shelves, and other accessories.
What Are the Two Standard Pegboard Hardware Sizes?
The two standard sizes for pegboard hardware are ¼-inch (0.25 inches) and ⅛-inch (0.125 inches). Everything from the diameter of the pegboard holes to the thickness of the Hardware is based on these dimensions. Here’s what you need to know about each:
1. ¼-Inch Pegboard Hardware
This is the most common size for heavy-duty applications and professional use.
Key features of ¼-inch Hardware include:
- Pegboard Hole Size: Compatible with pegboards that have holes with a ¼-inch diameter.
- Material Strength: Typically made of durable steel or high-strength plastic.
- Weight Capacity: This can support heavier tools, making it ideal for workshops, garages, or industrial settings. Think hammers, drills, and larger tools.
- Best Pegboard Material Match: Usually used with thicker pegboards made of hardboard (pressed wood) or metal. These pegboards are better equipped to handle the extra weight without warping.
2. ⅛-Inch Pegboard Hardware
This site is popular for lighter usage and home projects.
Key features of ⅛-inch Hardware include:
- Pegboard Hole Size: Compatible with pegboards that have holes with a ⅛-inch diameter.
- Material Strength: Generally thinner and lighter, often made of lightweight metal or plastic.
- Weight Capacity: Best for lighter items like paintbrushes, scissors, or sewing supplies.
- Best Pegboard Material Match: Works well with thinner, hobby-grade hardboard or plastic pegboards, which are commonly used in kitchens, craft rooms, or closets.
How to Determine Which Hardware Size to Use

Choosing between ¼-inch and ⅛-inch Hardware ultimately depends on two factors: the purpose of your pegboard setup and the material of the pegboard itself.
1. Consider What You’ll Be Storing
- If you’re organizing heavy tools or equipment, go for the ¼-inch Hardware. It can handle the weight without bending or pulling free from the board.
- If you’re focused on light-duty storage, such as arranging craft supplies or pantry items, the more affordable ⅛-inch Hardware will suffice.
2. Match Your Pegboard to the Hardware
Your choice of pegboard matters because the hole size must line up with your Hardware:
- Thick Hardboard (or Metal) → Accommodates ¼-inch Hardware best.
- Thin Hardboard or Plastic Pegboard → Designed for ⅛-inch Hardware.
If you have an existing pegboard, measure the diameter of the holes before purchasing Hardware to avoid any mismatch.
Tips for Setting Up Pegboard Systems Like a Pro
To make the most of your pegboard system, follow these expert tips:
1. Choose the Right Anchoring System
Ensure your pegboard is securely mounted to the wall. Use spacers or a frame to create a small gap between the board and the wall, which will allow Hardware to slide into place easily.
2. Use Peg Locks
Peg locks or clips are small plastic pieces that keep your hooks and attachments in place. They prevent the Hardware from falling out of the pegboard when tools are removed.
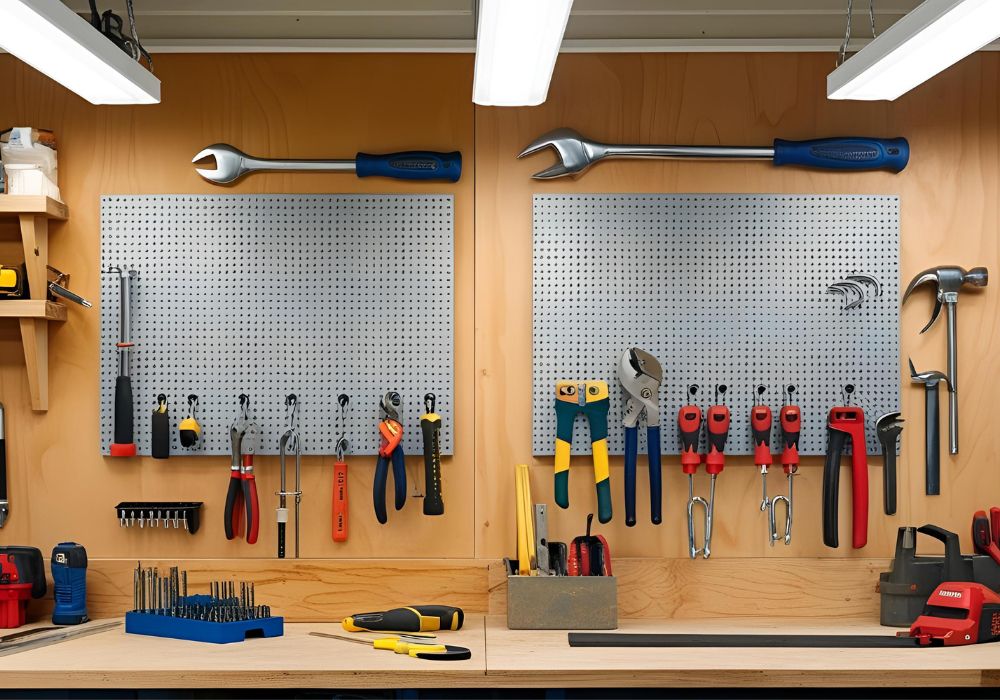
3. Mix and Match Accessories
From standard hooks and bins to speciality attachments like wrench holders or magnetic panels, there’s no end to how you can customize your pegboard. Ensure your chosen accessories are compatible with your pegboard’s hardware size.
4. Test Weight Limits
Even though ¼-inch Hardware can hold more weight, always double-check the maximum weight capacity of both your board and its Hardware.
5. Consider Aesthetics
Pegboards can be more than functional—they can look great, too. Use vibrant pegboards in craft rooms or kitchens, and match the Hardware in colour or finish for a cohesive look.
Avoiding Common Pegboard Mistakes
It’s easy to make small missteps when setting up a pegboard. Here are the top mistakes to avoid:
- Using the Wrong Hardware Size: Always check the size of your pegboard holes before buying hooks or accessories.
- Overloading: Exceeding the weight capacity of your Hardware or board can result in damage.
- Ignoring Wall Space: Plan your layout to ensure your setup looks organized and allows easy access to your tools or items.
- Skipping Maintenance: Don’t forget to periodically check for wear and tear on the hooks or the pegboard itself.
Wrapping It All Up
Pegboards are an incredible way to create an organized, efficient workspace. By understanding the two standard hardware sizes—¼ inch and ⅛ inch—you can choose the perfect setup for your needs, whether you’re outfitting a professional workshop or creating a DIY craft station.
The next time you grab a pegboard and matching Hardware, you’ll know exactly what to look for. And remember, accessories are key to unlocking the full potential of this versatile storage solution.
Need more tips on setting up your perfect pegboard system? Check out our [Beginner’s Guide to Organizing with Pegboards](link to additional resource) for detailed advice and recommendations tailored to your project!