One of the most exciting benefits of smart home technology is the ability to easily control your home’s appliances. If you’re a SmartThings user, setting up your AC fan timer is not only possible but incredibly simple. Whether you’re looking to improve energy efficiency, save on electricity bills, or keep your home at the perfect temperature, this guide will walk you through the steps to set an AC fan timer via SmartThings.
Why Set an AC Fan Timer?
Before we jump into the how-to, it’s worth understanding the benefits of setting an AC fan timer.
Energy Efficiency
Running your AC fan continuously wastes energy, significantly when cooling or air circulation isn’t needed. With a timer, you can program the fan to run during specific hours, preventing unnecessary energy use or over-cooling your space.

Cost Savings
Running your home’s AC system for limited, scheduled periods lowers your electricity consumption, directly lowering monthly bills.
Customized Comfort
Timing your AC fan to operate only when needed ensures your home stays comfortable while addressing individual preferences, like cooling your bed area before sleep or circulating air in the living room during the day.
You’re in the right place if you haven’t explored this feature in SmartThings before. Now, let’s get technical and set up that fan-timer!
Guide to Set an AC Fan Timer Using SmartThings
Step 1: Connect Your AC Unit to SmartThings
Before setting up a timer, ensure your AC unit or smart thermostat is connected to the SmartThings ecosystem.
Check Device Compatibility
-
- SmartThings supports various third-party smart ACs and thermostats, such as Honeywell and Ecobee devices. To ensure your AC or thermostat works within this ecosystem, go to the compatibility list within your SmartThings app.
Add the Device to SmartThings
-
-
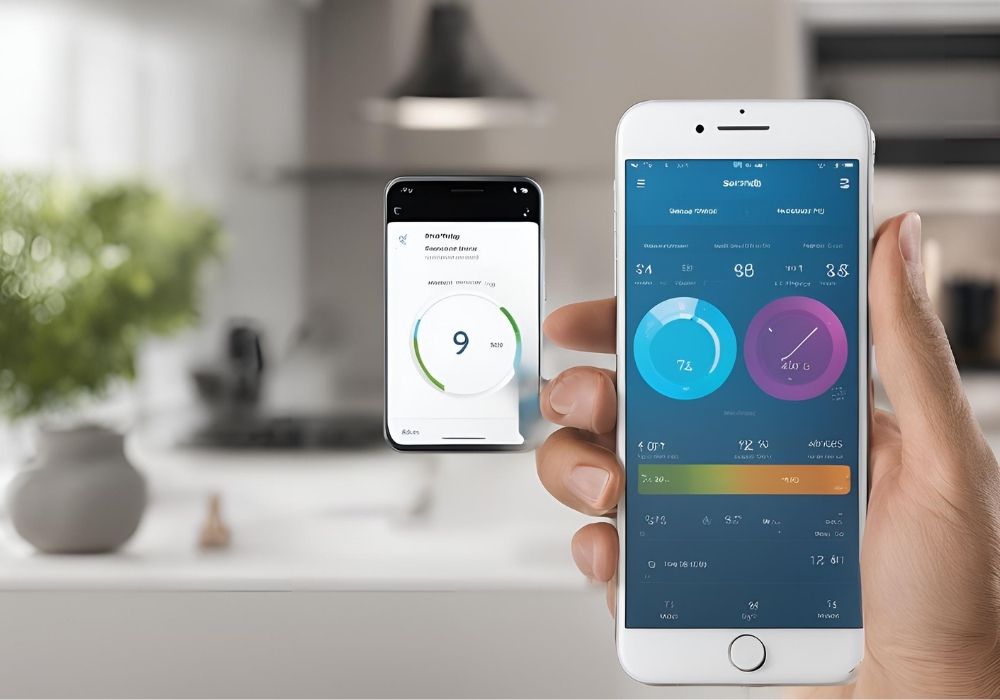
- Open the SmartThings app on your smartphone.
- Tap the “+” icon in the top-right corner and select “Device.”
- Follow the prompts to connect your AC unit or thermostat. Ensure Wi-Fi is enabled on your AC device for a smoother pairing process.
-
- You’re ready to proceed once the device appears on your SmartThings dashboard.
Step 2: Navigate to Automation
SmartThings timers rely on the automation feature. Follow these steps to start creating your custom timer.
Open Automation
-
-
- From the app dashboard, tap on the “Automations” tab at the bottom of the screen.
-
Create a New Automation
-
-
- Tap the “+” symbol to add a new automation and give it a name (e.g., “AC Fan Timer”).
-
Step 3: Set Trigger Conditions
To build a timer, you’ll need to define the specific times or conditions under which the AC fan will operate.
Select a “Condition”
-
-
- Choose the “Time of Day” trigger if you’d like to schedule your AC fan to run at specific times, such as from 6 PM to 8 PM daily.
- Alternatively, select conditions such as sunrise/sunset or room temperature thresholds for more flexibility.
-
Add Additional Filters (Optional)
-
-
- Do you want to target particular days of the week? Apply this condition to specify weekdays, weekends, or custom selections (like only triggering it on hot summer weekends).
-
Step 4: Define Actions (What the AC Fan Will Do)
- After setting the trigger, tell your SmartThings app what to do when the scheduled time or condition occurs.
- Under “Actions,” select your connected AC unit or thermostat.
- Choose “Turn on Fan” or set the desired cooling mode (such as “Cool” or “Fan Only”).
- Specify the duration for how long the fan should run.
Example Action Setup:
Command: Turn on the fan
Duration: Run for 30 minutes
Temperature (optional): Adjust to 72°F
Step 5: Save and Test Your Timer
Once all conditions and actions are defined, save the automation. Test it by changing the current time on your SmartThings settings or waiting for the scheduled activation time. Double-check that your AC fan turns on and off as programmed.
Pro Tips for a Better User Experience
Use Scenes for Greater Control
SmartThings allows you to group multiple devices under a single “Scene,” making it easier to control your AC fan alongside other devices (like dimming lights or activating smart plugs). For instance, you could create a “Good Night” scene to turn on the fan, lower the thermostat temperature, and power off unnecessary devices.
Monitor Energy Usage
Many smart thermostats and AC units integrated with SmartThings provide energy consumption data. Track this information to identify peak usage hours and adjust your timer settings accordingly.
Control Your Timer On-the-Go
SmartThings syncs across devices, allowing you to modify or override your AC fan timer remotely via the app. If you decide to stay out late but don’t want the fan running unnecessarily, pause or update the automation with a few taps.
FAQs
Can I set multiple fan schedules for different times of day?
Yes! SmartThings Automation allows you to create as many schedules as necessary. For instance, you can program your AC fan to run before bedtime (from 9 PM to 10 PM) and during the daytime (from 1 PM to 2 PM).
Can this setup work without a smart thermostat?
Many AC units with built-in Wi-Fi capabilities support SmartThings directly, allowing you to bypass the need for a thermostat. However, investing in a compatible smart thermostat can provide even greater control and features.
Do I need an internet connection to use SmartThings automation?
Yes, a Wi-Fi connection is essential for SmartThings features to work. If your internet connection goes down, the automation may temporarily pause until connectivity is restored.
Elevate Your Home Automation with SmartThings
Now you know how to make the most of your AC fan by timing it to work smarter—not more complicated. Through SmartThings, you’re not just improving energy efficiency or cutting costs; you’re mastering the art of smart home living.
If you’re ready to explore even more automation possibilities, why not check out how SmartThings can help with lighting, home security, and entertainment? Download the SmartThings app today and take your first steps into the future of home automation.


