")
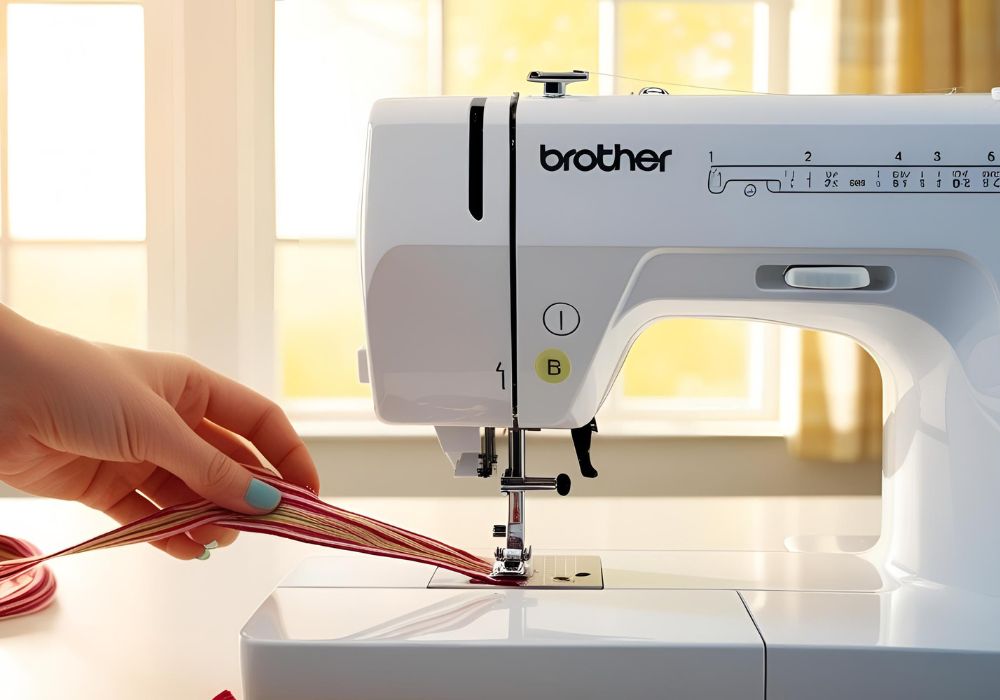
Learning to thread a sewing machine can feel intimidating, especially if you’re new to sewing. But don’t worry! Threading a Brother sewing machine is straightforward once you break it down step-by-step. This guide will walk you through the process with simple instructions and tips to prepare you to start sewing. By the end of this tutorial, you’ll feel confident threading your machine and ready to take on your next DIY project.
Why Proper Threading Matters
Threading a sewing machine may seem small, but it plays an essential role in your sewing experience. Proper threading prevents common issues like thread tangling, uneven stitches, or skipped stitches. Whether hemming a dress or crafting unique home décor, learning to thread your machine correctly ensures smooth stitching and beautifully finished projects.
Tools You’ll Need
Before getting started, gather the following:
- Your Brother’s sewing machine
- Sewing thread
- A pre-filled bobbin
- A pair of scissors
- The Brother machine manual (optional but helpful)
Step-by-Step Guide to Threading Your Brother Sewing Machine
Step 1: Prepare Your Machine
Before threading, ensure your sewing machine is turned off. This is a simple but essential safety tip. Place the machine on a flat, stable surface with plenty of light to see what you’re doing. Lift the presser foot using the lever to release thread tension, making it easier to thread the machine.
Step 2: Place the Thread on the Spool Pin
Start by locating the spool pin, typically on the machine’s top. Place your spool of thread onto the pin, rolling it off counterclockwise. Secure the spool with the spool cap to keep it steady while you sew.
Tip: Use a spool cap that matches the size of your thread for a snug fit.
Step 3: Guide the Thread Through the Thread Path
Follow these steps to guide the thread properly:
- Pull the thread from the spool and pass it through the thread guide at the top of the machine. The thread guide often looks like a small metal or plastic hook.
- Bring the thread down along the first slot or groove on the machine, referred to as the “tension discs” area.
- Pull the thread back up through the next slot, which leads to the take-up lever (you’ll usually need to turn the handwheel to raise the lever if it’s not visible).
- Thread the take-up lever by passing the thread through the hole or hook.
- Guide the thread downward again and through any additional thread guides along the way to the needle.
Note: Brother sewing machines often include a numbered path or diagram on the body to make threading easier. If you get confused, refer to this.
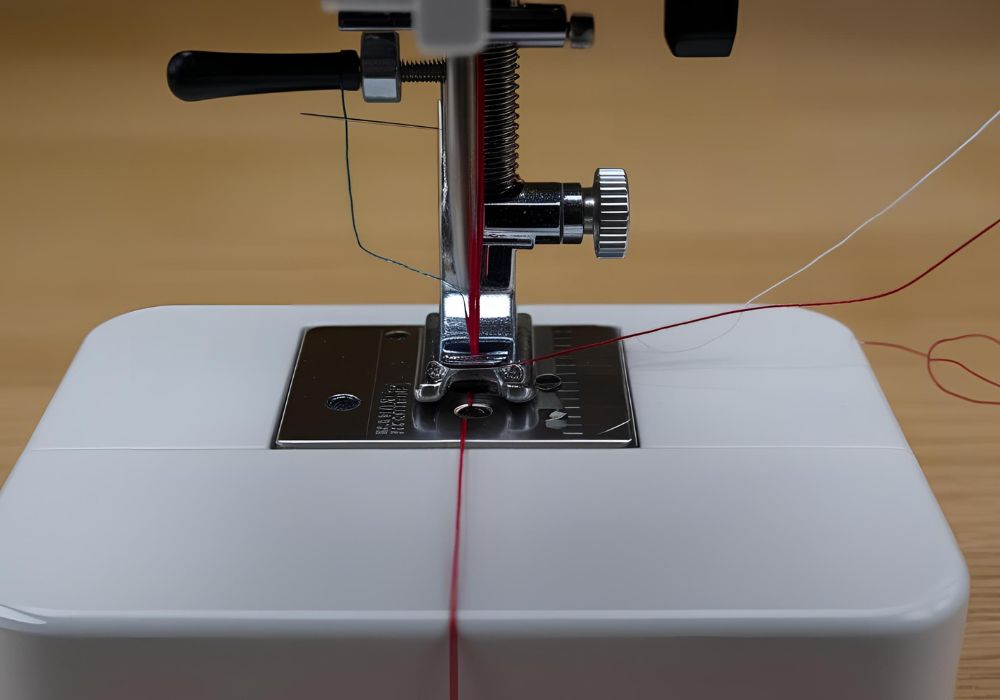
Step 4: Thread the Needle
Now for the crucial step! Threading the needle requires patience and precision:
- Follow your manual instructions if your machine has an automatic needle threader.
- Trick the thread end manually at an angle to avoid fraying and pass it through the needle eye from front to back.
- Pull about 4-6 inches of thread through the needle and lay it under the presser foot.
Pro Tip: Use a needle threader tool if you struggle to pass the thread through the needle.
Step 5: Insert the Bobbin
Once your top thread is in place, it is time to load the bobbin. Follow these steps:
- Open the bobbin case (usually located in the lower compartment of the machine).
- Place the bobbin into the case with the thread rolling counterclockwise.
- Pull the bobbin thread through the slot in the case and guide it through the tension spring, as shown in your manual.
Tip: Listen for the bobbin to “click” into place to ensure proper alignment.
Step 6: Draw Up the Bobbin Thread
Before starting to sew, the needle thread and bobbin thread need to work together:
- Hold the top thread with one hand.
- Turn the handwheel toward you to lower the needle into the machine, then raise it back up.
- The needle will loop through the bobbin thread below, pulling it up. Use your fingers or a small tool to draw both threads to the surface and lay them under the presser foot.
Step 7: Test the Threading
To ensure everything is set, perform a quick test:
- Pull the top and bobbin threads gently to check that they flow smoothly without any resistance.
- Fold a scrap piece of fabric in half and sew a few straight stitches to confirm proper threading and tension.
If the stitching looks clean and even, you’re ready to start your project!
Troubleshooting Common Threading Issues
Even with careful threading, you might encounter a few hiccups. Here’s how to solve them:
Thread Tangles or Knots: Recheck the thread path to ensure the thread is correctly guided through each slot.
Skipped Stitches: Ensure the needle is inserted correctly and appropriately for your fabric type.
Loose or Tight Stitches: Adjust the thread tension dial on the machine for a balanced stitch.
If problems persist, consult your Brother machine manual for troubleshooting tips for your model.
Why Choose a Brother Sewing Machine?
Brother sewing machines are a favorite among beginners and experts alike because they are:
User-Friendly: Clear diagrams and guides make threading simple.
Reliable: Consistent stitching ensures high-quality results for all your projects.
Versatile: Brother machines work for various fabrics and sewing styles, from quilting to fashion design.
Frequently Asked Questions
1. How do I maintain my Brother’s sewing machine?
Regular maintenance involves cleaning the bobbin case, replacing needles as needed, and oiling the machine according to the manual instructions. For detailed care instructions, always refer to your specific model’s guide.
2. Why is my thread breaking while sewing?
Thread breakage can occur due to incorrect threading, using a poor-quality thread, or using an inappropriate needle for your fabric. Check the threading path, replace the needle if necessary, and ensure the thread suits your project.
3. Can I use my Brother’s sewing machine for quilting?
Many Brother sewing machines are designed with quilting features such as wide working spaces, quilting feet, and adjustable stitch lengths. Refer to your model’s specifications to learn about its quilting capabilities.
4. What should I do if my stitches are uneven?
Tension issues, incorrect threading, or a damaged needle could cause uneven stitches. Re-thread the machine, check the tension settings, and inspect the needle for bends or damage.
5. Is a Brother sewing machine good for beginners?
Absolutely! Brother sewing machines are known for their user-friendly designs, clear instructions, and versatile features, making them an excellent choice for beginners learning to sew.
Final Thoughts for Beginners
Threading your Brother sewing machine is an essential skill that sets the foundation for all your sewing adventures. While the process might feel daunting at first, practice makes perfect. Follow this guide a few times, and threading will become second nature. Once your machine is ready, there’s no limit to the creativity and projects you can tackle.
If you’re new to sewing or want to explore more tips, tutorials, and project ideas, check out our beginner-friendly guides and courses. Happy stitching!